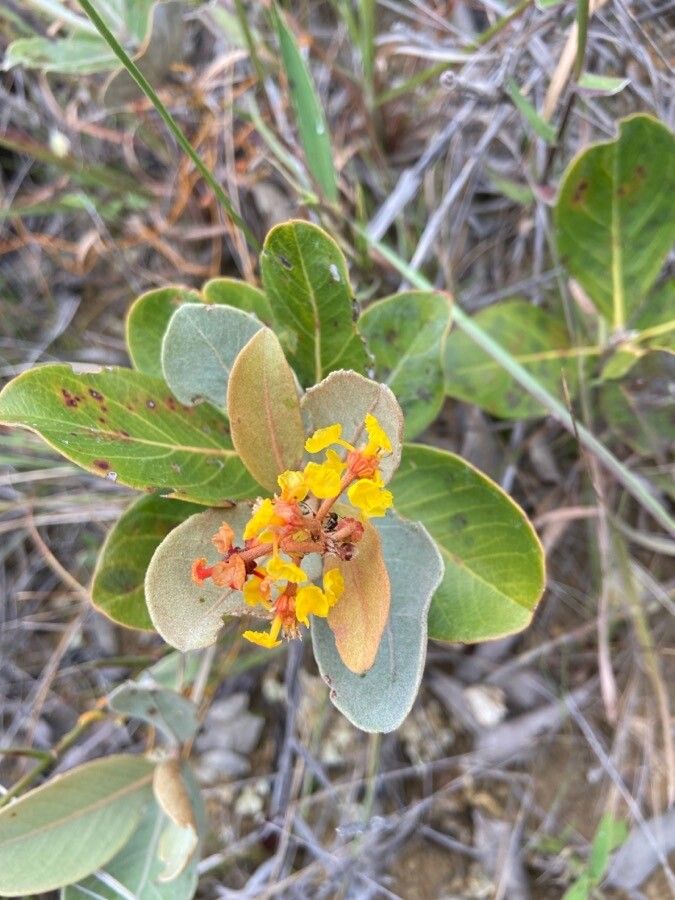
Oh, hello there! It’s so nice to have you join me. If you’re anything like me, you’ve probably admired those gorgeous, glossy leaves and the subtle, sweet fragrance of the Tristaniopsis nindoensis, also known as the Water Gum or Kanooka. It’s a truly delightful tree for any Australian garden, bringing a touch of elegance with its smooth, peeling bark and cheerful yellow flowers.
There’s something incredibly satisfying about taking a tiny piece of a beloved plant and coaxing it to grow into a new life. Propagating Tristaniopsis nindoensis is a wonderfully rewarding endeavor. While it’s not the absolute easiest plant for a complete beginner if you’re just starting out, I promise, with a little patience and these tips, you’ll do wonderfully.
The Best Time to Start
For the highest success rate with Tristaniopsis nindoensis, aim to take cuttings in late spring or early summer. This is when the plant is actively growing, and the new shoots are firm but not yet woody. Think of it as grabbing those perfect, pliable stems that are full of life.
Supplies You’ll Need
Gathering your supplies beforehand makes the whole process so much smoother. Here’s what I usually have on hand:
- Sharp pruning shears or secateurs: Cleanliness is key!
- Rooting hormone: A powdered or gel form works well.
- Well-draining potting mix: A good blend is roughly equal parts perlite, coarse sand, and peat moss or coco coir.
- Small pots or seedling trays: Make sure they have drainage holes.
- A clean knife or razor blade: For taking cuttings.
- A spray bottle: For misting.
- A plastic bag or propagator: To create a humid environment.
Propagation Methods
I find stem cuttings to be the most reliable way to go with Tristaniopsis nindoensis. It’s straightforward and gives you a good chance of success.
- Select Your Cuttings: Look for healthy, semi-hardwood stems that are about 10-15 cm long. They should be flexible and have several sets of leaves. Avoid any flowering or fruiting stems.
- Make Clean Cuts: Using your sterilized secateurs or knife, take cuttings just below a leaf node (where a leaf attaches to the stem). A clean cut is crucial to prevent disease.
- Prepare the Cuttings: Gently remove the lower leaves from the cutting, leaving just two or three at the very top. This reduces water loss. You can also gently scrape a small sliver of bark off the bottom 1-2 cm of the stem – this encourages root development.
- Apply Rooting Hormone: Dip the cut end of the stem into rooting hormone, tapping off any excess.
- Pot Them Up: Fill your pots or trays with the well-draining mix. Make a hole in the center with a pencil or your finger, and gently insert the cutting. Firm the mix around the stem.
- Water Gently: Water the mix carefully so it’s moist but not waterlogged.
- Create Humidity: Place the pots inside a plastic bag or propagator. You can prop the bag up with a few sticks so it doesn’t touch the leaves. This will create a humid microclimate, which is essential for cuttings to root. Place them in a bright spot, but out of direct sunlight.
The “Secret Sauce” (Pro Tips)
Here are a few little tricks that have served me well over the years:
- Bottom Heat is Your Friend: If you can, place your propagator or pots on a heated propagation mat. This slight warmth stimulates root formation and makes a huge difference, especially if your house is cooler.
- Don’t Disturb Too Soon: Resist the urge to tug on the cuttings to check for roots. Wait at least 6-8 weeks, and even then, be gentle. You’ll see new leaf growth as a good sign that roots are forming.
- Hygiene, Hygiene, Hygiene!: I stress this because it’s so important. Clean your tools thoroughly between each cut, and certainly between different plants. This prevents the spread of any potential diseases.
Aftercare & Troubleshooting
Once you see signs of new growth – tiny leaves unfurling are a fantastic sign! – it’s time to start acclimatizing your new plants. Gradually open the propagator or remove the plastic bag for a few hours each day over a week or so. Continue to keep the soil consistently moist but not soggy, and in that bright, indirect light.
The most common sign of trouble is rot. If your cuttings turn black and mushy, it’s usually a sign of too much moisture and not enough air circulation, or perhaps a lack of rooting hormone. Sadly, these are usually beyond saving, so don’t be discouraged. Just clean everything thoroughly and try again.
A Little Encouragement
Growing new plants from cuttings is a journey, not a race. Be patient, offer kindly attention, and trust the process. Each little green shoot is a testament to nature’s resilience and your own nurturing touch. Enjoy watching your new Tristaniopsis nindoensis come to life! I have a feeling you’ll find it incredibly rewarding. Happy gardening!
Resource:
https://identify.plantnet.org/k-world-flora/species/Tristaniopsis%20ninndoensis%20J.W.Dawson/data