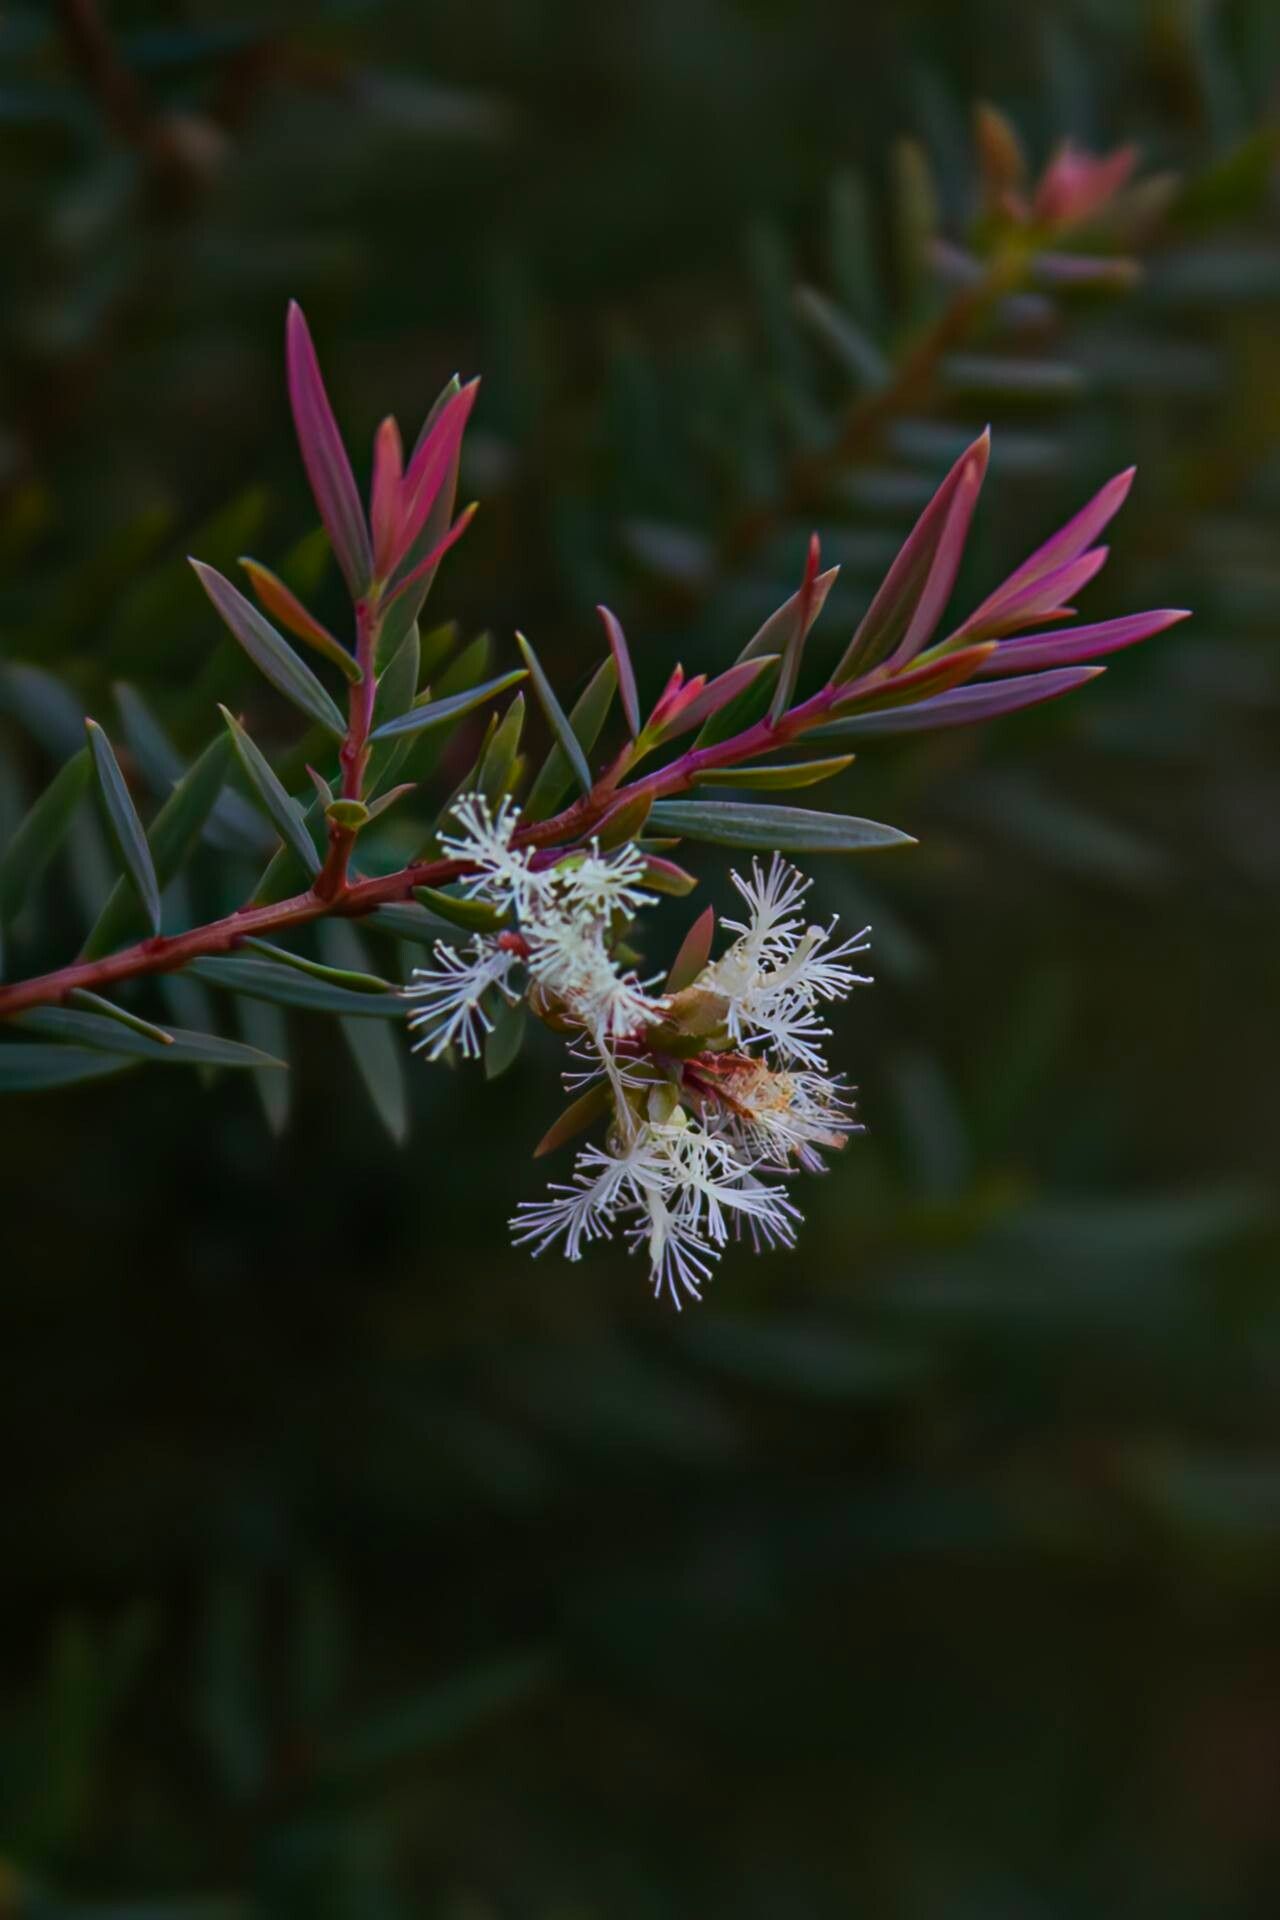
Oh, hello there! Let’s chat about one of my absolute favorite trees, Melaleuca linariifolia, or as we often affectionately call it, Snow in Summer. Isn’t that just the sweetest name? It’s hard to resist those delicate white bottlebrush flowers that seem to erupt in a profusion of pure joy. Plus, their silvery-green foliage adds a lovely texture to any garden. If you’ve ever admired a neighbor’s Snow in Summer and thought, “I wish I had one of those!”, you’re in luck. Propagating them is a truly rewarding experience, and while it might take a little patience, it’s definitely achievable for most of us. I’d say it’s moderately easy for beginners, so don’t be shy!
The Best Time to Start
The sweet spot for whipping up new Snow in Summer plants is typically late spring to early summer. This is when the plant is actively growing and has plenty of fresh, pliable new shoots. You’re looking for stems that are firm but not yet woody – think pencil-thick, if you can. Starting them during their active growth phase gives them the best shot at developing strong roots quickly.
Supplies You’ll Need
Gathering your tools beforehand always makes the process smoother. Here’s what I typically have on hand:
- Sharp, clean pruning shears or a razor blade: For making clean cuts.
- Rooting hormone (powder or gel): This is a big help for encouraging root development.
- A well-draining potting mix: I love a blend of half perlite and half coco coir or a good quality seed-starting mix.
- Small pots or trays: Clean pots with drainage holes are essential.
- A clear plastic bag or humidity dome: To keep the cuttings moist.
- Water: For misting and watering.
- Optional: Bottom heat mat: This can really speed up root formation.
Propagation Methods
I find stem cuttings to be the most reliable and accessible method for Melaleuca linariifolia. Here’s how I do it:
-
Take Your Cuttings: On a pleasant morning after the dew has dried, select healthy, non-flowering stems from your mature plant. Look for those lovely semi-hardwood shoots. Snip pieces about 4-6 inches long. Use your sharp pruners for a clean cut right below a leaf node (where the leaves join the stem).
-
Prepare the Cuttings: Gently strip off the lower leaves from about half of the cutting. This prevents them from rotting in the soil. If the remaining leaves are very large, you can gently trim them in half to reduce water loss through transpiration.
-
Apply Rooting Hormone: Dip the cut end of each stem into your chosen rooting hormone, tapping off any excess. This stuff is like a little boost for the plant’s rooting efforts.
-
Potting Up: Fill your clean pots with your prepared potting mix. Make a small pilot hole in the center of the soil with a pencil or your finger.
-
Plant the Cuttings: Insert the hormone-coated end of the cutting into the pilot hole, pushing it down so that at least one leaf node is buried. Gently firm the soil around the stem.
-
Create a Humid Environment: Water the soil lightly until it’s evenly moist, but not waterlogged. Then, cover the pots with a clear plastic bag, securing it with a rubber band, or place them under a humidity dome. Make sure the leaves aren’t touching the plastic if possible.
-
Provide Light and Warmth: Place your pots in a bright location that receives indirect sunlight. If you have a bottom heat mat, now’s the time to use it! This gentle warmth from below can be a game-changer.
The “Secret Sauce” (Pro Tips)
Alright, let’s talk about those little tricks that I’ve picked up along the way. They’re not really secrets, but they do make a difference!
-
The Water Dip Test: Before potting, you can actually test a few cuttings in water first. This helps you see if they’re viable and gives you a head start. Crucially, make sure no leaves touch the water. Only the stem should be submerged. Yellowing leaves in the water are a sure sign of trouble.
-
Don’t Disturb Them Too Soon: Resist the urge to constantly poke and prod. Once you’ve set them up, let them be! The roots are delicate, and unnecessary handling can set them back. I usually wait a good 4-6 weeks before gently tugging on a cutting to check for resistance – a good sign of root formation.
-
Air Circulation is Key: While we want humidity, stagnant air can encourage fungal issues. If you’re using a plastic bag, open it up for a few minutes each day to allow for fresh air exchange. This helps prevent rot.
Aftercare & Troubleshooting
Once you start seeing new leaf growth, that’s a fantastic indicator that roots are forming! You can then slowly acclimate your new plant to drier air by gradually opening the plastic bag or humidity dome over a week or two. Continue to keep the soil consistently moist but never soggy.
The most common issue you might encounter is rot. If your cutting turns black and mushy, or if the leaves start dropping off en masse, it’s usually a sign of too much moisture and not enough air circulation. Sadly, a rotted cutting is usually a goner. Don’t be discouraged though! It happens to the best of us. Just start again with fresh material and adjust your watering.
A Encouraging Closing
Propagating plants is a wonderful way to connect with nature and expand your garden without spending a fortune. Each new Snow in Summer you grow is a testament to your care and patience. So, grab your pruners, get your hands in the soil, and enjoy the process. You’ll be rewarded with beautiful new trees to share or to simply admire yourself! Happy gardening!
Resource:
https://identify.plantnet.org/k-world-flora/species/Melaleuca%20linariifolia%20Sm./data