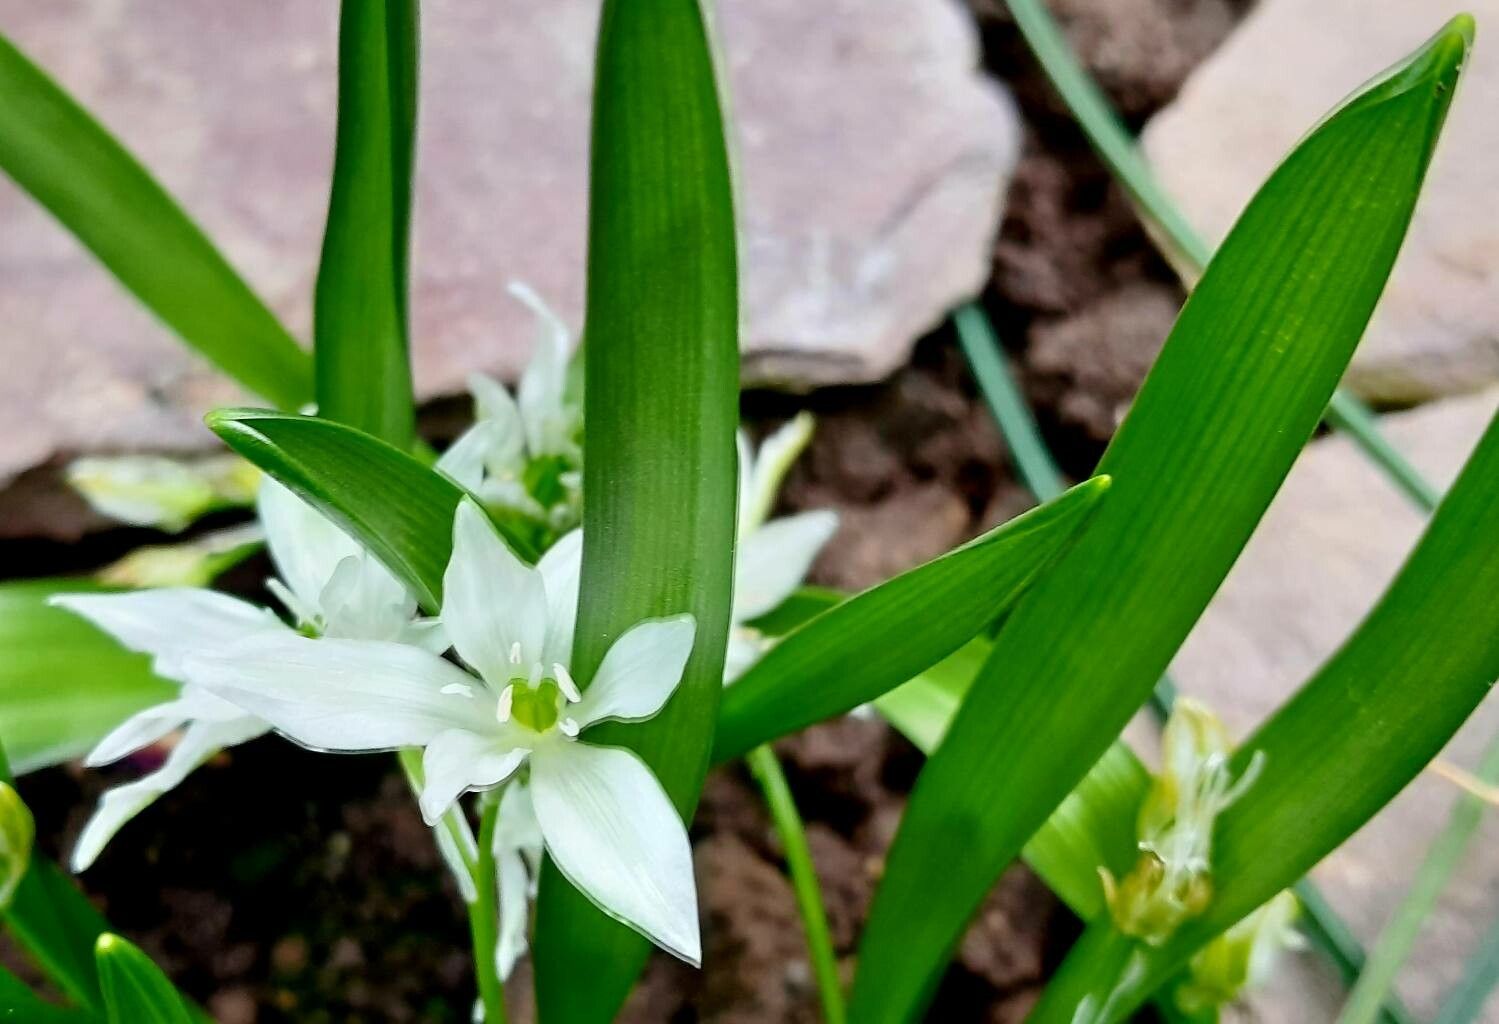
Hello fellow garden lovers! Today, I want to chat about a truly delightful bulb: Ornithogalum oligophyllum, often called Star-of-Bethlehem. Those delicate, starry white flowers, appearing like little celestial visitors in the landscape, bring such a charming elegance. If you, like me, have fallen a bit in love with their understated beauty, you’ll be thrilled to know that propagating them is a wonderfully rewarding venture. And guess what? It’s not nearly as daunting as it might sound, even for those of you just dipping your toes into the world of plant multiplication.
The Best Time to Start
For Ornithogalum oligophyllum, the ideal time to get your hands dirty with propagation is after the plant has finished flowering and the foliage has begun to yellow and die back. This usually happens in late spring or early summer. This is when the bulb is storing up energy and is ready to focus on growth, making it more receptive to dividing.
Supplies You’ll Need
Gathering your tools beforehand makes the whole process smoother. Here’s what I usually have on hand:
- Sharp, clean trowel or small spade: For carefully digging up and dividing bulbs.
- Sterilized pruning shears or a sharp knife: To separate bulb offsets if they are tightly attached. Make sure they are clean to prevent disease!
- Well-draining potting mix: A good quality compost mixed with perlite or grit is perfect. Avoid anything too heavy.
- Small pots or trays: For your newly propagated bulbs.
- Optional: Rooting hormone powder: While not essential for bulb division, it can give a little boost if you’re working with offsets that have very little to no existing root structure.
- Labels and a marker: To keep track of what you’ve planted where.
Propagation Methods
For Ornithogalum oligophyllum, the most successful and straightforward method is division. These bulbs are experts at producing little baby bulbs, called offsets, around their base.
- Gently Excavate: Once the foliage is fading, carefully dig around the parent bulb with your trowel. I like to dig a little wider than I think I need to, to avoid damaging any of the bulbs. Gently lift the entire clump out of the ground.
- Clean and Inspect: Gently brush off excess soil from the bulbs. You’ll likely see smaller bulbs attached to the main one.
- Separate the Offsets: This is the key step. Look for offsets that are of a reasonable size and have their own tiny bulbs and ideally, some nascent roots. If they are tightly attached, you might need to use your clean knife or shears to gently cut them away. The goal is to give each offset its own little space to thrive. Sometimes, they’ll pull apart quite easily with a little wiggle.
- Planting Time: Fill your small pots or trays with your well-draining potting mix. Plant each offset about 2-3 inches deep, ensuring the pointed end is facing upwards and the bulbous part is nestled in the soil. Give them a little space; don’t cram them too tightly together.
- Watering: Give them a gentle watering after planting to settle the soil.
The “Secret Sauce” (Pro Tips)
Here are a couple of things I’ve learned over the years that can really make a difference:
- Don’t Rush the Foliage: It’s so tempting to tidy up those yellowing leaves because they can look a bit messy. But resist! The leaves are still feeding the bulb underground. Let them finish their job naturally. Cutting them too early weakens the bulb and its ability to produce healthy offsets.
- Be Patient with Dormancy: After you’ve divided and replanted your offsets, they might go into a dormant period. This is perfectly normal. Don’t overwater them thinking they need constant moisture. Let the soil dry out between waterings. They’re getting used to their new home.
Aftercare & Troubleshooting
Once your new Ornithogalum bulbs are planted, place the pots in a bright, but not overly hot, location. Keep the soil evenly moist but not soggy. You want it to feel like a wrung-out sponge.
The most common issue you might encounter is rot. This usually happens if the soil is too wet or if the bulbs are planted too deep in poorly draining soil. If you see any bulbs that look mushy, brown, or smell off, remove them immediately to prevent it from spreading. Don’t panic if you don’t see much top growth right away; the energy is going into root development underground.
A Encouraging Closing
Propagating Ornithogalum oligophyllum is a wonderful way to multiply your garden’s beauty and share these little stars with friends. It’s a process that teaches patience and observation. So, grab your trowel, get your hands in the soil, and enjoy the rewarding journey of growing your own starry delights. Happy gardening!
Resource:
https://identify.plantnet.org/k-world-flora/species/Ornithogalum%20oligophyllum%20E.D.Clarke/data