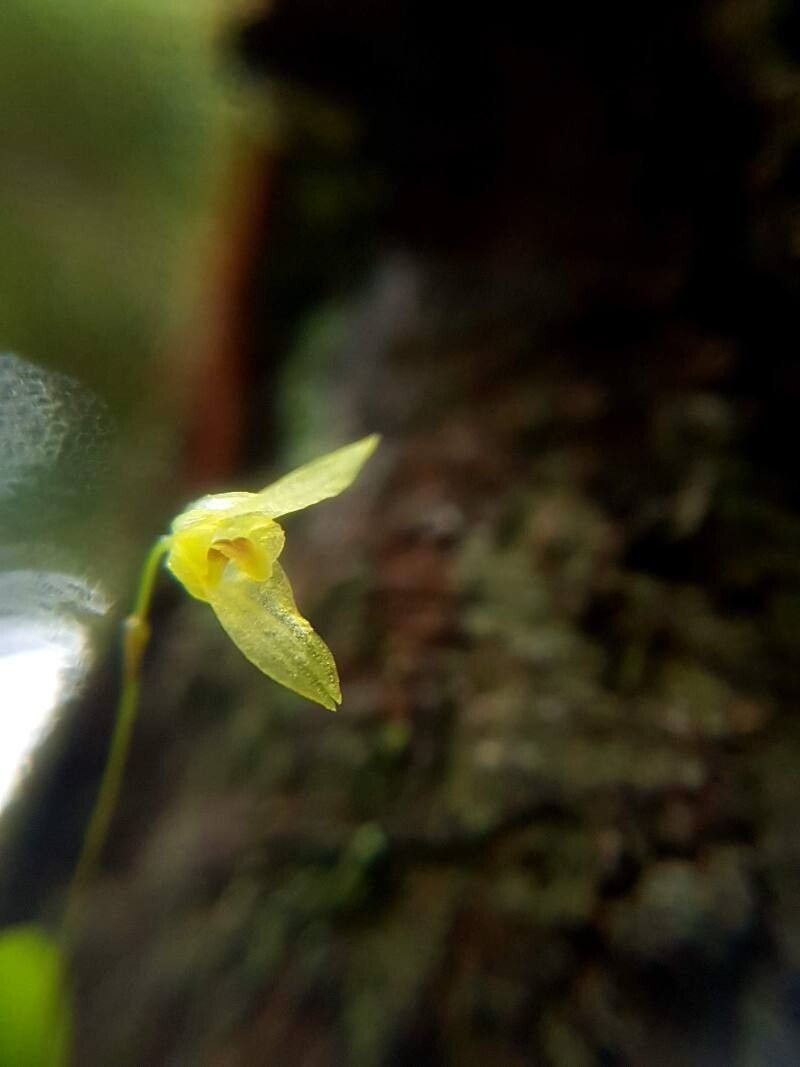
Hello fellow plant lovers! I’m so excited to chat with you today about a truly delightful little gem: Specklinia recula. If you’re looking for a touch of delicate charm in your indoor jungle, this miniature orchid is absolutely your answer. Its tiny, intricate blooms are like fairy dust for your windowsill. And the best part? Propagating them yourself is surprisingly achievable, and oh-so-rewarding. For newcomers to the orchid world, I’d say Specklinia recula falls into the “enjoyably challenging” category. It’s not as straightforward as a pothos cutting, but with a little care and attention, you’ll be well on your way to a whole new collection.
When to Grow Your Tiny Treasures
The sweet spot for propagating Specklinia recula, in my experience, is during its active growth period. This usually means late spring through early fall. You want to catch your plant when it’s feeling energetic and ready to put out new shoots and roots. Avoid propagating when the plant is in bloom or stressed, as it will have less energy to devote to the new cuttings.
Your Propagation Toolkit
Gathering your supplies is half the fun, right? Here’s what you’ll want to have on hand:
- Sharp, sterile pruning shears or a clean knife: For making precise cuts.
- Sphagnum moss: The magic ingredient for retaining moisture.
- Small pots or seedling trays: Orchid-specific ones with good drainage are ideal.
- Orchid potting mix: A well-draining blend, often containing bark, perlite, and charcoal.
- Rooting hormone (optional but helpful): Especially for divisions.
- Spray bottle: For misting.
- Plastic humidity dome or a clear plastic bag: To create a mini greenhouse.
- A well-lit location with bright, indirect light: Never direct sun for your babies.
Bringing New Life: Propagation Methods
Specklinia recula is most commonly and successfully propagated through division. It’s the most natural way to increase your plant population.
Division:
- Gently remove your Specklinia recula from its pot. If it’s snug, a little squeeze around the sides should loosen it.
- Carefully tease apart the root ball with your fingers. You’re looking for natural breaks where a division can be made. A healthy division should have at least two to three healthy pseudobulbs and a good amount of roots.
- If the roots are very tightly intertwined, you might need to use your sterile pruning shears or knife to make a clean cut. The key here is to be as gentle as possible.
- Inspect the divisions for any signs of rot or damage. Trim away any dead or mushy bits with your clean tool.
- Bury the cut end of each division into your prepared orchid potting mix in a small pot. Make sure the pseudobulbs are at the surface, or just barely covered.
- Water lightly to settle the mix.
The “Secret Sauce”: Insider Tips
Alright, lean in close for these little nuggets of wisdom I’ve picked up over the years.
- When you’re dividing, never be afraid to gently rinse off excess old potting mix. This gives you a much clearer view of the root structure, making it easier to find natural division points and spot any potential problems before they become issues.
- After potting your divisions, resist the urge to water them copiously. A light misting is all they need initially. The goal is to encourage the plant to seek out moisture rather than letting it sit in soggy conditions, which is a surefire way to invite rot.
- Consider a tiny bit of bottom heat. A gentle warming mat, set to a low temperature, can really encourage root development on your new divisions. It mimics the warm soil of their natural environment and gives them that extra boost.
Aftercare and What to Watch For
Once your Specklinia recula divisions are potted, it’s time to give them some TLC.
Place your newly potted divisions in bright, indirect light. A spot on an east-facing windowsill is often perfect.
Keep the potting medium consistently but lightly moist. Use your spray bottle to mist the surface regularly, and watch the potting medium. When it starts to feel just slightly dry to the touch, it’s time for another light misting.
Humidity is your friend. This is where that humidity dome or plastic bag comes in handy. It will create a humid microclimate that will help your new plants establish themselves without drying out. Lift the dome or bag for a few minutes each day to allow for air circulation and prevent fungal growth.
What if things go wrong? The most common culprit is rot. You’ll see signs like mushy, dark pseudobulbs or a breakdown of the roots. This usually indicates overwatering or poor air circulation. If you spot rot, you might need to trim away the affected parts with sterile tools and repot in fresh, drier mix. Don’t be discouraged if a cutting doesn’t make it; it’s all part of the learning process!
Happy Planting!
Watching a new Specklinia recula plant emerge from its division is such a special feeling. Be patient with your new charges. They might look a little sad for a week or two as they adjust, but give them consistent care, and you’ll soon see new growth. Enjoy the journey, connect with your plants, and remember, every experienced gardener started right where you are today. Happy propagating!
Resource:
https://identify.plantnet.org/k-world-flora/species/Specklinia%20recula%20(Luer)%20Luer/data