Hello there, fellow plant enthusiasts! I’ve been in the gardening game for two decades now, and let me tell you, there’s a special kind of joy that comes from coaxing new life from your favorite plants. Today, we’re diving into the fascinating world of Agathis ovata, often called the “Ovata Agathis” or “Kauri Grass Tree.”
Why Propagate Agathis ovata?
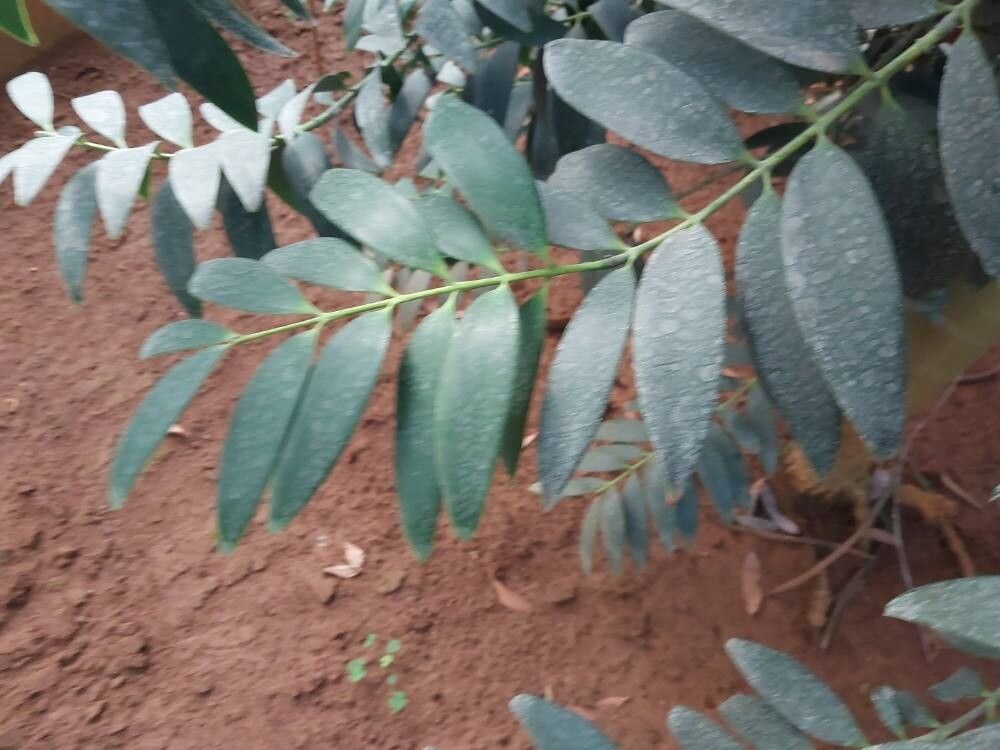
This Australian native is a real stunner. Its architectural form and beautiful, often silvery or blue-green foliage make it a standout in any garden or even as a striking indoor specimen. Propagating Agathis ovata is a wonderful way to share its unique beauty or simply to increase your own collection without breaking the bank. Now, for the honest truth: Agathis ovata can be a bit of a diva to propagate, so it might not be the absolute easiest for complete beginners, but with a little patience and the right approach, you can absolutely succeed!
The Best Time to Start
For the happiest cuttings and the best chance of root development, I always aim to propagate Agathis ovata in late spring or early summer. This is when the plant is actively growing, channeling energy into new shoots. Look for stems that are firm but not yet woody – what we call “semi-hardwood” cuttings. You’ll want to take these just after the main flush of spring growth has finished.
Supplies You’ll Need
You don’t need a whole lot of fancy gear to get started. Here’s what I recommend having on hand:
- Sharp, clean pruning shears or a sharp knife: A clean cut is crucial to prevent disease.
- Rooting hormone powder or gel: This isn’t strictly mandatory, but it really gives your cuttings a boost.
- A well-draining potting mix: I like a blend of perlite and peat moss or coco coir, often in a 1:1 ratio. This helps prevent waterlogging.
- Small pots or propagation trays: Make sure they have drainage holes!
- A clear plastic bag or propagation dome: To create a humid environment for your cuttings.
- Label stakes and a marker: So you don’t forget what you’ve planted what!
Propagation Methods
While Agathis ovata can be a tad fussy, stem cuttings are generally your best bet.
Stem Cuttings:
- Select your cuttings: Find healthy, non-flowering shoots that are about 4-6 inches long. Make your cut just below a leaf node (where a leaf joins the stem).
- Prepare the cuttings: Gently remove the lower leaves from the stem. You want to expose at least two to three leaf nodes. If the leaves themselves are large, you can carefully trim them in half to reduce water loss.
- Apply rooting hormone: Dip the cut end of the stem into your rooting hormone, tapping off any excess.
- Plant your cuttings: Fill your pots with your well-draining mix and moisten it slightly. Make a small hole in the center with your finger or a pencil and insert the cutting, ensuring the leaf nodes are below the surface. Gently firm the soil around the base.
- Water them in: Give the pots a gentle watering to settle the soil.
- Create humidity: Cover each pot with a clear plastic bag, securing it around the rim with a rubber band or tape. Alternatively, place the pots under a propagation dome.
The “Secret Sauce” (Pro Tips)
Here are a few little tricks I’ve learned over the years that can really make a difference with Agathis ovata:
- Don’t let the leaves touch the water: If you opt for water propagation (though I find cuttings are more successful), make sure the cut end is submerged but no leaves are in the water. Rot sets in quickly otherwise!
- Bottom heat is your friend: Placing your pots on a heated propagator mat can significantly speed up root formation. It mimics the warmth of spring soil and really encourages those roots to get going.
- Watch the condensation: Keep an eye on the inside of your plastic bag or dome. You want to see some condensation – that’s a good sign of humidity. However, if it’s dripping excessively, open the bag or dome for a few hours to let things air out and prevent fungal issues.
Aftercare & Troubleshooting
Once your cuttings are planted, give them a bright spot out of direct sunlight. Keep the soil consistently moist but not soggy. This is where that good drainage is vital!
You’ll know your cuttings are rooting when you see new growth appearing, or you can give a very gentle tug – if there’s resistance, you’ve got roots! This can take anywhere from 4-12 weeks, so patience is key.
The most common issue you’ll encounter is rot. This usually happens if the cuttings are kept too wet or in poor air circulation. If you see a cutting turning mushy and black, it’s best to discard it to prevent spreading to others.
A Wrap-Up
Propagating Agathis ovata might take a little extra care, but the reward of seeing those tiny roots emerge and new leaves unfurl is incredibly satisfying. Don’t get discouraged if your first attempts aren’t perfect. Every cutting is a learning experience! Enjoy the process, celebrate your successes, and soon you’ll have more of these beauties to share. Happy gardening!
Resource: