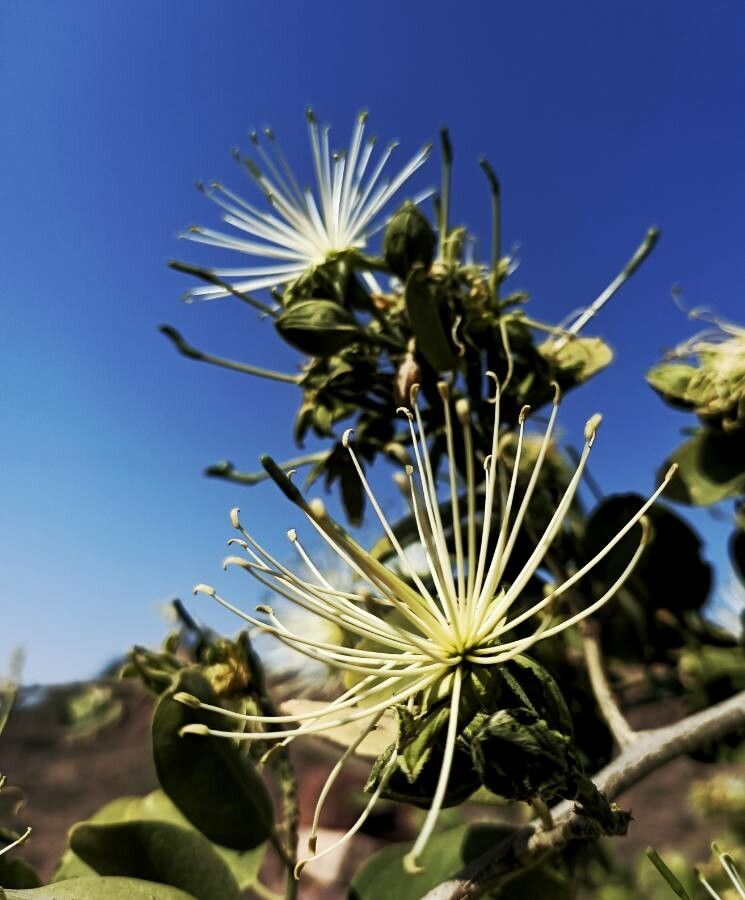
Alright, let’s dive into the wonderful world of propagating Maerua oblongifolia! I’ve grown to adore this plant over the years, and I think you will too. Its delicate white flowers are such a sweet surprise, and it’s incredibly rewarding to see a tiny cutting transform into a thriving new plant. If you’re new to propagating, don’t worry. Maerua oblongifolia can be a little finicky, but with a few key steps, you’ll be well on your way.
The Best Time to Start
For the absolute best chance of success, I always recommend propagating Maerua oblongifolia in late spring or early summer. This is when the plant is actively growing and has plenty of energy to put into root development. You’re looking for healthy, new growth on the parent plant. Avoid taking cuttings from woody, mature stems or from new shoots that are still very soft and floppy.
Supplies You’ll Need
Gathering your supplies beforehand makes the whole process smoother. Here’s what I keep on hand:
- Sharp Pruning Shears or a Clean Knife: For taking clean, precise cuttings.
- Rooting Hormone (Optional but Recommended): A powdered or gel form helps speed up root formation.
- Well-Draining Potting Mix: A blend of equal parts perlite, vermiculite, and seed-starting mix works beautifully. Avoid heavy garden soil!
- Small Pots or Seedling Trays: Clean, with drainage holes, of course.
- Plastic Bags or a Propagator Lid: To create a humid environment.
- Watering Can with a Fine Rose: For gentle watering.
- Labels and a Permanent Marker: So you don’t forget what you planted where!
Propagation Methods
Let’s get our hands dirty! I find stem cuttings to be the most reliable method for Maerua oblongifolia.
Stem Cuttings:
- Select Your Cuttings: Find a healthy branch on your Maerua oblongifolia. Look for stems that are semi-hardwood – they’ll snap cleanly with a slight bend but aren’t totally flexible. You want cuttings that are about 4-6 inches long.
- Make the Cut: Using your clean shears, make a clean cut just below a leaf node. This is the bump on the stem where a leaf grows. Roots tend to form most readily from these points.
- Prepare the Cuttings: Gently remove the lower leaves from the cutting, leaving just two or three at the very top. This prevents them from rotting in the soil. If your leaves are quite large, you can even cut them in half to reduce water loss.
- Apply Rooting Hormone: Dip the cut end of the stem into your rooting hormone, tapping off any excess.
- Plant Your Cuttings: Fill your small pots with your prepared potting mix. Make a hole in the center with your finger or a pencil, and gently insert the cutting. Firm the soil around it, making sure it’s snug.
- Water Gently: Water thoroughly until you see water draining from the bottom of the pot.
- Create Humidity: Place the potted cuttings inside a clear plastic bag or cover them with a propagator lid. This creates a mini-greenhouse effect, which is crucial for successful rooting. Make sure the leaves don’t touch the plastic.
- Place in a Warm, Bright Spot: Find a location that receives bright, indirect light. Avoid direct sun, which can scorch the tender cuttings.
The “Secret Sauce”
Here are a couple of tricks I’ve learned that can really boost your success with Maerua oblongifolia:
- Bottom Heat is Your Friend: If you have a propagation mat or a warm windowsill, providing gentle bottom heat can significantly speed up root formation. The warmth encourages cell activity in the cut stem. I’ve found it makes a noticeable difference, especially when propagating these more challenging plants.
- Don’t Over-Water: While humidity is key, soggy soil is the enemy of new cuttings. If the soil feels wet to the touch, hold off on watering. It’s better to err on the side of slightly dry than constantly waterlogged, which can lead to rot. Check the soil moisture by gently poking your finger in.
Aftercare & Troubleshooting
Patience is your greatest tool here! It can take several weeks, or even a couple of months, for your Maerua oblongifolia cuttings to develop roots.
- Checking for Roots: You’ll know they’ve rooted when you see new leaf growth appearing at the top, or when you gently tug on the cutting and feel a slight resistance. Don’t be tempted to pull them out to check too soon!
- Transplanting: Once your cuttings have a good root system, you can gradually acclimate them to lower humidity by opening the plastic bag a little more each day. Once they seem sturdy, you can transplant them into their own small pots with regular potting mix.
- Signs of Trouble: The most common problem is rot. If your cutting turns black and mushy, or if the leaves start to yellow and drop quickly without signs of new growth, it’s likely a sign of too much moisture or a fungal issue. Unfortunately, rotted cuttings usually can’t be saved.
Keep Growing!
Propagating plants can feel like a bit of magic, and with Maerua oblongifolia, it’s a particularly rewarding kind of magic. Don’t get discouraged if your first attempt isn’t a roaring success. Every plant is a learning opportunity. Enjoy the process, celebrate every bit of new growth, and soon you’ll have a little garden of your own Maerua oblongifolia creations! Happy propagating!
Resource:
https://identify.plantnet.org/k-world-flora/species/Maerua%20oblongifolia%20(Forssk.)%20A.Rich./data