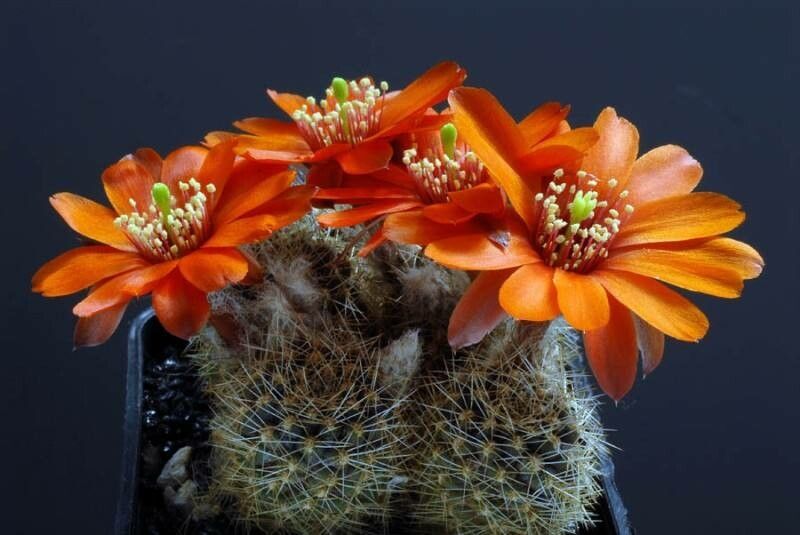
Hey there, fellow plant lovers! Today, we’re diving into the wonderful world of propagating Aylostera atrovirens. If you’re drawn to those delicate, almost architectural little cacti, you’re in for a treat. These gems are surprisingly rewarding to multiply, and it’s a fantastic way to build up your collection or share the green love with friends. And the good news? For beginners, this one is quite forgiving!
The Best Time to Start
Honestly, the sweet spot for propagating Aylostera atrovirens is really during their active growing season. Think late spring through summer. This is when the plant has plenty of energy to put into developing new roots. You’ll often see little offsets popping up naturally around this time, making it a perfect opportunity to get them started.
Supplies You’ll Need
To set yourself up for success, gather these handy bits and bobs:
- Well-draining potting mix: A cactus or succulent mix is ideal. You can also create your own with equal parts potting soil, perlite, and coarse sand.
- Clean, sharp pruning shears or a knife: For making clean cuts. Sterilize them with rubbing alcohol beforehand!
- Rooting hormone (optional but helpful): This can give your cuttings a little boost.
- Small pots or trays: Make sure they have drainage holes.
- Spray bottle: For gentle watering.
- Trowel or small spoon: For handling soil.
- Labels or markers: To keep track of what you’ve planted and when.
Propagation Methods
Here are a couple of my favorite ways to get more Aylostera atrovirens growing:
1. Offsets (The Easiest Way!)
Your Aylostera atrovirens will likely produce little baby plants, called offsets, around its base.
- Gently remove the parent plant from its pot.
- Inspect the base for any offsets that have their own tiny roots.
- Using your clean knife or pruners, carefully sever the offset from the main plant where it connects.
- Allow the cut end of the offset to callus over for a day or two in a dry, shaded spot. This prevents rot.
- Once callused, plant the offset in its own small pot filled with your well-draining mix. Water lightly.
2. Stem Cuttings (When Offsets Aren’t Abundant)
Sometimes you need to take stem cuttings, especially if the plant is larger.
- Choose a healthy, mature stem that’s at least a few inches long.
- Using your sterilized pruners, make a clean cut just below a joint or node.
- Remove any lower leaves from the cutting, leaving a few at the top.
- Just like with offsets, you’ll want to let the cut end dry and callus for 2-3 days in a bright, dry location.
- Once callused, you have two options:
- Direct Planting: Stick the callused end about an inch into your potting mix.
- Water Propagation: Place the callused end in a small glass of water. Crucially, make sure no leaves are submerged in the water. Change the water every few days.
The “Secret Sauce” (Pro Tips)
Here are a few of my little tricks that tend to work wonders:
- Don’t rush the callus: This step is non-negotiable for preventing rot, especially in humid conditions. Patience here pays off big time.
- Bottom heat is your friend: If you’re trying to speed things up, especially with stem cuttings, placing your pots on a gentle heating mat can significantly encourage root development. It mimics the warmth of spring nicely.
- Embrace the shrivel: When propagating in water, don’t be alarmed if the cutting looks a little shriveled before roots appear. it’s often just the plant using its stored energy.
Aftercare & Troubleshooting
Once you see those precious tiny roots appearing (or if you’ve planted an offset with existing roots), you’re in the home stretch!
- Watering: Water sparingly for the first few weeks. The goal is to keep the soil lightly moist, not soggy. Overwatering is the quickest way to invite rot. Let the soil surface dry out between waterings.
- Light: Provide bright, indirect light. Avoid harsh, direct sun, which can scorch delicate new growth.
- Troubleshooting Rot: If you notice your cutting turning mushy or black, that’s a sign of rot. Immediately remove it. If it’s a stem cutting, you might be able to salvage a healthy section higher up by re-cutting and letting it callus again. For potted offsets, allow the rot to dry out a bit and try repotting if the issue isn’t too severe.
Taking cuttings and watching them flourish into new plants is one of the most satisfying parts of this hobby. Be patient with the process – nature has its own rhythm. Enjoy the journey, and happy propagating!
Resource: