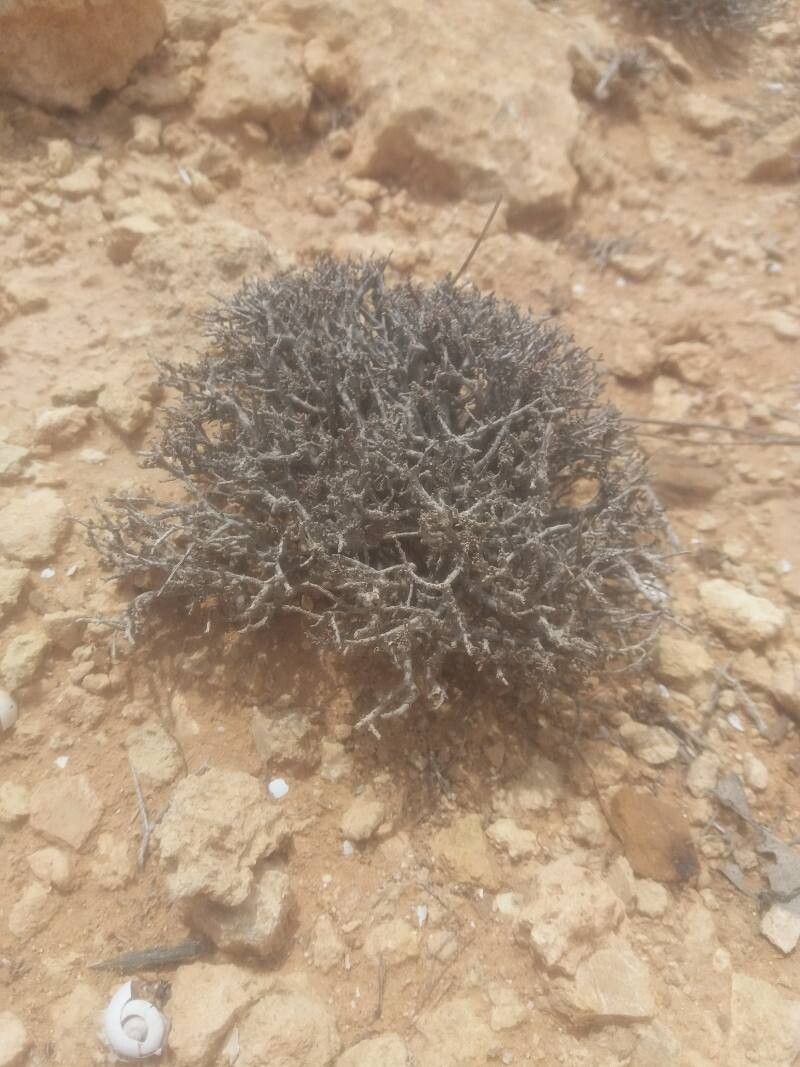
Hello, fellow plant lovers! I’m so excited to talk to you today about a truly special plant: Echiochilon fruticosum. If you’ve ever seen this shrub gracing a garden with its delicate, bell-shaped flowers and wonderfully fuzzy foliage, you know exactly why it’s so captivating. It has this subtly elegant charm that just draws you in. And the best part? You can absolutely fill your garden or pots with more of these beauties by propagating them yourself! For those of you just dipping your toes into the world of plant propagation, I’d say Echiochilon fruticosum is a moderately easy plant to work with. It requires a little bit of attention to detail, but the rewards are so worth it.
The Best Time to Start
When it comes to getting the most bang for your propagation buck, I’ve found that the late spring to early summer is your sweet spot. This is when the plant is actively growing and has plenty of youthful energy to dedicate to developing new roots. You’ll want to select stems that are neither brand new and soft nor old and woody. Think of them as being in that “just right” stage – flexible but firm.
Supplies You’ll Need
Before we get our hands dirty, let’s gather our tools:
- Sharp Pruning Shears or a Craft Knife: Cleanliness is key here to prevent disease.
- Rooting Hormone (Optional but Recommended): A little boost never hurt! Look for one suitable for semi-hardwood cuttings.
- Small Pots or Seed Trays: With good drainage is crucial.
- A Well-Draining Potting Mix: I often use a blend of equal parts seed-starting mix and perlite for excellent aeration and moisture retention.
- Clear Plastic Bags or a Propagation Dome: To maintain humidity.
- Watering Can with a Fine Rose: For gentle watering.
- Labels and a Permanent Marker: To keep track of your projects!
Propagation Methods: My Favorite Approach
For Echiochilon fruticosum, stem cuttings are my go-to method. It’s reliable and gives you the best chance of success. Here’s how I do it:
- Take Your Cuttings: On a bright morning, select healthy, current-year stems. Using your clean shears, cut lengths of about 4-6 inches. Make a clean, angled cut just below a leaf node (where a leaf attaches to the stem). This is where the magic happens for root development.
- Prepare the Cuttings: Gently remove the leaves from the bottom half of each cutting. You want at least two to three leaf nodes exposed to the rooting medium. If the remaining leaves are very large, you can even trim them in half to reduce water loss.
- Apply Rooting Hormone: Dip the cut end of each stem into your rooting hormone. Tap off any excess.
- Plant Your Cuttings: Fill your pots with the prepared potting mix. Make a small hole with a pencil or your finger to avoid rubbing off the rooting hormone. Insert the cuttings about 1-2 inches deep, ensuring the leaf nodes are covered by the soil. Gently firm the soil around the base of each cutting.
- Water and Cover: Water the soil thoroughly until it’s evenly moist but not waterlogged. Then, cover the pots with a clear plastic bag or place them under a propagation dome. This creates a mini-greenhouse effect, keeping the humidity high, which is essential for cuttings.
The “Secret Sauce” (Pro Tips)
Now, for a couple of little tricks I’ve picked up over the years that really give your cuttings an edge:
- The “Dirty Pot” Trick: Don’t wash your pots squeaky clean! A little bit of natural soil microbes from previous uses can actually be beneficial and help prevent fungal issues. Just make sure there are no signs of disease.
- Bottom Heat is Your Friend: If you can, place your pots on a gentle heat mat. This slightly warmed soil encourages root development much faster than ambient room temperature alone. It’s like giving your cuttings a cozy warm bed to grow from.
- Don’t Overwater, Don’t Underwater: This is the golden rule of propagation. You want the soil to be consistently moist but never soggy. If you poke your finger into the soil and it feels dry, it’s time for a gentle watering. If it feels wet and squishy, you’ve watered too much.
Aftercare & Troubleshooting
Once your cuttings have settled in, place them in a bright spot out of direct sunlight. Continue to mist occasionally and check the soil moisture. You’ll know your cuttings are rooting when you see new leaf growth or feel a gentle resistance when you try to tug on them (don’t pull too hard, though!). This usually takes anywhere from 4 to 8 weeks, sometimes longer.
The most common issue you might encounter is rot. This is usually a sign of too much moisture and not enough air circulation. If you see mushy, black stems, or mold on the soil, it’s time to remove the affected cuttings and dry out the remaining ones. If all else fails, don’t be discouraged! Sometimes cuttings just don’t take, and that’s perfectly normal.
A Little Patience Goes a Long Way
Propagating plants is a journey, and it’s one I encourage you to embrace with patience and a sense of wonder. Watching a tiny cutting transform into a new, thriving plant is one of the most rewarding feelings in gardening. So, give Echiochilon fruticosum a try, enjoy the process, and soon you’ll have a whole collection of your own! Happy gardening!
Resource:
https://identify.plantnet.org/k-world-flora/species/Echiochilon%20fruticosum%20Desf./data