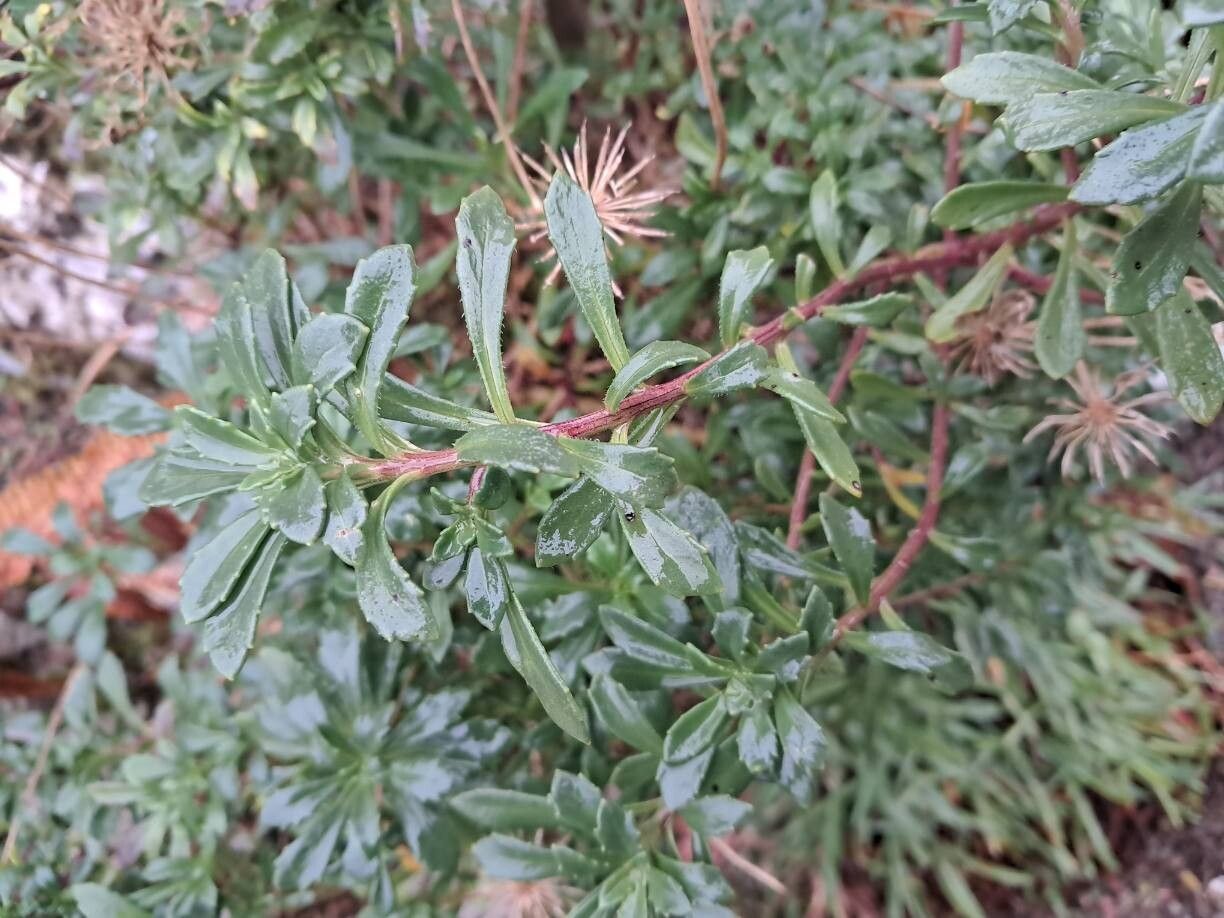
Oh, hello there, fellow garden enthusiast! It’s so lovely to chat with you today. We’re going to delve into the world of Iberis procumbens, often called creeping candytuft. If you haven’t met this little charmer yet, imagine a carpet of delicate, snow-white flowers cascading over walls, spilling out of pots, or blanketing a sunny spot in your garden. It’s simply ethereal!
Propagating Iberis procumbens is a truly rewarding endeavor. It’s not just about getting more plants (though that’s fantastic, isn’t it?); it’s about understanding the life cycle, nurturing something from just a tiny piece, and filling your garden with that signature pure white bloom. For beginners, I’d say Iberis procumbens is moderately easy to propagate. With a little care and the right approach, you’ll be well on your way to success.
The Best Time to Start
For the absolute highest success rate, I always reach for my pruning shears in late spring to early summer. This is when the plant is actively growing, and the stems are still somewhat soft and pliable, making them ideal for rooting. Waiting until after the main flush of flowering often means you’re working with mature, tougher stems, which can be a bit more challenging.
Supplies You’ll Need
Before we get our hands dirty, let’s gather our tools. Having everything ready makes the process so much smoother!
- Sharp pruning shears or a clean knife: For making precise cuts. Disinfect them with rubbing alcohol first!
- Rooting hormone powder or gel: This is optional but can give your cuttings a significant boost.
- Small pots or seed trays: Clean ones, of course, to prevent any nasties.
- Well-draining potting mix: I like a blend of equal parts peat moss, perlite, and a little bit of potting soil. This keeps things light and airy for the roots.
- Watering can with a fine rose: To water gently without disturbing your new cuttings.
- Plastic bags or a propagation dome: To create a humid environment.
Propagation Methods
We’ll focus on the most reliable method for Iberis procumbens: stem cuttings.
- Take Your Cuttings: Gently select healthy, non-flowering stems. Look for stems that are about 4-6 inches long. Using your clean shears or knife, make a clean cut just below a leaf node (that little bump where a leaf attaches to the stem). Remove the lower leaves from the stem, leaving just a few at the top.
- Apply Rooting Hormone (Optional): Dip the cut end of each stem into your rooting hormone. Gently tap off any excess.
- Plant Your Cuttings: Fill your small pots or trays with your prepared potting mix. Make a small hole in the soil with your finger or a pencil. Insert the cut end of the stem into the hole, making sure the leaf nodes are covered by the soil. Gently firm the soil around the base of the cutting. Plant several cuttings in each pot or tray; you won’t get 100% success, so it’s good to have backups!
- Water and Cover: Water the cuttings gently but thoroughly. You want the soil to be moist, not waterlogged. To create a humid microclimate, cover the pots with a plastic bag or place them under a propagation dome. Make sure the plastic doesn’t touch the leaves. If you’re using bags, you might need to prop them up with a few small stakes.
The “Secret Sauce” (Pro Tips)
Here are a few little tricks I’ve learned over the years that can really make a difference:
- Discard the First Couple of Leaves: When you’re preparing your cuttings, I always tell people to remove the very lowest leaves. Sometimes, if those leaves touch the soil or sit in stagnant water, they can encourage rot before roots even form.
- Bottom Heat is a Game Changer: If you really want to speed things up and encourage root development, place your pots on a seedling heat mat. Iberis loves a bit of warmth from below, and it can significantly reduce the time it takes for roots to appear. It mimics that lovely spring soil temperature.
- Don’t Be Afraid to Take More Than You Think You Need: Honestly, some cuttings will just vanish into thin air (or rather, refuse to form roots!). Having a surplus means you’ll have plenty of healthy new plants to share or fill even more spaces in your garden.
Aftercare & Troubleshooting
Once you’ve potted up your cuttings, place them in a bright spot but out of direct, scorching sunlight. Keep the soil consistently moist, but not soggy. You can gently pull on a cutting after about 3-4 weeks. If you feel resistance, it means roots have formed!
Now, the common culprits for failure are usually overwatering leading to rot, or drying out completely. If the leaves start to turn yellow and droop, it could be too much water. If they shrivel and turn brown, it’s likely too dry. Sometimes, a cutting will just refuse to root, and that’s okay! Don’t get discouraged; just try again. Once your cuttings have a good root system, you can carefully transplant them into individual pots and continue to grow them in their new homes.
A Encouraging Closing
Gardening is all about patience and observation, isn’t it? So be patient with your little Iberis cuttings. Watch them closely, provide them with love and the right conditions, and before you know it, you’ll have a delightful display of pure white blooms to enjoy. Happy propagating, and may your gardens overflow with beauty!
Resource:
https://identify.plantnet.org/k-world-flora/species/Iberis%20procumbens%20Lange/data