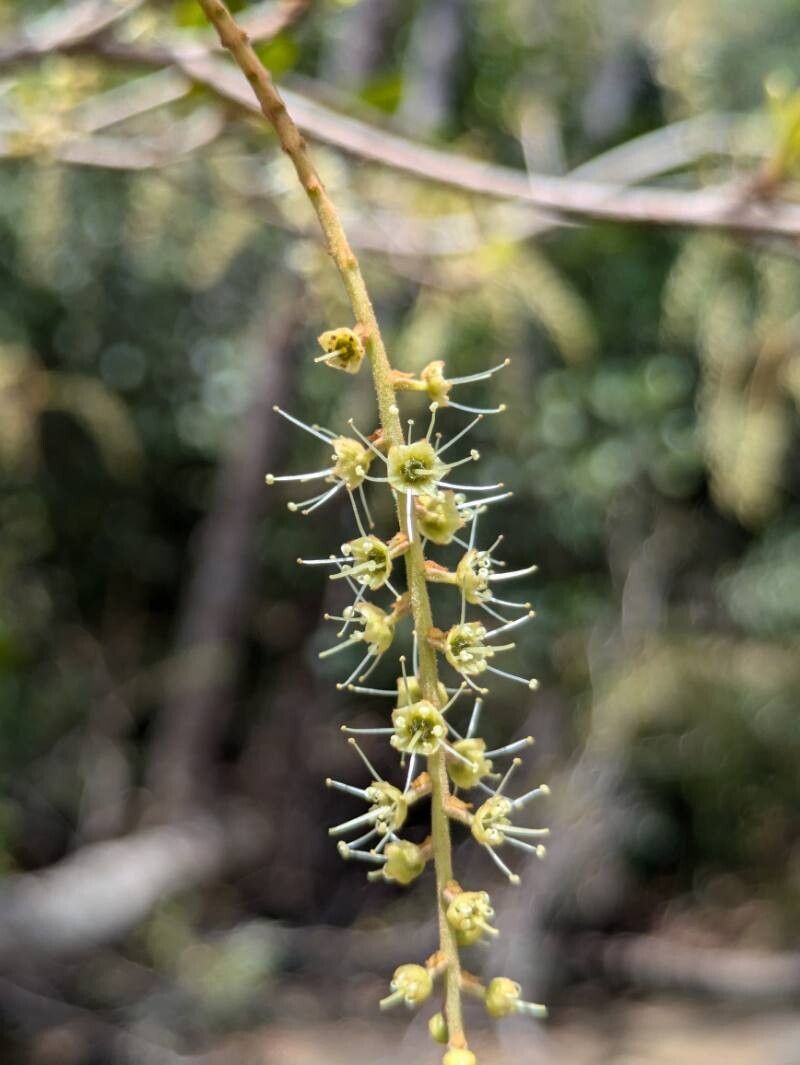
Oh, hello there! Pull up a chair, and let’s chat about a truly special tree: Terminalia lucida. I’ve been growing and adoring this one for years, and it’s always a joy to share its beauty. Its graceful, often pendulous branches and lovely, glossy leaves make it a standout in any garden. Plus, there’s something incredibly satisfying about coaxing a new life from a parent plant. If you’re new to propagating, the Terminalia lucida can be a little bit of a slow starter, but with a bit of patience, you’ll find it quite manageable.
The Best Time to Start
When it comes to our Terminalia lucida, the sweet spot for propagation is during its active growing season. Think late spring through summer. This is when the plant is putting on its best growth, and the stems have plenty of energy to draw from. You’ll want to select nice, healthy shoots that are neither too soft and new nor too woody. A slightly firm, semi-hardwood state is usually ideal.
Supplies You’ll Need
Here’s what I always have on hand when I’m getting ready to propagate:
- Sharp Pruning Shears or a Clean Knife: For making clean cuts. Trust me, a dull tool is your enemy here!
- Rooting Hormone: Especially helpful for Terminalia lucida. I prefer a powder one.
- Well-Draining Potting Mix: A good blend is crucial. I often use a mix of peat moss, perlite, and a bit of coarse sand. For Terminalia, something lightweight is key – we don’t want soggy roots.
- Small Pots or Propagation Trays: Clean, with drainage holes, of course.
- Clear Plastic Bags or a Propagator Dome: To create a humid environment.
- Water: For misting and, if you go that route, for initial rooting.
- Labels and a Marker: So you don’t forget what you’ve planted!
Propagation Methods
We’ll focus on the most reliable methods for Terminalia lucida.
Stem Cuttings
This is my go-to method.
- Take Your Cuttings: On a bright morning, select healthy stems that are about pencil-thick and at least 6-8 inches long. Make a clean cut just below a leaf node (where a leaf attaches to the stem).
- Prepare the Cuttings: Remove the leaves from the bottom two-thirds of the stem. Be generous here; too many leaves will drain energy. You can leave a few of the top leaves, but if they are very large, I often cut them in half, which reduces water loss.
- Apply Rooting Hormone: Dip the cut end of the stem into rooting hormone, tapping off any excess.
- Pot Them Up: Fill your small pots with the well-draining potting mix. Make a hole with your finger or a pencil and gently insert the cut end of the Terminalia cutting. Firm the soil gently around the stem.
- Water and Cover: Water the soil thoroughly until it drains from the bottom. Then, cover the pot with a clear plastic bag or place it under a propagator dome. Make sure the plastic doesn’t touch the leaves if possible.
Water Propagation (with a caveat)
While you can try rooting Terminalia lucida in water, it’s not always my first choice for this particular plant because it can be prone to rot if the water isn’t changed frequently. If you do try this:
- Prepare Your Cuttings: Follow steps 1 and 2 above.
- Place in Water: Put the cuttings in a clean jar or vase filled with clean water. Ensure that no leaves are submerged.
- Keep it Clean: Change the water every 2-3 days. This is non-negotiable to prevent fungal issues.
- Watch for Roots: Roots should start to appear within a few weeks. Once they are about an inch long, it’s time to carefully transplant them into potting mix.
The “Secret Sauce”
Here are a couple of things I’ve learned over the years that make a real difference:
- Bottom Heat is Your Friend: Terminalia lucida absolutely loves a little warmth from below. If you have a seedling heat mat, place your pots on it. This encourages root development much faster than just ambient temperature. You don’t need it scorching hot, just consistently warm.
- Don’t Be Too Eager to Uncover: That humid environment you created with the plastic bag or dome is vital. Keep it covered until you see clear signs of new growth – tiny new leaves unfurling or a change in leaf color indicating it’s happy. Removing the cover too soon is a common mistake.
Aftercare & Troubleshooting
Once you see those first brave roots pushing their way out, it’s time for gentle care.
- Gradual Acclimation: As soon as you see good new growth, start gradually introducing your new plants to less humid conditions. Open the plastic bag a little more each day for a week or so.
- Watering: Water when the top inch of soil feels dry. Avoid waterlogging at all costs.
- Light: Place your new cuttings in bright, indirect light. Direct sun can scorch those delicate new leaves.
- Troubleshooting Rot: The most common issue is rot, which usually shows up as blackening, wilting, or a mushy stem. If you see this, all is likely lost with that particular cutting. It’s usually a sign of too much moisture and not enough air circulation. Always use sterile tools and clean pots to minimize this risk. If you’re propagating in water, a sudden darkening or slimy feel to the stem is a clear warning.
A Little Patience Goes a Long Way
There you have it! Propagating Terminalia lucida is a rewarding endeavor. Don’t be discouraged if not every cutting takes. Gardening is a journey of learning, and each attempt teaches you something new. Enjoy the process, watch those tiny roots develop, and soon you’ll have another beautiful Terminalia lucida to nurture and admire. Happy growing!
Resource: