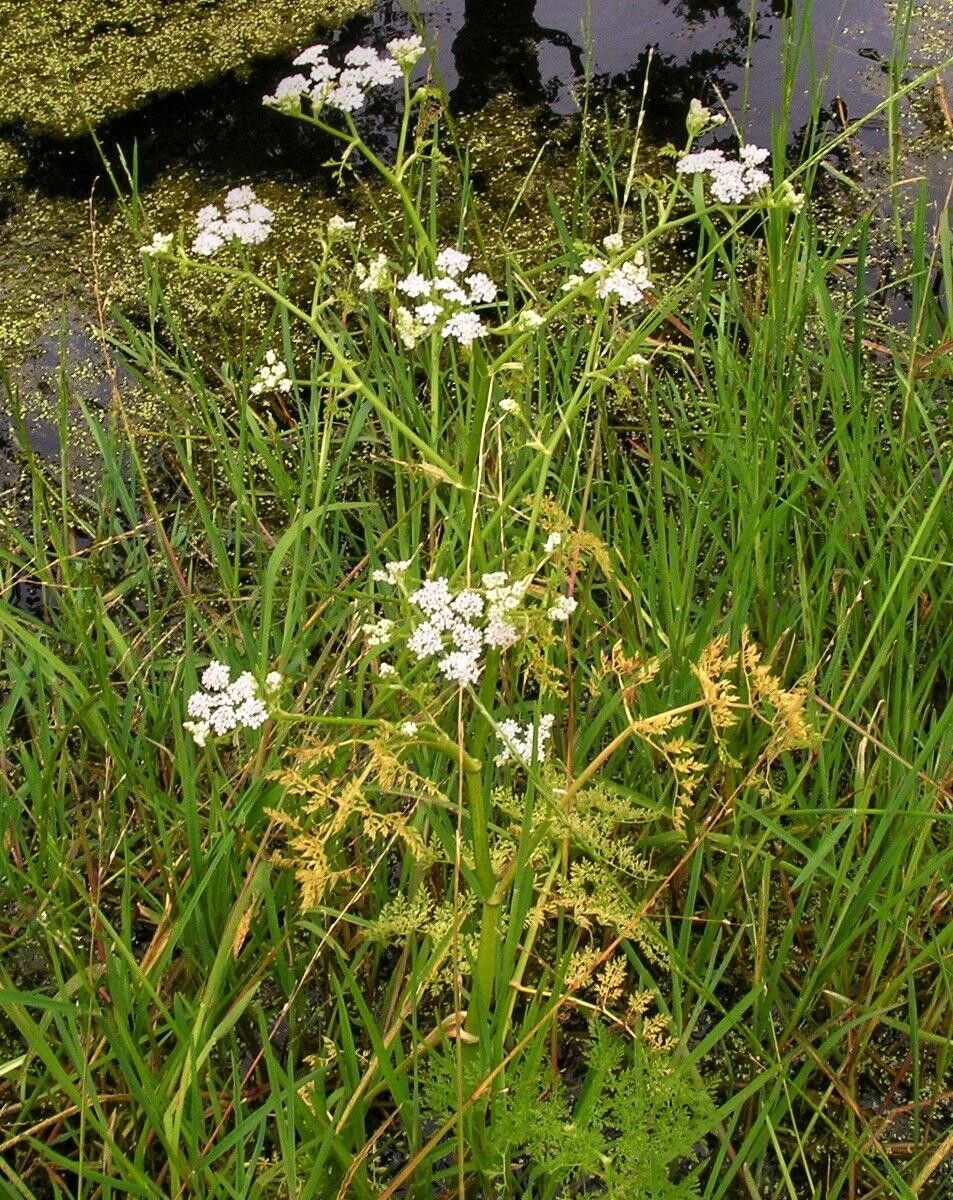
Oh, Oenanthe aquatica! What a fascinating plant to bring into your garden! Also known as Hemlock Water Parsley, this aquatic beauty offers delicate, fern-like foliage that dances gracefully in the water. It’s the kind of plant that adds a touch of wild elegance to any pond or water feature, creating a serene, naturalistic feel. Propagating it yourself is incredibly rewarding. You get to witness new life emerge, and honestly, it’s a wonderful way to share its charm with fellow garden enthusiasts.
For beginners, I’d say Oenanthe aquatica is moderately easy. It’s not as fuss-free as some succulents, but with a little attention to its specific needs, you’ll be successful.
The Best Time to Start
The sweet spot for propagating Oenanthe aquatica is definitely late spring to early summer. This is when the plant is actively growing and has plenty of energy to put into rooting new cuttings. You’re looking for healthy, new growth that’s not too woody.
Supplies You’ll Need
- Sharp Pruning Shears or a Knife: Cleanliness is key to prevent disease.
- Rooting Hormone (Optional): While not always necessary for Oenanthe aquatica, it can give cuttings an extra boost.
- Potting Mix: A well-draining mix is crucial. I often use a blend of coarse sand, peat moss, and perlite, or a specific aquatic plant soil.
- Small Pots or Trays: For starting cuttings.
- Watering Can or Spray Bottle: For gentle watering.
- A Pond or Large Container of Water: If you’re choosing water propagation.
Propagation Methods
There are a couple of tried-and-true ways to multiply your Oenanthe aquatica.
Stem Cuttings
This is my go-to method for this plant.
- Select healthy stems from your mature plant. Look for ones that are about 4-6 inches long and have a few sets of leaves.
- Make a clean cut just below a leaf node (where a leaf attaches to the stem). This is where the magic happens for root formation.
- Remove the lower leaves. You want to keep the top few leaves, but strip off any leaves that will be below the soil line or waterline.
- (Optional) Dip the cut end in rooting hormone. A light dusting is usually enough.
- Plant the cuttings. You can either plant them directly into small pots filled with your well-draining potting mix, burying the stem up to the first set of remaining leaves, or place them in water.
Water Propagation
This method is simple and visually satisfying.
- Follow steps 1-3 from the stem cuttings method.
- Place the cuttings in a jar or vase of clean water. Make sure no leaves are submerged; they’ll rot if they are.
- Position the container in bright, indirect light.
- Change the water every few days to keep it fresh and oxygenated. You’ll start to see delicate white roots emerging from the nodes. Once the roots are about an inch long, you can transplant them into soil or back into your pond.
The “Secret Sauce” (Pro Tips)
- Don’t overcrowd your cuttings! Whether in soil or water, give each cutting a little space. This allows for good air circulation, which is vital for preventing rot, especially with water-loving plants.
- Bottom heat is your friend. If you’re starting cuttings in soil and want to speed things up, placing the pots on a heated propagator mat can make a big difference. It encourages root development from below.
- Patience with the water method. Sometimes, the roots seem to take their sweet time appearing. Don’t give up! As long as the stem looks healthy and the water is fresh, they will eventually show up.
Aftercare & Troubleshooting
Once your cuttings have established a good root system (you’ll see new growth appearing, or the roots will be substantial), it’s time to treat them like young plants.
If you rooted them in water, gently transplant them into small pots filled with your aquatic-specific soil mix. Water them thoroughly. If you started them in soil, continue to keep the soil consistently moist but not waterlogged.
The most common issue you might encounter is rot. This usually happens because the cuttings are sitting in stagnant water or the soil is too wet and lacks air. If you see stems turning mushy or black, it’s usually a sign of rot. Remove the affected cutting immediately and try to improve the conditions for the remaining ones. Sometimes, if a cutting is very droopy, it’s just stressed from the transplanting process. Keep it consistently moist and out of direct, harsh sun for a few days, and it should perk up.
A Encouraging Closing
Propagating plants is all about observation and a little bit of faith in nature. Be patient with your Oenanthe aquatica cuttings. Watch for those tiny signs of success, and enjoy the incredibly satisfying journey of growing your own beautiful aquatic plants. Happy gardening!
Resource:
https://identify.plantnet.org/k-world-flora/species/Oenanthe%20aquatica%20(L.)%20Poir./data