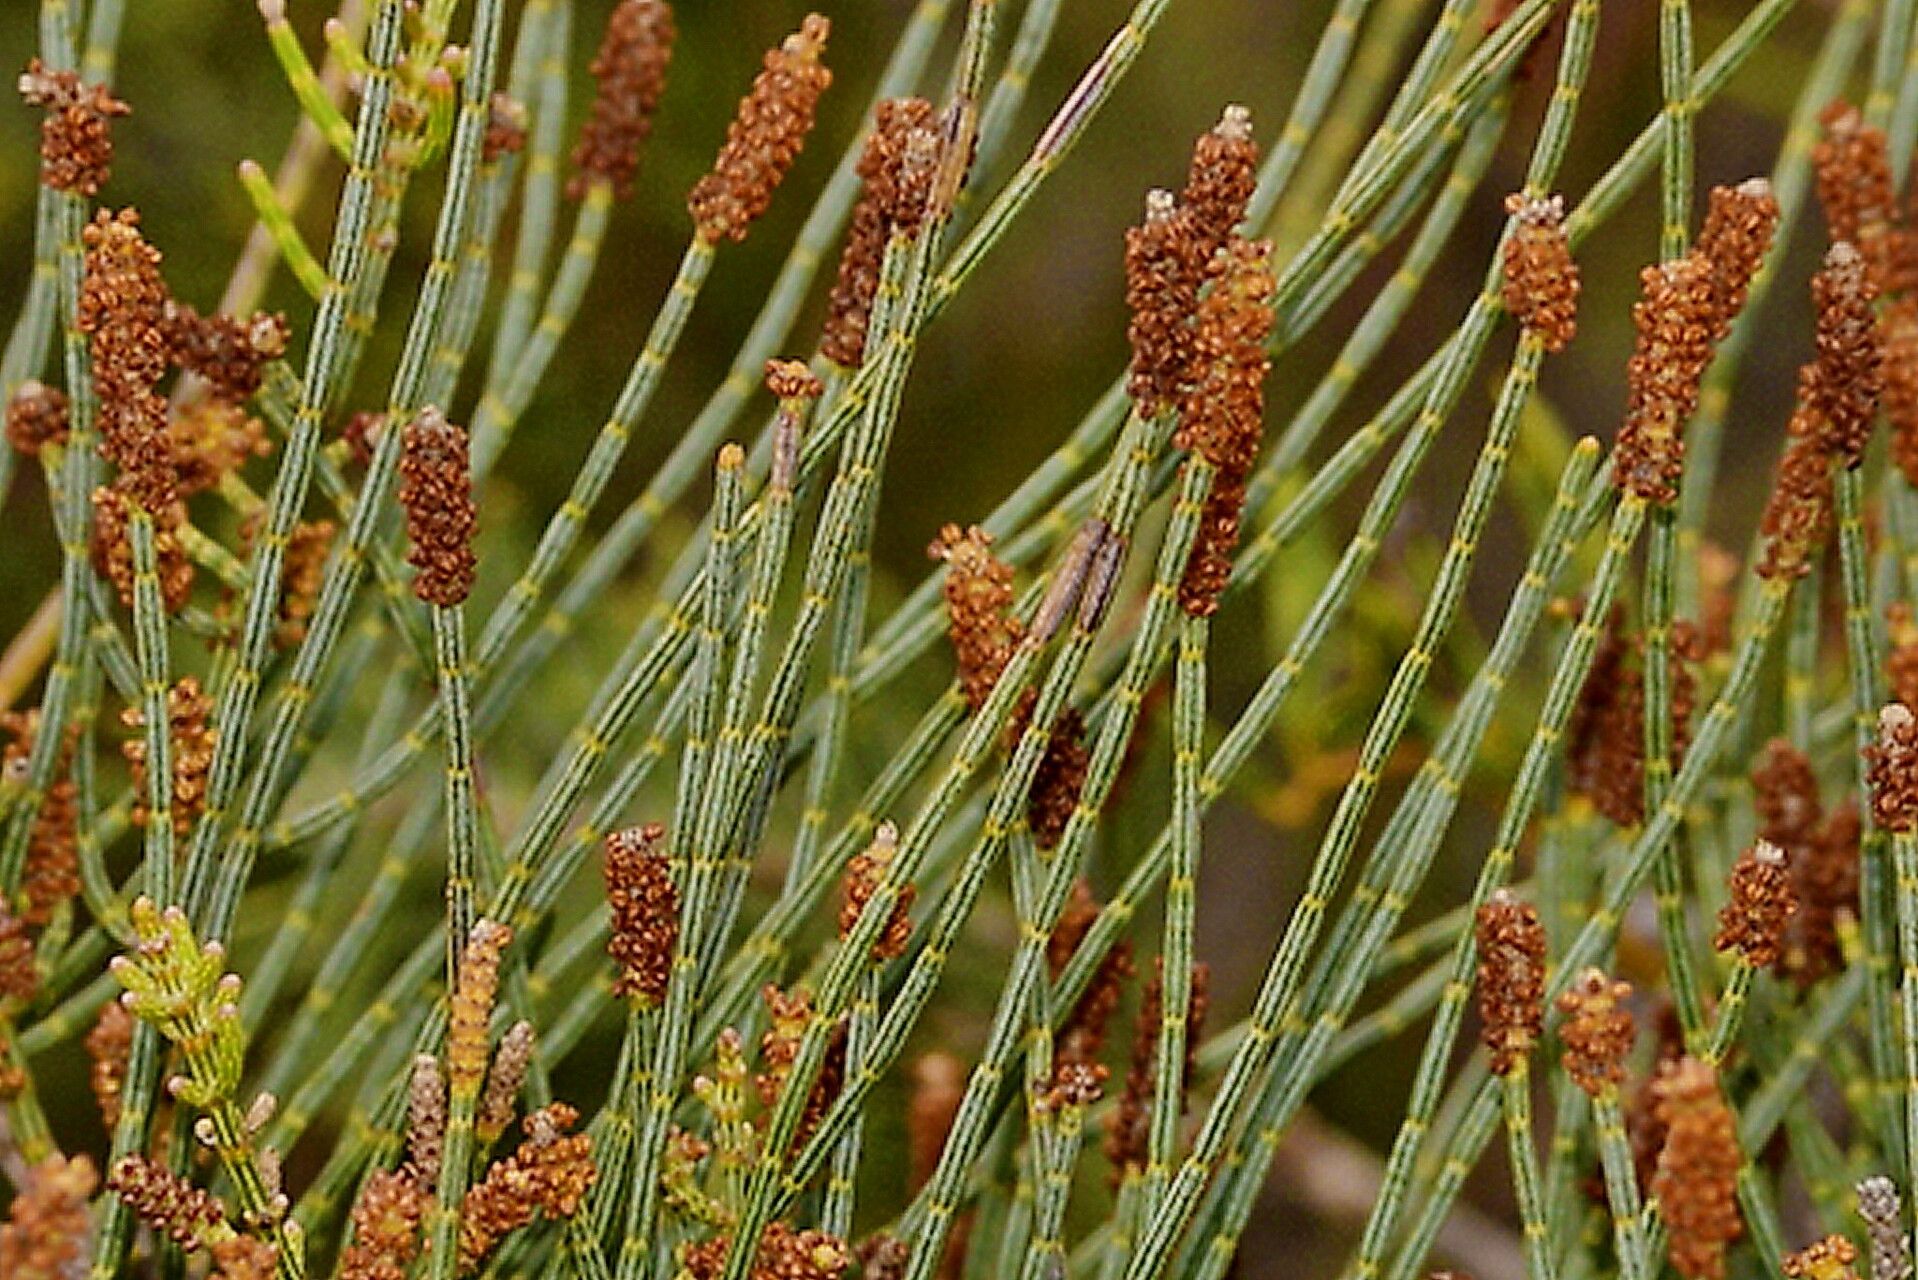
Hello there, fellow plant enthusiasts! If you’ve ever admired the unique, almost fern-like foliage of Allocasuarina humilis, you know it brings a special kind of charm to any garden. This lovely native Australian is often referred to as the Dwarf She-oak, and its wispy, graceful branches have a way of catching the light and softening hard landscapes. Propagating it yourself is such a rewarding experience, like giving the gift of life to new plants that you can then share or simply enjoy more of.
Now, is Allocasuarina humilis a walk in the park for a complete beginner? Honestly, it’s a moderately challenging plant to propagate. It requires a bit of finesse and understanding of its needs, but with a little patience and the right approach, you can absolutely achieve success. Don’t be put off by that – think of it as a delightful new skill to master!
The Best Time to Start
For Allocasuarina humilis, the sweet spot for propagation is generally late spring through early summer. This is when the plant is actively growing, making it more receptive to taking root. You want to work with semi-hardwood cuttings – that means the stems are starting to firm up but are still flexible. Avoid taking cuttings from brand new, soft growth or from old, woody stems.
Supplies You’ll Need
Gathering your supplies beforehand makes the whole process smoother. Here’s what I usually have on hand:
- Sharp Pruning Shears or Secateurs: Clean and sharp is key to making clean cuts that heal well.
- Rooting Hormone Powder or Gel: This isn’t strictly essential for every plant, but for Allocasuarina humilis, it gives you a significant edge.
- Well-Draining Potting Mix: A blend of 50% perlite and 50% peat moss or coco coir works wonders. You can also find specialized seedling or cutting mixes.
- Small Pots or Seedling Trays: Clean pots are important to prevent disease.
- Clear Plastic Bag or Propagator Lid: To create a humid microclimate.
- Sharp Knife or Scalpel: For taking precise cuttings and preparing them.
- Watering Can with a Fine Rose: To water gently without disturbing the cuttings.
Propagation Methods: Stem Cuttings
This is my go-to method for Allocasuarina humilis. It’s reliable and gives you a good number of new plants from a single parent.
- Take Your Cuttings: On a mild day in late spring or early summer, select healthy, vigorous stems from your parent plant. Using your sharp secateurs, cut lengths of stem about 10-15 cm (4-6 inches) long. Make the cut just below a leaf node (where a leaf attaches to the stem).
- Prepare the Cuttings: Gently remove the lower leaves from the cutting. You only want to leave a few leaves at the top. Using your sharp knife or scalpel, you can optionally make a small slit on one side of the bottom few centimeters of the stem – some say this encourages root formation.
- Apply Rooting Hormone: Dip the cut end of each stem into your rooting hormone, tapping off any excess.
- Pot Them Up: Fill your clean pots or trays with your well-draining potting mix. Make holes in the soil with a pencil or your finger, large enough to insert the cuttings without rubbing off the rooting hormone. Carefully place each cutting into a hole, ensuring the leaf nodes are buried. Gently firm the soil around the base.
- Create Humidity: Water the soil gently. Then, cover the pots with a clear plastic bag or place them in a propagator. If using a bag, you might need to insert a few stakes to keep it from touching the leaves.
The “Secret Sauce” (Pro Tips)
Here are a couple of things I’ve learned over the years that really make a difference:
- Bottom Heat is Your Friend: While not strictly essential, placing your potted cuttings on a heated propagator mat when you’re first starting out can dramatically speed up root development. It mimics the warmth of spring soil and gives those roots a real boost. Keep an eye on the soil temperature – you want it warm, not hot.
- Patience with the Leaves: If you’re trying a water propagation method (which I find less successful for this particular plant but some try), never, ever let the leaves touch the water. They will rot quickly and take the cutting with them. Stick to woody stems if you go this route, but cuttings in soil are generally more robust.
Aftercare & Troubleshooting
Once your cuttings are potted, find them a spot with bright, indirect light. Avoid harsh direct sun, as it can scorch those tender new leaves and overheat the plastic cover. Keep the soil consistently moist, but not waterlogged. You’ll want to lift the plastic cover every few days to allow for air circulation and check on your cuttings.
You’ll know they’re rooting when you see new growth appearing, or when they feel a bit resistant when you gently tug on them. This can take anywhere from 4 to 10 weeks, or sometimes longer!
If you notice mould growing on the stem or leaves, or if the cuttings turn black and mushy, that’s usually a sign of too much moisture and not enough air circulation. Remove affected cuttings immediately and increase ventilation. It’s heartbreaking to lose one, but it happens.
A Little Encouraging Closing
Propagating plants is a journey, and Allocasuarina humilis asks for a bit of focused attention. Don’t get discouraged if your first attempt isn’t a showstopper. Each time you try, you learn something new. Be patient, enjoy the process of nurturing these tiny pieces of potential, and soon you’ll have more of these beautiful Dwarf She-oaks to enjoy. Happy propagating!
Resource: