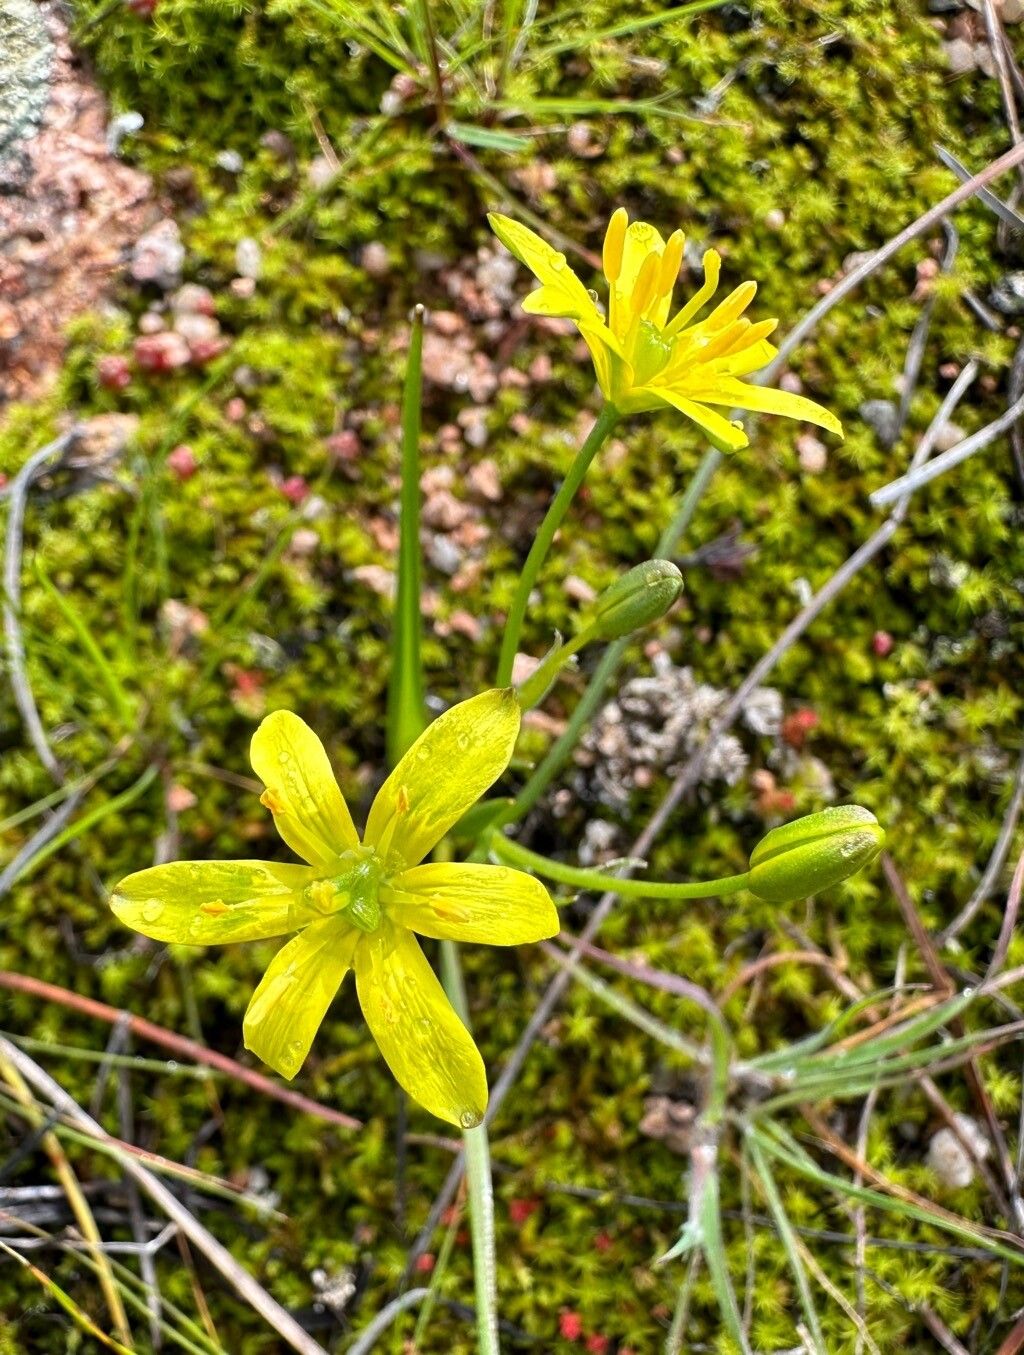
Hey there, fellow plant lovers! Ever found yourself captivated by the delicate charm of Gagea foliosa, those little bulbs gracing your garden with their cheerful yellow blooms? I know I have! There’s something so incredibly satisfying about coaxing new life from a parent plant. Propagating Gagea foliosa, in particular, is a delightful endeavor. And for those of you just dipping your toes into the world of plant propagation, I’ve got good news: it’s not overly challenging! With a little patience and a few nudges in the right direction, you can easily expand your collection.
The Best Time to Start
When it comes to Gagea foliosa, think dormant bulbs. The absolute prime time to get your hands dirty and start propagating these beauties is in late summer or early autumn, after the foliage has completely died back. This is when the bulbs are resting and storing energy for the next growing season, making them more receptive to being divided. Trying to do it while they’re actively growing and flowering can stress them out, and we don’t want that!
Supplies You’ll Need
Gathering your tools beforehand makes the whole process so much smoother. Here’s what I usually have on hand:
- A small trowel or hand fork: For gently teasing apart the bulbs.
- A sharp, clean knife or pruning shears: To separate bulb offsets if they’re tightly clustered.
- A good quality potting mix: I prefer a blend that offers excellent drainage. A mix of equal parts potting soil, perlite, and coarse sand works wonderfully for bulbs.
- Cardboard or paper trays: For storing bulbs if you’re not planting them immediately.
- A watering can with a fine rose: To water gently.
- Optional: Bulb starter fertilizer: A low-nitrogen, high-phosphorus fertilizer can give them a good initial boost once planted.
Propagation Methods
Since Gagea foliosa reproduces primarily through bulblets, the most straightforward and effective method is division.
Here’s how I go about it:
- Dig carefully: Using your trowel or hand fork, gently dig around the base of the mature Gagea foliosa plant. Aim to lift the entire clump, being careful not to damage the bulbs.
- Loosen the soil: Once you have the clump out of the ground, gently shake off excess soil. You’ll start to see the main bulb and smaller offsets, or bulblets, attached to its base.
- Separate the bulblets: This is where your sharp knife comes in handy. Carefully cut or twist off any healthy-looking bulblets from the parent bulb. You’re looking for bulblets that are at least pea-sized. If they’re still very tiny or loosely attached, it might be best to leave them to grow on the parent bulb for another season.
- Plant your new babies: You can either replant these divisions immediately or store them for a short period. Fill small pots or trays with your well-draining potting mix. Plant each bulblet about 1-2 inches deep, ensuring the pointed end is facing upwards. Water gently.
The “Secret Sauce” (Pro Tips)
Here are a couple of things I’ve learned over the years that make a difference:
- Don’t overwater dormant bulbs! This is crucial. While they need moisture after planting, overwatering dormant bulbs is the quickest way to invite rot. Let the soil dry out slightly between waterings, especially during their resting period.
- Label everything! It sounds simple, but when you’re dividing multiple plants or planting different varieties, it’s easy to get mixed up. Use plant tags and a permanent marker to note the plant name and the date you divided it. Trust me, future-you will be grateful.
Aftercare & Troubleshooting
Once your Gagea foliosa bulblets are planted, keep them in a cool, dry place until you see signs of new growth or until it’s time for them to naturally emerge in spring. Water sparingly during this dormant period.
When they do start to sprout, provide them with bright, indirect light. Continue to water when the top inch of soil feels dry. As they grow, you can gradually introduce them to more direct sunlight.
Now, what about when things don’t go as planned? The most common issue you’ll encounter is rot. If you notice a bulb turning mushy, black, or smelling foul, it’s likely rotting. This is almost always due to overwatering or poor drainage. If you catch it early, you can try cutting away the rotted parts and repotting in fresh, dry soil, but often it’s a lost cause. Prevention is key, so ensuring that excellent drainage is paramount.
A Encouraging Closing
There you have it! Propagating Gagea foliosa is a wonderfully rewarding way to share these delightful blooms. Be patient with your new little bulbs; they’re working on establishing themselves. Enjoy the process, get your hands in the soil, and before you know it, you’ll have a garden bursting with Gagea foliosa! Happy gardening!
Resource: