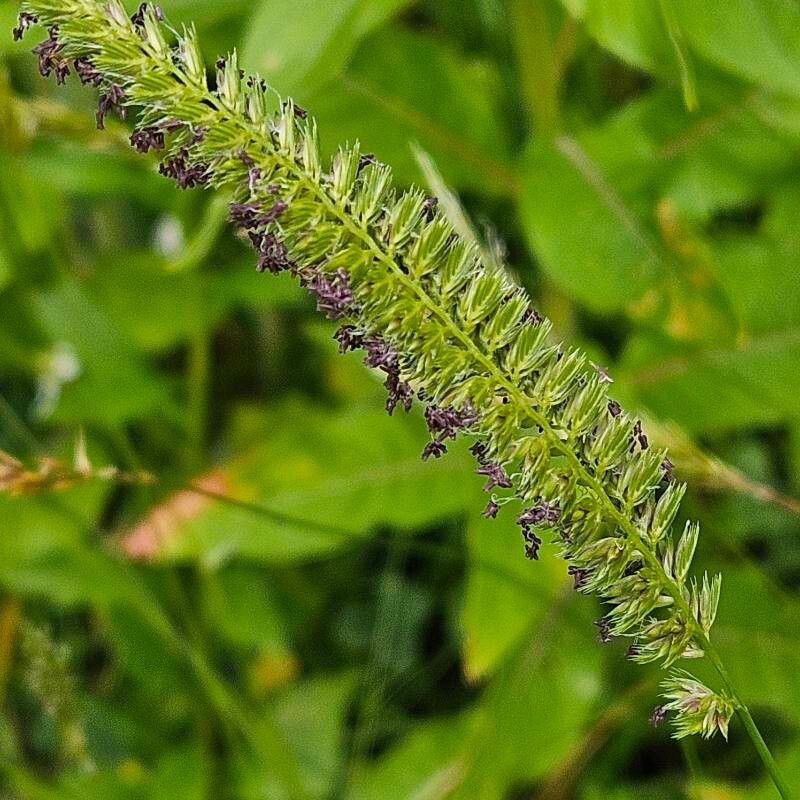
Hello there, fellow plant pals! Today, I want to chat about a charming grass that often gets overlooked: Cynosurus cristatus, commonly known as Crested Dog’s-tail. This beauty earns its name from those adorable, one-sided flower spikes that look like a dog’s tail wagging in the breeze. I adore its delicate texture and the way it adds a touch of wild, natural charm to any garden border or even a sunny windowsill. Plus, multiplying it yourself is incredibly satisfying! If you’ve ever dabbled in propagating plants, you’ll find this one to be a wonderfully rewarding and quite beginner-friendly endeavor.
The Best Time to Start
For Crested Dog’s-tail, the sweet spot for propagation is typically in the late spring or early summer. This is when the plant is in its active growth phase, meaning it has plenty of energy to dedicate to putting out new roots. You’ll want to wait until after the risk of frost has passed, but before the intense heat of mid-summer sets in. Keep an eye on your established plants; you’re looking for signs of vigorous new growth.
Supplies You’ll Need
Gathering your tools beforehand makes the whole process so much smoother. Here’s what I usually have on hand:
- Sharp pruning shears or a clean knife: For making nice, clean cuts.
- Propagation trays or small pots: With good drainage holes.
- A light, well-draining potting mix: I like a blend of equal parts perlite and seed-starting mix. For grasses, good aeration is key!
- Watering can with a fine rose attachment: To gently water without disturbing your new propagations.
- Rooting hormone powder (optional but helpful): This can give your cuttings a little boost.
- Plastic bag or a propagator lid: To create a humid environment.
- Gravel or pebbles: For a tray to add humidity under the pots.
Propagation Methods
While you can technically grow Crested Dog’s-tail from seed, I find division to be the most reliable and straightforward method, especially for home gardeners.
Division: The Gentle Approach
This is my go-to for most ornamental grasses, and Crested Dog’s-tail is no exception.
- Dig Up Your Plant: In late spring or early summer, gently dig up your established Cynosurus cristatus plant. You can do this with a spade, carefully working around the root ball.
- Clean the Roots: Once out of the ground, gently shake or brush away excess soil from the roots. This will allow you to see the individual clumps more clearly.
- Separate the Divisions: Now, the fun part! You can do this in a few ways.
- By Hand: For smaller plants, you might be able to gently pull the root ball apart with your hands, separating it into smaller sections, each with its own roots and shoots.
- With Tools: For tougher clumps, you can use a sharp knife or even two forks (back-to-back) to carefully slice or tease the plant into smaller pieces. Aim for divisions that have at least 3-5 healthy shoots and a good amount of root mass.
- Replant Immediately: The goal is to get these divisions back into the soil as quickly as possible.
- Potting: Fill your pots with your prepared potting mix. Make a hole in the center of the soil and place your division in, ensuring the roots are spread out. Backfill with soil, firming it gently around the base.
- In the Ground: If planting directly into a prepared garden bed, dig individual holes and replant each division at the same depth it was previously growing.
The “Secret Sauce” (Pro Tips)
I’ve learned a few tricks over the years that have made a big difference in my propagation success.
- Don’t Overcrowd: When you’re dividing, resist the temptation to make your divisions too small. Each piece needs enough stored energy to establish itself. A division that looks a bit substantial is actually more likely to thrive.
- Embrace Humidity: After planting your divisions, give them a good, gentle watering. Then, cover the pots with a clear plastic bag or propagator lid. This creates a mini-greenhouse effect, keeping the humidity high and preventing the newly divided plant from drying out before its roots can take up water effectively. Just make sure a leaf or two doesn’t get stuck under the water in the drainage tray – that can lead to rot.
- Consider Bottom Heat: If you have a propagator with a heating mat, using it can be a game-changer. Gentle warmth from below encourages root development, giving your divisions a real head start.
Aftercare & Troubleshooting
Once your divisions are planted, keep them in a bright, but not direct, sunny location. Water them regularly, keeping the soil consistently moist but not waterlogged. You’ll want to remove the plastic covering once you see signs of new growth, usually within a few weeks. Gradually introduce them to more direct sunlight.
The main thing to watch out for is rot. If your division starts to look mushy or slimy, it’s a sign of too much moisture and not enough air circulation. Ensure your pots have excellent drainage and don’t waterlog the soil. If you catch rot early, you might be able to salvage a healthy portion by cutting away the affected parts and repotting in fresh, dry mix.
A Encouraging Closing
Propagating plants is such a rewarding journey, isn’t it? Seeing a tiny division grow into a full, beautiful plant is a special kind of magic. Be patient with your new Crested Dog’s-tail starts. Each plant has its own pace. Enjoy the process, learn from every success (and the occasional hiccup!), and soon you’ll have a whole collection of these charming grasses to enjoy. Happy gardening!
Resource:
https://identify.plantnet.org/k-world-flora/species/Cynosurus%20cristatus%20L./data