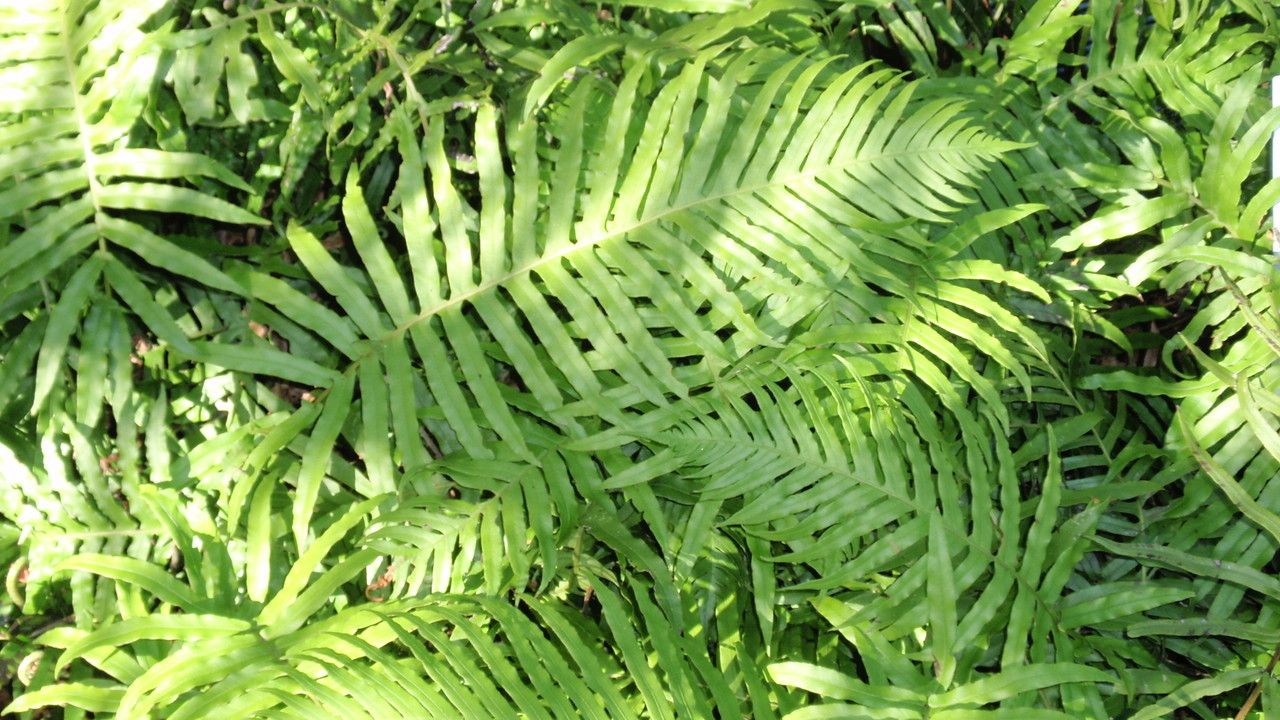
Hello, fellow plant lovers! Today, I want to talk about a fern that’s truly captured my heart: Blechnum cartilagineum, often called the cartilage fern or, more poetically, the tough-sheathed sword fern. Its vibrant, architectural fronds bring a unique texture and a touch of the wild to any shady corner. And the best part? You can easily multiply this beauty for your own garden or to share with friends.
Propagating this fern is a wonderfully rewarding endeavor. It’s not quite as easy as, say, a spider plant, but it’s certainly not in the “expert only” category either. With a little care and attention, anyone can be successful. Let’s dive in!
The Best Time to Start
For Blechnum cartilagineum, the sweet spot for propagation is generally late spring to early summer. This is when the plant is in its most active growth phase. You’ll notice new fronds unfurling, and this vigorous energy makes it more receptive to propagation efforts. Waiting until the weather is consistently warm and stable will give your new fernlets the best chance.
Supplies You’ll Need
To get started, gather these essentials:
- Sharp Pruning Shears or a Clean Knife: For making precise cuts.
- Well-Draining Potting Mix: I prefer a blend of peat moss, perlite, and a bit of compost. Ferns hate soggy feet!
- Small Pots or Trays: With drainage holes, of course.
- Plastic Bags or a Clear Dome: To create a humid environment for your cuttings.
- Watering Can or Spray Bottle: For gentle watering.
- Rooting Hormone (Optional but Recommended): A little sprinkle can speed things up.
- Labels: To keep track of your projects!
Propagation Methods
Blechnum cartilagineum is best propagated by division or by taking offsets. Let’s explore these:
Division: The Most Reliable Route
This is my go-to method for ferns, and Blechnum cartilagineum divides beautifully.
- Gently Excavate: Carefully dig up the entire fern plant. Try to disturb the root ball as little as possible.
- Examine the Roots: Look for natural divisions where the plant is already splitting into smaller clumps. You should see distinct crowns and root systems.
- Separate Carefully: Using your hands, or a clean, sharp knife or trowel if the clumps are really stubborn, gently pull or cut the plant apart. Aim for sections that have at least a few healthy fronds and a good amount of roots.
- Pot Up Your Divisions: Place each division into its own pot filled with your prepared potting mix. Ensure the crown (where the fronds emerge) is at soil level.
- Water Lightly: Give them a gentle watering until water drains from the bottom.
Taking Offsets
Sometimes, you’ll find smaller plantlets, or offsets, growing around the base of the parent plant. These are essentially baby ferns ready to start life on their own.
- Locate the Offset: Look for a smaller plant growing close to the main stem, with its own emerging fronds and roots.
- Tease Apart: More often than not, you can gently tease these offsets away from the mother plant with your fingers. If it’s a bit more attached, use your sharp knife to make a clean cut, ensuring you get some of its own roots with it.
- Pot Them Up: Plant the offset in a small pot with your fern mix, just as you would with a division.
The “Secret Sauce” (Pro Tips)
Here are a few tricks I’ve learned over the years that can really boost your success with ferns:
- Don’t Overwater, But Keep Things Humid: While we don’t want soggy soil, ferns absolutely adore humidity. After potting your divisions or offsets, mist them generously and then cover the pot with a clear plastic bag or place it under a clear dome. This creates a mini-greenhouse effect and keeps the moisture levels high, which is crucial for them to establish. Just remember to open it for a few minutes each day to allow for air circulation and prevent fungal issues.
- Embrace Bottom Heat (If You Can!): If you have a seedling heat mat, placing your pots on it can truly work wonders. It provides gentle warmth to the roots, encouraging them to sprout and grow more quickly. It’s like giving them a cozy, warm bed to start in.
Aftercare & Troubleshooting
Once your Blechnum cartilagineum divisions or offsets are potted, the real waiting game begins!
- Keep Them Moist but Not Soaked: Check the soil regularly. It should feel damp to the touch, but not waterlogged. Overwatering is the fastest way to lose a promising new fern.
- Gradual Acclimation: After a few weeks, once you see new frond growth appearing, you’ll want to gradually remove the plastic bag or dome. Start by removing it for a few hours a day, then increase the duration until the plant is fully acclimated to open air.
- Watch for Rot: The most common problem you might face is rot, which shows up as mushy, dark stems or fronds. This is almost always due to too much moisture and poor air circulation. If you see it, you may need to discard the affected part and ensure your watering and ventilation are spot on.
- Patience is Key: Ferns can be a bit slow to show signs of rooting. Don’t despair if you don’t see much action for a month or more. Keep providing consistent care, and they’ll eventually reward you.
A Little Encouragement
Propagating Blechnum cartilagineum might take a little patience, but the thrill of watching a new plant emerge from a division or offset is such a fulfilling experience. Think of it as being a plant midwife, nurturing new life. Enjoy the process, learn from each attempt, and before you know it, you’ll have a whole forest of these beautiful ferns! Happy growing!
Resource:
https://identify.plantnet.org/k-world-flora/species/Blechnum%20cartilagineum%20Sw./data