Hey there, fellow plant lovers!
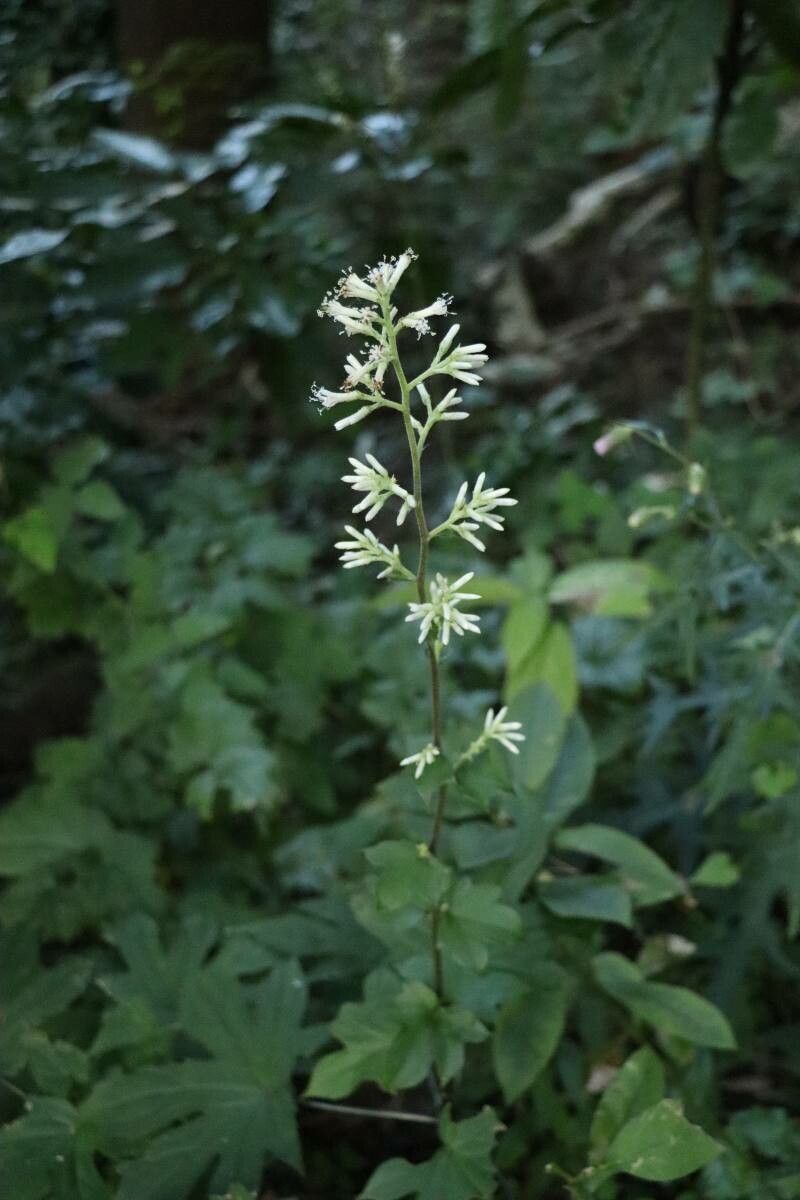
There’s something truly special about Japonicalia delphiniifolia. Those delicate, fern-like leaves and the way they seem to dance in the breeze – it’s pure charm. And you know what makes it even better? Growing more of them yourself! Propagating this beauty is a fantastic way to fill your home with more of its magic, or even share the joy with friends. For those of you just starting out with your green thumbs, Japonicalia delphiniifolia can be a little bit of a mixed bag. It’s not the absolute easiest, but with a little patience and a few key steps, you’ll be a pro in no time.
The Best Time to Start
When it comes to Japonicalia delphiniifolia, the sweet spot for propagation is generally during its active growing season. Think late spring through early summer. This is when the plant has plenty of energy to put into new growth, which is exactly what you need when you’re trying to start a new plant. Giving it this boost will significantly increase your chances of success.
Supplies You’ll Need
Before we dive in, let’s gather our tools. Having everything ready makes the process so much smoother:
- Sharp pruning shears or a clean knife: For making clean cuts.
- Rooting hormone (optional but recommended): A little powder or gel can really help encourage root development.
- Well-draining potting mix: A blend of peat moss, perlite, and a bit of compost works wonders. You can also find specific propagation mixes.
- Small pots or trays: Clean containers to house your new cuttings. Drainage holes are a must!
- Plastic bags or a humidity dome: To keep your cuttings moist and happy.
- Watering can or spray bottle: For gentle watering.
- A bright, but indirect light location: Your new babies don’t need harsh sun.
Propagation Methods
Japonicalia delphiniifolia is quite versatile when it comes to propagation. Here are a couple of my go-to methods:
Stem Cuttings
- Select a healthy stem: Look for a non-flowering stem that’s at least a few inches long. It should be sturdy, but not woody.
- Make a clean cut: Using your sharp shears or knife, make a cut just below a leaf node. This is where roots are most likely to form.
- Prepare the cutting: Gently remove the lower leaves, leaving just a couple at the top. This prevents them from rotting in the soil.
- Apply rooting hormone (optional): Dip the cut end into your rooting hormone.
- Plant the cutting: Insert the prepared end into your potting mix, ensuring it’s firm enough to stand upright.
- Water gently: Moisten the soil thoroughly but avoid waterlogging.
- Create humidity: Cover the pot with a plastic bag or place it in a humidity dome. Make sure the leaves don’t touch the plastic. You can use a chopstick or two to prop it up.
Water Propagation
This method is a bit more visual and can be quite satisfying to watch the roots grow!
- Take a cutting: Same as step 1 and 2 above – select a healthy stem and make a clean cut below a leaf node.
- Remove lower leaves: Just like with stem cuttings, get rid of any leaves that would be submerged in water.
- Place in water: Put the cutting in a clean jar or vase filled with room temperature water.
- Find a bright spot: Place it in a location with bright, indirect light.
- Change water regularly: Refresh the water every few days to keep it clean and prevent bacterial growth.
- Watch for roots: You should start to see little white nubs appear from the leaf nodes within a couple of weeks. Don’t let too many leaves fall into the water, as they can rot and affect the overall health of your cutting.
The “Secret Sauce” (Pro Tips)
Now for a couple of little secrets I’ve picked up along the way:
- Bottom Heat is Your Friend: If you’re using stem cuttings, placing your pots on a heat mat can make a huge difference. It mimics the warmth of spring and encourages faster root development. You don’t need it blazing hot, just a gentle warmth.
- Don’t Overcrowd: When you’re setting up multiple cuttings in a pot or tray, give them a little space. Overcrowding can lead to poor air circulation, which is a breeding ground for fungal diseases. A little breathing room goes a long way!
Aftercare & Troubleshooting
Once your cuttings have developed a healthy root system (you’ll see roots peeking from the drainage holes or feel a gentle resistance when you tug lightly), it’s time to move them to their own small pots if they aren’t already there. Continue to water them gently, and gradually introduce them to slightly more light as they grow.
The most common issue you might encounter is rot. If you see mushy, black stems or leaves, it’s usually a sign of overwatering or poor drainage. Don’t despair! You might be able to salvage a healthy bit of the stem if you catch it early. Another sign of trouble can be cuttings that simply refuse to root. This often happens if the cuttings are too old, too young, or if conditions aren’t quite right (too dry, too cold).
A Little Encouragement
Propagating plants is an adventure, and every gardener knows that patience is key. Not every cutting will make it, and that’s perfectly okay. Learn from each attempt, celebrate your successes, and enjoy the journey of nurturing new life. You’ve got this! Happy growing!
Resource: