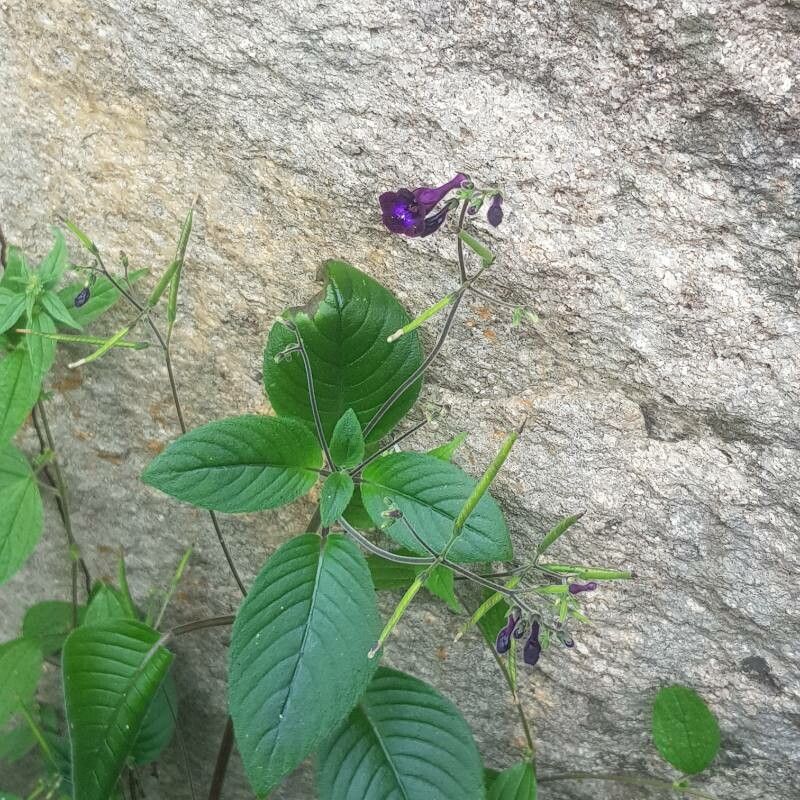
Oh, Streptocarpus nobilis! If you haven’t had the pleasure, you’re in for a treat. These beauties, often called Cape Primroses, have these absolutely gorgeous, trumpet-shaped flowers that seem to bloom perpetually. They really brighten up any windowsill and bring a touch of the exotic indoors. Propagating them is one of my favorite ways to share the joy of gardening, and honestly, seeing a new little plant emerge from a single leaf is just magical.
Now, for the big question: is it easy? I’d say for beginners, it’s moderately easy. It’s not as foolproof as, say, a pothos, but with a little attention and the right approach, you’ll be successful. It teaches you to be a bit more observant, which is a wonderful garden skill to hone.
The Best Time to Start
When you’re looking to get your Streptocarpus nobilis babies started, spring is often your best bet. This is when the plant is typically coming into its own, with plenty of vigor from the longer days and gentle warmth. You want to propagate from healthy, established plants that are actively growing. Avoid trying to take cuttings from a plant that looks stressed or is just coming out of dormancy.
Supplies You’ll Need
Gathering your supplies before you dive in makes the whole process so much smoother. Here’s what I like to have on hand:
- Sharp, clean pruning shears or a sharp knife: For taking your cuttings. Sterilize them with rubbing alcohol to prevent disease.
- Potting medium: A well-draining mix is crucial. I often use a blend of equal parts peat moss or coco coir, perlite, and a bit of vermiculite. You can also find specific African violet or general houseplant mixes that work well.
- Small pots or propagation trays: Clean little pots, about 3-4 inches in diameter, are perfect.
- Clear plastic bags or propagation dome: To create a humid environment for your cuttings.
- Rooting hormone (optional but helpful): A powdered or gel form can give your cuttings a boost.
- Water: For keeping things moist and for water propagation.
- Labels and a permanent marker: To keep track of what you’ve planted and when.
Propagation Methods
Streptocarpus nobilis can be propagated in a few ways, but my go-to is leaf cuttings. It’s incredibly satisfying!
Leaf Cuttings: The tried and true method
- Select a healthy leaf: Choose a mature, healthy leaf from your parent plant. Look for one that’s firm and free of any blemishes or damage.
- Take the cutting: Using your sterilized shears or knife, carefully cut the leaf off at its base, as close to the main stem as possible, making sure to include a small bit of the stem tissue.
- Prepare the leaf: You have two main options here:
- Cut it in half: This is my preferred method for Streptocarpus because it often yields more plantlets. Take your leaf and, using a clean knife, cut it crosswise, roughly halfway up the leaf blade.
- Use the whole leaf: You can also try using the whole leaf, but the results might be slower or less prolific.
- Potting up (if cutting in half): Take the lower (stem) portion of the leaf. If you’re using rooting hormone, dip the cut end into it. Then, insert the cut end about half an inch deep into your prepared potting mix. The cut edge should be facing down.
- Potting up (if using whole leaf): Dip the cut end in rooting hormone if using, and then insert about an inch of the stem into the potting mix.
- Create humidity: Gently water the potting mix until it’s evenly moist, but not soggy. Then, cover the pot with a clear plastic bag, a propagation dome, or place it in a propagator. Make sure the plastic bag doesn’t touch the leaf too much.
- Provide warmth and light: Place the pot in a bright spot with indirect light. Avoid direct sun, which can scorch the leaves. A little bit of warmth from the bottom is beneficial if you have a heat mat, but it’s not strictly necessary.
Water Propagation (Less Common for Streptocarpus, but Possible)
While leaf cuttings in soil are my favorite, you can try water propagation with the stem end.
- Take the cutting: Similar to leaf cuttings, take a healthy leaf with a bit of stem.
- Remove lower leaves: Strip off any leaves that would be submerged in water.
- Place in water: Put the stem end into a jar or glass of clean water, ensuring only the stem is submerged. It’s super important that no part of the leaf blade touches the water, as this can lead to rot.
- Change water regularly: Change the water every few days to keep it fresh.
- Wait for roots: It can take a few weeks to see tiny roots emerge. Once you have about an inch of roots, carefully pot it into your well-draining potting mix, using the same technique as for soil cuttings.
The “Secret Sauce” (Pro Tips)
Here are a few things I’ve learned over the years that really make a difference:
- Bottom heat is your friend: While not essential, placing your pots on a gentle heat mat significantly speeds up root development. Streptocarpus roots like it a bit cozy!
- Don’t let the leaves touch the water (even in the soil): This sounds obvious, but if you’re misting, or if condensation builds up inside your dome, make sure the leaf itself isn’t sitting in water. This is a prime spot for rot to creep in.
- Patience is a virtue (and a necessity!): This isn’t an overnight process. You could be waiting several weeks to a couple of months for plantlets to appear. Don’t get discouraged if you don’t see results immediately. Keep them consistently moist and warm, and trust the process.
Aftercare & Troubleshooting
Once you start seeing little plantlets emerging from the cut edges of your leaf (hooray!), it’s time to adjust their care slightly.
- Increase airflow: Once you see a good number of plantlets, you can gradually increase ventilation. This means opening up your plastic bag or dome for a few hours a day, eventually removing it altogether. This helps prevent fungal issues and toughens up the new babies.
- Keep moist: Continue to keep the potting mix evenly moist. Avoid letting it dry out completely, but never let it become waterlogged.
- Potting up the new plantlets: When the plantlets are a decent size, with a few leaves of their own, you can carefully separate them from the parent leaf and pot them up individually. You can usually gently tease them apart or carefully cut them with a sharp knife. Use the same well-draining mix.
- Watch for rot: The most common sign of failure is rot. If your leaf cutting turns mushy, black, or slimy, it’s likely rotted. This is usually due to too much moisture and not enough airflow. If you catch it early, you might be able to salvage a healthy bit, but often it’s best to start again.
- No growth: If nothing is happening after a couple of months, it could be a temperature issue (too cold), or the cutting might not have been viable.
A Encouraging Closing
Propagating Streptocarpus nobilis is a wonderfully rewarding journey. It’s a chance to connect with your plants on a deeper level and fill your home with even more of their delightful blooms. Be patient with yourself and with the plants. Enjoy the unfolding of new life, and don’t be afraid to experiment. Happy growing!
Resource:
https://identify.plantnet.org/k-world-flora/species/Streptocarpus%20nobilis%20C.B.Clarke/data