Hello, fellow garden enthusiasts!
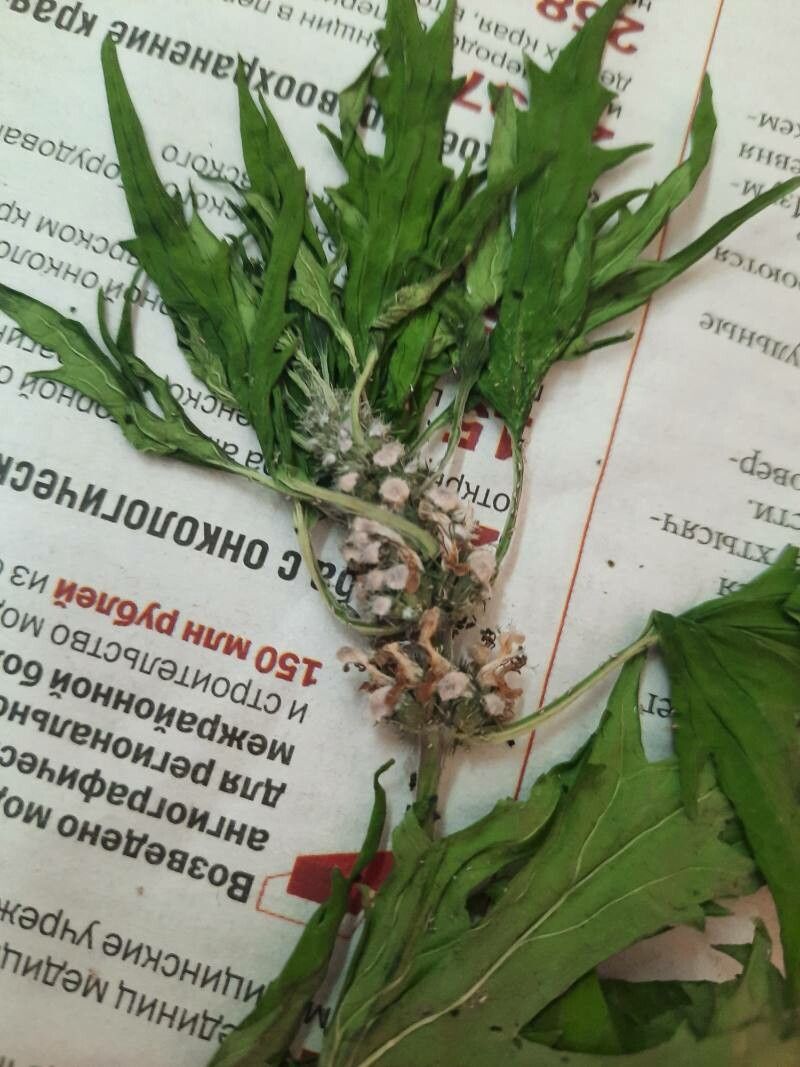
It’s so lovely to have you visit my little corner of the internet today. We’re going to talk about a plant that has truly captured my heart over the years: Leonurus tataricus, or Siberian Motherwort. Isn’t that name just evocative? It’s a plant with lovely lobed leaves and an abundance of delicate, pinkish-lavender flowers that attract all sorts of beneficial pollinators. More than that, it has a beautiful, upright habit that adds such graceful structure to the garden. And the best part? Propagating it is not only achievable but incredibly rewarding. If you’re looking for a rewarding project to add more of this beauty to your garden, you’re in the right place. For beginners, I’d say Leonurus tataricus is moderately easy to propagate, making it a fantastic plant to practice your propagation skills on.
The Best Time to Start
When it comes to getting the most success with your Leonurus tataricus propagation efforts, I find that late spring to early summer is absolutely ideal. This is when the plant is in its active growing phase, meaning it has plenty of energy to throw into developing new roots. You’ll also have good success with cuttings taken from newer growth that feels slightly firm but not woody. Avoid taking cuttings from very soft, floppy new shoots or from old, established stems.
Supplies You’ll Need
Don’t worry, you don’t need a whole arsenal of fancy equipment. Here’s a simple list of what I usually have on hand:
- Sharp Pruning Shears or a Clean Knife: For making clean cuts. Sterilize them beforehand!
- Small Pots or Trays: About 3-4 inches is a good size for starting out. Make sure they have drainage holes.
- Well-Draining Potting Mix: A blend of seed starting mix and perlite (about 70/30 ratio) works wonderfully. It keeps things light and prevents waterlogging.
- Rooting Hormone (Optional but Recommended): This really gives your cuttings a boost. Look for one with a lower IBA concentration for herbaceous plants.
- Plastic Bags or Dome Covers: To create a humid environment for your cuttings.
- Labels and a Marker: For keeping track of what you’ve planted and when.
- Watering Can with a Fine Rose: For gentle watering.
Propagation Methods
Leonurus tataricus is quite versatile, and I’ve had great success with a couple of straightforward methods.
Stem Cuttings
This is my go-to method for Leonurus tataricus.
- Select Your Cuttings: In late spring or early summer, look for healthy stems. Using your sterilized pruning shears or knife, take cuttings that are about 4-6 inches long. Make the cut just below a leaf node (where a leaf attaches to the stem).
- Prepare the Cuttings: Gently remove the lower leaves, leaving just 2-3 sets of leaves at the top. This prevents them from rotting in the soil. If the remaining leaves are quite large, you can cut them in half to reduce water loss.
- Apply Rooting Hormone (Optional): Dip the cut end of each stem into your rooting hormone, tapping off any excess. Don’t oversaturate it.
- Plant the Cuttings: Fill your small pots with your prepared potting mix. Make a small hole in the center of the soil with your finger or a pencil.
- Insert and Water: Gently push the prepared cutting into the hole, making sure the bottom leaf nodes are below the soil surface. Firm the soil gently around the stem. Water thoroughly but gently.
- Create Humidity: Place the potted cuttings into a plastic bag, sealing it loosely, or cover them with a clear dome. This creates a mini-greenhouse effect.
- Placement: Put the pots in a bright spot but out of direct sunlight. A warm location is best.
Division
This is a wonderful way to propagate established clumps of Leonurus tataricus and also gives the mother plant a much-needed refresh.
- Timing: The best time for division is early spring as new growth begins to emerge, or in early fall after the flowering season has ended.
- Excavate the Plant: Carefully dig up the entire plant using a garden fork, trying to disturb the roots as little as possible.
- Prepare the Root Ball: Gently shake off excess soil.
- Divide the Clump: Look for natural divisions where the root system is clearly separated. You can often pull apart clumps with your hands. If they’re very stubborn, use a clean, sharp knife or trowel to cut through the roots.
- Inspect and Trim: Remove any damaged or dead roots. You can trim back very long roots to encourage new growth.
- Replant: Replant the divisions immediately into their desired locations in the garden or into pots filled with good quality soil. Water them in well.
The “Secret Sauce” (Pro Tips)
Over the years, I’ve learned a few little tricks that seem to make all the difference with these kinds of plants.
- The Power of Bottom Heat: If you can, using a heating mat under your pots of stem cuttings can significantly speed up root development. It mimics the warmth of springtime and gives those roots a gentle nudge to form.
- Don’t Let Leaves Touch the Water: When doing water propagation (though I find cuttings in soil more successful for this one), it’s crucial that the leaves of your cutting never touch the water. Rot sets in very quickly that way. Only the stem should be submerged. Change the water every few days to keep it fresh.
- Patience with Cuttings: For stem cuttings, resist the urge to tug on them to see if they have roots after just a week or two. You might disturb young rootlets. It can take 3-6 weeks or even longer for good root systems to develop.
Aftercare & Troubleshooting
Once you see new growth appearing on your cuttings – a sign of roots! – it’s time to adjust their care.
- Acclimatization: Gradually remove the plastic bag or dome over a few days to let the new plants get used to the regular humidity.
- Watering: Continue to water regularly, allowing the soil to dry out slightly between waterings. Don’t let them sit in soggy soil.
- Transplanting: Once your cuttings have a good root system (you’ll see roots emerging from the drainage holes or feel some resistance when gently tugging), they are ready to be transplanted into slightly larger pots or their permanent garden spots.
The most common issue you’ll encounter is rot. If your cuttings turn black and mushy, it’s usually a sign of too much moisture and not enough airflow. Make sure your potting mix is well-draining and try to avoid overwatering. If you notice a fuzzy grey mold, that’s also a sign of too much humidity and poor air circulation.
A Encouraging Closing
Propagating Leonurus tataricus is such a joy. It’s a wonderful way to multiply your garden plants and share them with friends. Don’t be discouraged if not every cutting takes. Gardening is a journey of learning and patience, and even the most experienced gardeners have successes and failures. Just keep experimenting, keep observing, and most importantly, keep enjoying the process of nurturing new life. Happy propagating!
Resource:
https://identify.plantnet.org/k-world-flora/species/Leonurus%20tataricus%20L./data