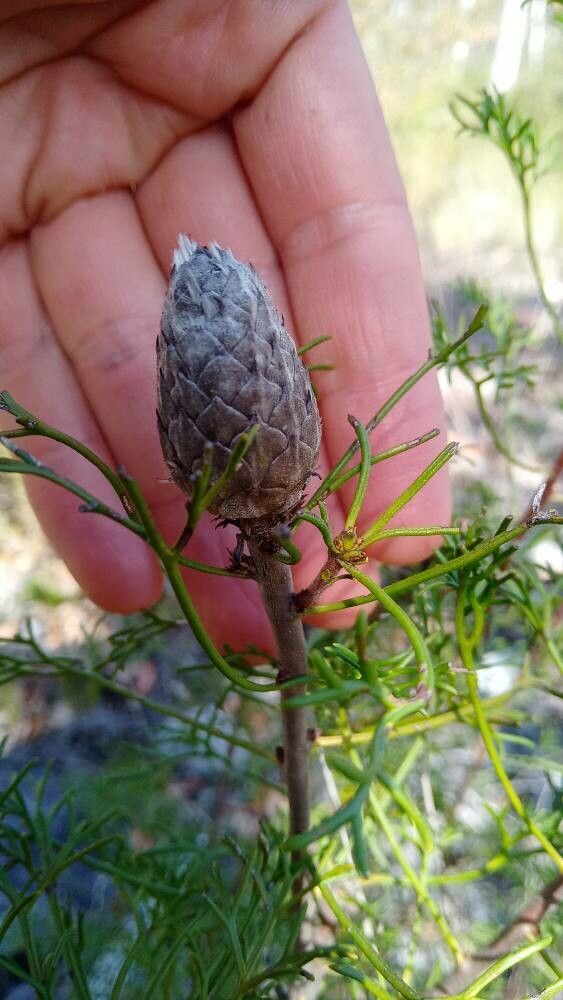
Oh, hello there, fellow plant lover! I’m so excited you’re interested in Petrophile canescens, also known as the “Pine Cone Flower” or sometimes simply “Native Cone Flower”. Isn’t it just a marvel? Those lovely, delicate, often silvery-grey foliage and those enchanting, cone-like flower heads… they have a certain rustic charm that just speaks to my soul. Growing them from scratch is such a fulfilling journey. You get to witness a tiny sliver of life transform into a beautiful new specimen. Now, I won’t lie to you – Petrophile canescens isn’t always the easiest plant to propagate, especially if you’re just dipping your toes into the world of propagation. But with a little patience and the right approach, it’s absolutely achievable, and the reward is truly worth the effort. Let’s get our hands dirty, shall we?
The Best Time to Start
For Petrophile canescens, the sweet spot for successful propagation is typically late spring to early summer. This is when the plant is actively growing after its spring burst. You want to be taking cuttings from semi-hardwood stems. This means the stem is no longer floppy and green, but it hasn’t hardened off into woody growth yet. Think of it like a sturdy pencil – it has some give, but it’s not as flexible as a fresh, young shoot. This stage offers the best balance of pliability and a good chance of rooting.
Supplies You’ll Need
Before we dive in, let’s gather our toolkit. Having everything ready makes the process so much smoother:
- Sharp Pruning Shears or a Craft Knife: Cleanliness is key here to prevent disease.
- Rooting Hormone: A powder or gel can significantly boost your success rate. Look for one formulated for woody cuttings.
- Small Pots or Trays: Clean, with good drainage holes.
- Propagation Mix: A well-draining, gritty mix is crucial. I like to use roughly equal parts perlite, coarse sand, and a little bit of coco coir or a fine potting bark. Avoid heavy, moisture-retentive soils.
- Watering Can with a Fine Rose: For gentle watering.
- Plastic Bags or a Propagator: To create a humid environment.
- Labels: To keep track of your plants!
Propagation Methods: Stem Cuttings – My Go-To
For Petrophile canescens, stem cuttings are generally the most reliable method. Here’s how I do it:
- Select Your Cuttings: In late spring or early summer, find healthy, semi-hardwood stems on your mature plant. Look for stems that are about 4-6 inches long and have some small leaf growth.
- Make the Cut: Using your clean shears, make a clean cut just below a leaf node. A leaf node is where a leaf attaches to the stem. This is where the magic happens for root formation.
- Prepare the Cutting: Gently strip off any leaves from the bottom half of the cutting. If the remaining leaves are very large, you can cut them in half horizontally to reduce water loss through transpiration. However, don’t remove all the leaves! The plant still needs them to photosynthesize.
- Apply Rooting Hormone: Dip the cut end of the stem into your rooting hormone, ensuring it’s evenly coated. Tap off any excess.
- Plant Your Cuttings: Fill your small pots or trays with your gritty propagation mix. Make a hole in the center with your finger or a pencil. Insert the cutting into the hole, ensuring the bottom nodes are buried in the soil. Firm the soil gently around the stem.
- Water Gently: Give your cuttings a light watering with your fine-rose watering can. You want the soil to be moist but not waterlogged.
- Create Humidity: Cover the pots with a plastic bag (ensuring the leaves don’t touch the plastic, if possible) or place them in a propagator. This creates a humid microclimate, which is essential for cuttings before they develop roots.
The “Secret Sauce” (Pro Tips)
Now, for a few tricks up my sleeve that I’ve learned over the years:
- The Water Wipe: Before dipping into rooting hormone, I often give the cut end a quick rinse with lukewarm water. Some find this helps the hormone adhere better. It’s a small step, but I swear it makes a difference!
- Bottom Heat is Your Friend: If you have the ability, placing your potted cuttings on a gentle heat mat specifically designed for seedlings and cuttings can dramatically speed up root formation. It mimics the warmth of spring soil and really encourages those roots to get going. Just make sure it’s not too hot – lukewarm is ideal.
- Don’t Rush the Reveal: Resist the urge to constantly pull at your cuttings to check for roots. You might damage delicate new growth. Wait until you see new leaf growth appearing, or until you gently tug on a cutting and feel some resistance, indicating roots have formed.
Aftercare & Troubleshooting
Once you see that beautiful new growth, congratulati! It’s a sign your cutting is starting to root.
- Gradual Acclimation: Slowly reduce the humidity by opening the plastic bag or propagator a little more each day over a week. This helps your new plant adjust to normal air conditions without shock.
- Continued Gentle Watering: Keep the soil consistently moist but never soggy. Overwatering is the quickest way to invite root rot, which often presents as black, mushy stems or wilting even when the soil is wet.
- First Feeding (Later): Once your cuttings are well-established in their pots and showing good top growth for at least a month, you can begin feeding them with a diluted, balanced liquid fertilizer every few weeks. Start at half strength.
- Signs of Trouble: Besides rot, wilting that doesn’t recover after watering can indicate that the cutting has failed to root. Shrivelling or browning leaves that aren’t related to normal shedding can also be a bad sign. If a cutting completely fails, don’t be discouraged; it happens to the best of us! Just try again.
A Little Encouragement
Growing new plants is a journey of observation and patience. Each attempt, whether successful or not, teaches you something new. So, take a deep breath, trust your instincts, and enjoy the process of nurturing these little snippets of life into something beautiful. Happy propagating!
Resource: