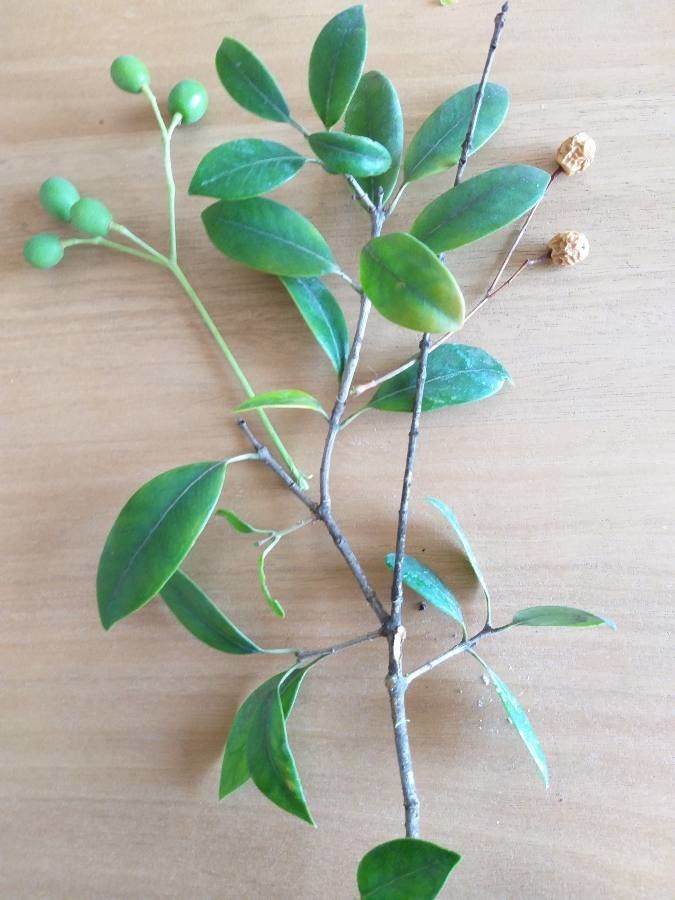
Oh, Austrobuxus ellipticus! What a beauty. I remember the first time I saw one, all glossy leaves and that wonderfully compact form. It’s just one of those plants that adds a touch of understated elegance to any garden. And the best part? Propagating it is a truly rewarding experience. You get to multiply that beauty, and honestly, it’s not as daunting as you might think. For those new to the gardening game, it’s a lovely plant to try your hand at propagating.
The Best Time to Start
When it comes to giving your Austrobuxus ellipticus cuttings the best chance, timing is everything. Mid-spring to early summer is your sweet spot. This is when the plant is actively growing, pushing out fresh, pliable new shoots. These are the ones that are most responsive to rooting. Avoid taking cuttings from woody, mature stems; they’ll be much slower to establish.
Supplies You’ll Need
Before we get our hands dirty, let’s gather our tools:
- Sharp pruning shears or a clean, sharp knife: For making clean cuts.
- Propagation mix: A light, airy blend. I like a 50/50 mix of perlite and coco coir or a good quality seed-starting mix.
- Rooting hormone (optional but recommended): A powder or gel formulation will give your cuttings a helpful boost.
- Small pots or a propagation tray: Clean and with drainage holes, of course.
- Clear plastic bags or a propagator lid: To maintain humidity.
- Water: For misting and keeping things hydrated.
- Labels and a marker: To keep track of your efforts!
Propagation Methods
For Austrobuxus ellipticus, stem cuttings are your go-to method. It’s straightforward and very effective.
- Select your cutting: Look for healthy, new growth – about 4-6 inches long. It should be flexible, not stiff and woody. Gently bend a tip; if it snaps cleanly, it’s good. If it just bends, it’s a bit too soft.
- Prepare the cutting: Using your sharp shears or knife, make a clean cut just below a leaf node. This is where the roots will likely emerge.
- Remove lower leaves: Strip off the leaves from the bottom 2-3 inches of the cutting. This prevents them from rotting in the soil.
- Apply rooting hormone (if using): Dip the cut end of the stem into the rooting hormone powder or gel. Tap off any excess.
- Plant the cutting: Make a small pilot hole in your propagation mix with a pencil or your finger. Insert the cut end of the stem into the hole, ensuring the nodes where you removed leaves are below the soil surface. Gently firm the mix around the stem.
- Water gently: Water thoroughly but carefully, so you don’t dislodge the cuttings.
- Create a humid environment: Cover the pots or tray with a clear plastic bag (supported so it doesn’t touch the leaves) or a propagator lid. This humidity is crucial for cuttings that haven’t developed roots yet.
The “Secret Sauce” (Pro Tips)
Here are a couple of things I’ve learned over the years that really make a difference:
- The “snapping” test: When you’re selecting your cuttings, get familiar with that satisfying snap. It tells you the stem has the right balance of flexibility and firmness, which translates to better rooting success. A cutting that just bends means it’s too watery and might rot before it roots.
- Bottom heat is your friend: If you have a heated propagator mat, seriously consider using it. A little warmth from below can dramatically speed up root development. You’ll see roots forming much quicker when the soil is consistently warm.
Aftercare & Troubleshooting
Once your cuttings are planted, the waiting game begins! Keep them in a bright, indirect light location. Mist the leaves regularly to keep them hydrated, especially if they are in a humid environment.
The magic happens when you see new leaf growth or resistance when you gently tug on the cutting. This is a sign that roots are forming! Once you’ve confirmed roots, you can start to gradually acclimate them to lower humidity by opening the bag or propagator lid for increasing periods. Then, it’s time to pot them up into slightly larger pots with a good quality potting mix.
Now, what if things go wrong? The most common culprit is rot. If you see your cuttings turning mushy and black, it’s usually a sign of too much moisture and not enough air circulation. Make sure your propagation mix is well-draining, and don’t let them sit in standing water. If a cutting shows signs of rot, it’s best to remove it immediately to prevent it from spreading. Sometimes, despite our best efforts, not every cutting will take, and that’s okay!
A Encouraging Closing
Growing new plants from cuttings is such a wonderful way to connect with nature and to expand your green space. Be patient with your Austrobuxus ellipticus cuttings. They’ll let you know when they’re ready. Enjoy the process of nurturing these little beginnings – it’s incredibly fulfilling! Happy propagating!
Resource:
https://identify.plantnet.org/k-world-flora/species/Austrobuxus%20ellipticus%20McPherson/data