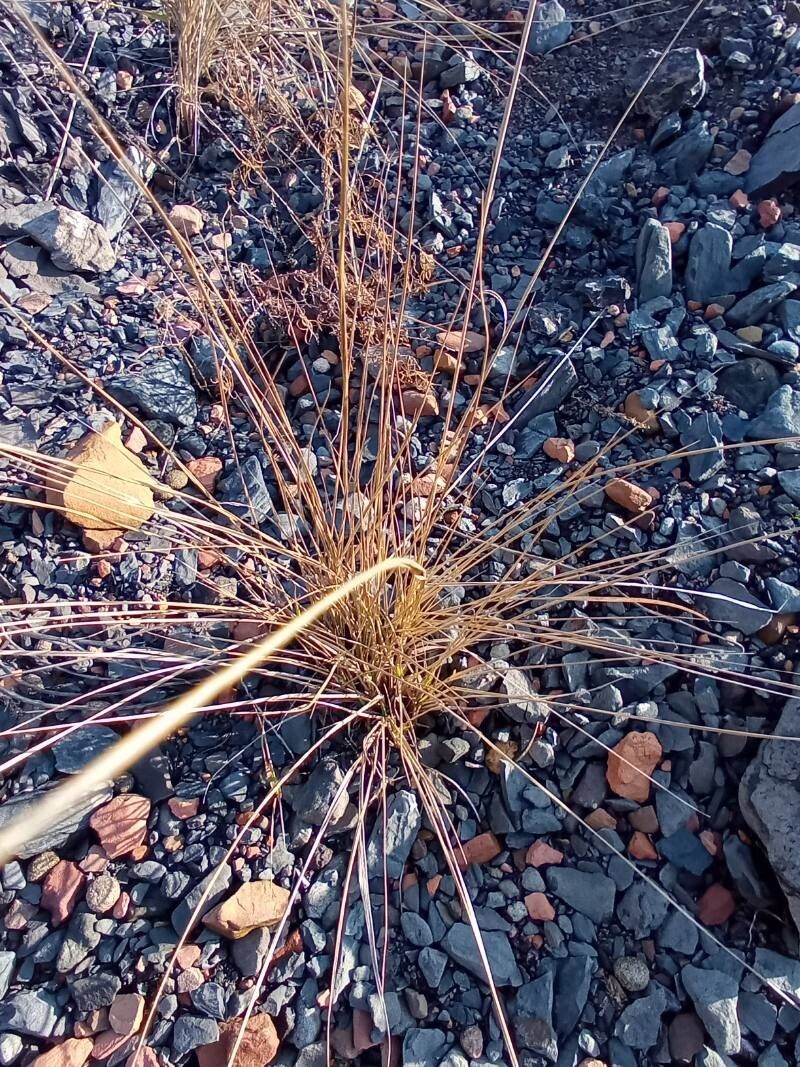
Oh, hello there, fellow garden lovers! Pull up a chair, let’s chat about one of my absolute favorite little wonders: Bulbostylis capillaris.
A Pocketful of Sunshine: Why We Love Small Wonders
If you’re after a plant that brings a touch of delicate, airy charm to your garden, then Bulbostylis capillaris is your new best friend. Its wispy, grass-like foliage and sweet little flower heads just make you smile. They have this incredibly charming, almost ethereal quality. And the best part? They’re not too tricky to multiply! For those dipping their toes into plant propagation, I’d say Bulbostylis capillaris is a wonderfully rewarding plant to start with. It might take a little patience, but the success you’ll feel is truly immense.
When is the Best Time to Start?
Hands down, the spring is your golden ticket for propagating Bulbostylis capillaris. Think of it as giving your new babies the longest possible growing season to establish themselves. As the days get longer and warmer, the parent plant is bursting with energy, and that energy is precisely what your cuttings or divisions need to thrive. Wait until you see new growth appearing on your established plants.
What You’ll Need to Get Started
Gathering your supplies is half the fun, isn’t it? Here’s what I recommend having on hand:
- Sharp, clean pruning shears or a sharp knife: For making clean cuts.
- A light, well-draining potting mix: I like to use a blend of peat moss, perlite, and a bit of coarse sand. You don’t want anything too heavy that will hold excess moisture.
- Small pots or seed trays: Clean ones, of course!
- Rooting hormone (optional but helpful): A light dusting can speed things up.
- A watering can with a fine rose: Gentle watering is key.
- A spray bottle: For misting.
How to Grow More Bulbostylis
There are a couple of lovely ways to get more Bulbostylis capillaris into your life.
Method 1: Division (My Go-To!)
This is by far the easiest and most successful method for Bulbostylis capillaris.
- Gently unpot your parent plant. If it’s in the ground, carefully dig around it, loosening the soil.
- Inspect the root ball. You’ll often see that the plant naturally forms clumps.
- Use your fingers or a clean trowel to gently separate the clumps. Aim for sections that have both roots and some leafy growth.
- Pot each new division into its own container filled with your light potting mix.
- Water gently and place in a bright spot.
Method 2: Seed Starting (For the Patient Gardener)
If you happen to have seed heads, you can try starting from seed, though it’s a bit more of a waiting game.
- Collect mature seed heads in late summer or fall.
- Sow the fine seeds thinly on the surface of a prepared seed tray filled with your seed starting mix.
- Lightly mist the surface and cover the tray loosely with a plastic lid or plastic wrap.
- Place in a bright (but not direct sun) spot.
- Be patient! Germination can be slow and erratic. Once seedlings are large enough to handle, transplant them to individual pots.
The “Secret Sauce”: My Insider Tips
- Don’t overwater after division. This is crucial. Think of your newly divided plants as being a bit startled. They need moisture, yes, but they are incredibly susceptible to rot if they sit in soggy soil. Let the surface of the soil dry out slightly between waterings.
- Provide a bit of humidity. A light misting with your spray bottle once or twice a day, especially in the first week or two after division, can make a world of difference. It helps them feel right at home before their roots are fully established. They love that gentle moisture in the air.
Aftercare and What to Watch For
Once your divisions or seedlings have started to show signs of established roots (you might see roots peeking out of the drainage holes or new growth on top), you can start treating them more like mature plants.
- Water them when the top inch of soil feels dry.
- Gradually introduce them to more direct sunlight if they were initially in a shadier spot.
Now, what if things don’t go according to plan? The most common culprit for failure with Bulbostylis capillaris is rot. You’ll see it as mushy, discolored stems or leaves. This is almost always a sign of too much moisture and not enough air circulation. If you see this, discard the affected plant immediately to prevent it from spreading. It’s a tough lesson, but a good one to learn.
Keep Growing, Keep Appreciating
Propagating plants like Bulbostylis capillaris is a wonderful way to extend your garden’s beauty and share it with others. Don’t be discouraged if your first attempt isn’t perfect. Gardening is a journey of learning and trying again. Enjoy the process, embrace the little victories, and before you know it, you’ll have a whole new patch of these charming little wonders! Happy planting!
Resource: