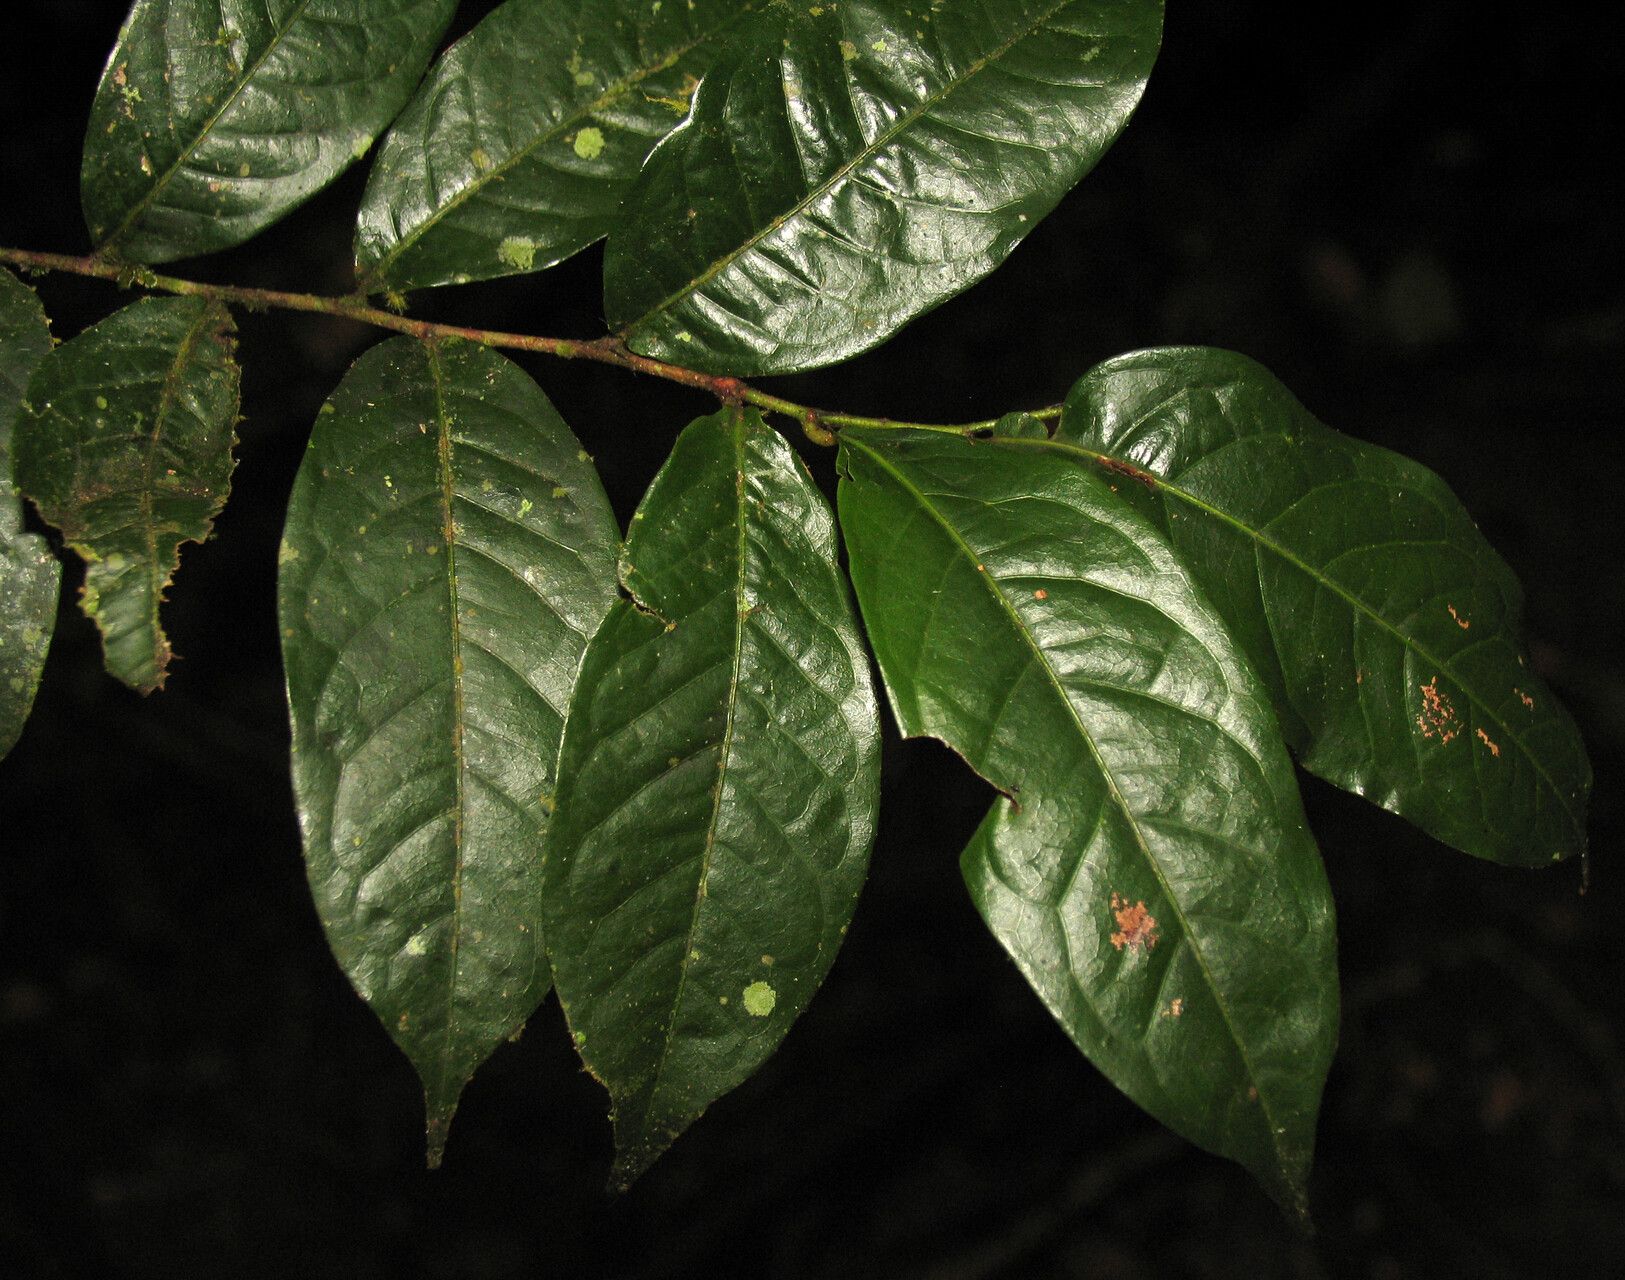
Oh, the joy of Hirtella tenuifolia! If you’ve ever admired its delicate foliage and subtle charm, you’re not alone. This little beauty is a true gem for any garden, adding a touch of understated elegance. And guess what? Propagating it yourself is incredibly rewarding. You get to fill your garden, or share with friends, with these lovely plants, all from a single specimen.
Now, is it a walk in the park for a complete beginner? I’d say it falls into the moderately easy category. It’s not going to trick you up too much, but a little attention to detail goes a long way.
The Best Time to Start
For the happiest new plants, aim to propagate when things are actively growing. That means late spring or early summer is your sweet spot. The plant has good energy reserves then, and new cuttings will have the best chance to root with vigor.
Supplies You’ll Need
To get your propagation station ready, gather these essentials:
- Sharp Pruning Shears or Scissors: Clean cuts are crucial for preventing disease.
- Rooting Hormone (Optional but Recommended): This helps speed up root development. Look for one formulated for softwood or semi-hardwood cuttings.
- Well-Draining Potting Mix: A good seed-starting mix or a blend of perlite and peat moss works wonders. You want something that dries out well between waterings.
- Small Pots or Trays: Clean pots are a must! Yogurt cups with drainage holes poked in the bottom are a great budget-friendly option.
- Clear Plastic Bags or a Propagator: This creates the humid environment cuttings need.
- Watering Can with a Fine Rose or Spray Bottle: Gentle watering is key.
Propagation Methods
I find stem cuttings to be the most successful and straightforward method for Hirtella tenuifolia. Here’s how I do it:
- Take Your Cuttings: On a warm, bright day, select healthy, non-flowering stems. Using your sharp shears, cut a piece about 4-6 inches long. Make the cut just below a leaf node (where a leaf attaches to the stem).
- Prepare the Cuttings: Gently remove the lower leaves. You want to expose at least a couple of nodes. If the remaining leaves are large, you can cut them in half horizontally. This reduces water loss while still allowing for photosynthesis.
- Apply Rooting Hormone (If Using): Dip the cut end of the stem into the rooting hormone, tapping off any excess.
- Plant Your Cuttings: Fill your small pots with your prepared potting mix. Make a small hole in the center with a pencil or your finger. Insert the cutting into the hole, ensuring at least one or two leaf nodes are buried in the soil. Gently firm the soil around the stem.
- Create a Humid Environment: Water the soil lightly. Then, cover the pot with a clear plastic bag, securing it around the rim of the pot with a rubber band. If you have a small propagator, just place the pots inside.
The “Secret Sauce” (Pro Tips)
Here are a couple of tricks I always use:
- Bottom Heat Makes a Difference: While not strictly necessary for Hirtella tenuifolia when done in spring/summer, adding a heating mat under your propagator can significantly speed up root formation. It mimics the warmth of spring soil. Just make sure it’s set to a gentle temperature, around 70-75°F (21-24°C).
- Don’t Overcrowd: Give your cuttings space! If you’re planting multiple cuttings in one pot, ensure they have a little room to breathe. Overcrowding can lead to fungal issues. And most importantly, never let the leaves of your cuttings touch the plastic bag covering them. This creates a damp environment where rot loves to thrive.
Aftercare & Troubleshooting
Once your cuttings are planted and cozied up in their humid homes, it’s time for patience. Keep them in a bright spot, but out of direct, harsh sunlight. Mist the inside of the plastic bag occasionally if it looks dry, but the soil should remain consistently moist, not soggy.
You’ll know your cuttings are rooting when you see new leaf growth or feel a gentle resistance when you tug on the stem. This can take anywhere from 3-6 weeks. Once they have a healthy root system, you can gradually acclimate them to normal conditions by opening the plastic bag a little more each day over a week. Then, transplant them into slightly larger pots.
The most common issue you’ll encounter is rot. If you see a cutting turning black and mushy, it’s usually a sign of too much moisture or insufficient air circulation. Don’t despair! Just remove the affected cutting and ensure the remaining ones have good drainage and aren’t waterlogged.
A Encouraging Closing
Growing plants from cuttings is a beautiful, cyclical process. It connects you to the natural world in a tangible way. Be patient with your Hirtella tenuifolia; sometimes they just like to take their sweet time. Enjoy the journey of nurturing these tiny beginnings into thriving plants. Happy gardening!
Resource:
https://identify.plantnet.org/k-world-flora/species/Hirtella%20tenuifolia%20Prance/data