Oh, hello there! Come on in, grab a mug. Let’s chat about Viburnums. Specifically, Viburnum mullaha. If you’re anything like me, you’ve probably admired these beauties for their gorgeous clusters of white flowers and, in some varieties, those striking berries. They add such wonderful texture and life to the garden, and honestly, there’s a special kind of joy in watching a brand new plant emerge from your own efforts. Propagating Viburnum mullaha can feel a little daunting at first, but I promise you, it’s quite doable, even for those just starting to dip their toes into the world of plant propagation.
The Best Time to Start
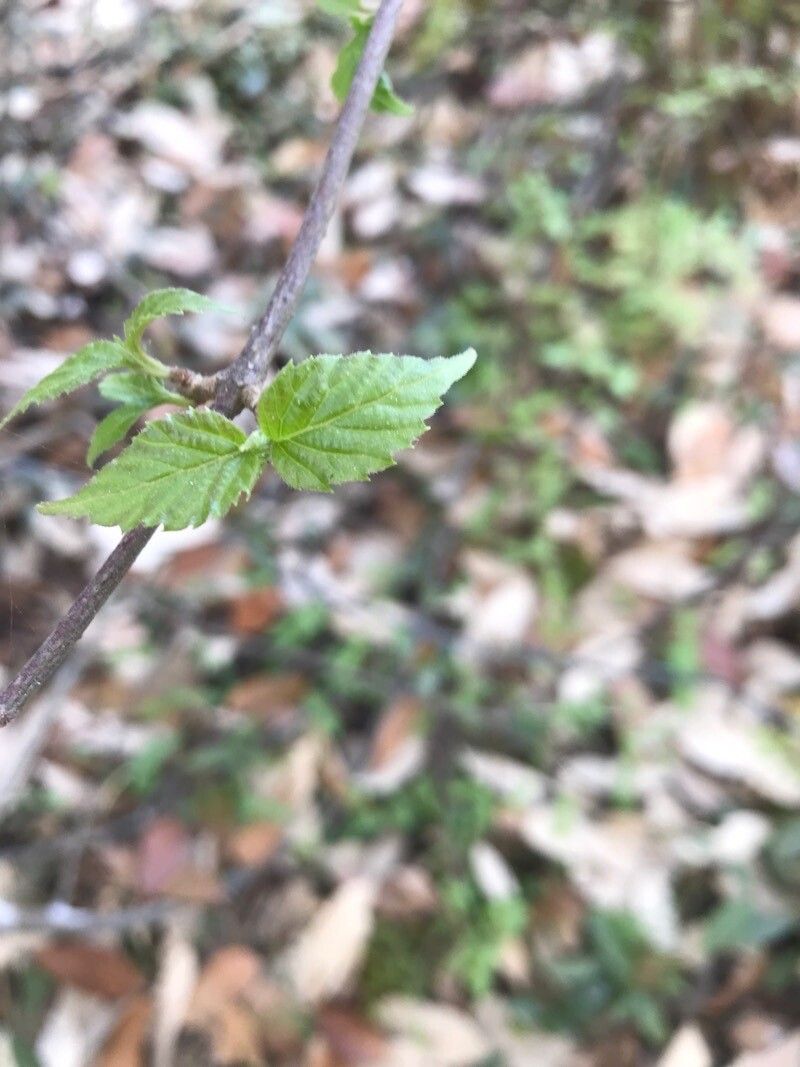
For Viburnum mullaha, my go-to time for propagation is late spring or early summer. This is when the plant is actively growing, but before the woody stems become too mature. You want to catch it at that perfect stage, often referred to as semi-hardwood cuttings. The growth is firm enough to hold its shape but still flexible enough to root.
Supplies You’ll Need
Here’s what I usually gather before I get started. It’s not much, but having everything at hand makes the whole process smoother:
- Sharp pruning shears or a clean, sharp knife: Essential for making clean cuts.
- Rooting hormone powder or gel: This really gives the cuttings the best chance.
- Small pots or trays: For your cuttings to start their new life.
- A good quality potting mix: I like a blend of peat moss and perlite (about 50/50) or a specialized seed-starting mix. It needs to be well-draining!
- Plastic bags or a propagator lid: To create a humid environment.
- Watering can or spray bottle: For gentle watering.
- Labels or markers: Trust me, you’ll thank me later when you forget which is which!
Propagation Methods: Stem Cuttings
This is my most reliable method for Viburnum mullaha.
- Take the cuttings: On a mild day, select healthy, non-flowering shoots from your mature Viburnum mullaha. Look for stems that are about 4-6 inches long. Using your sharp pruners, make a clean cut just below a leaf node (where a leaf attaches to the stem). This is where the magic happens, where roots are most likely to form.
- Prepare the cuttings: Gently remove the lower leaves from the bottom half of each cutting. You can leave a couple of leaves at the top. If the remaining leaves are very large, I sometimes trim them in half horizontally to reduce water loss through transpiration.
- Apply rooting hormone: Dip the cut end of each stem into your rooting hormone, tapping off any excess. This stuff isn’t magic, but it sure does help encourage root development.
- Pot them up: Fill your small pots with your prepared potting mix. Make a small hole in the center of the soil using your finger or a pencil. Insert the treated cutting into the hole, ensuring the bottom leaf nodes are below the soil surface. Gently firm the soil around the stem.
- Create humidity: Water the soil gently. Then, I like to cover the pot loosely with a clear plastic bag, securing it with a rubber band, or place it in a propagator with a lid. This traps moisture and creates that humid microclimate cuttings love.
- Placement is key: Place the pots in a bright location but out of direct sunlight. A windowsill that gets morning sun but is shaded in the afternoon is perfect.
The “Secret Sauce” (Pro Tips)
Here are a couple of little tricks I’ve picked up over the years:
- Bottom heat is your friend: If you can, place your pots on a heated propagator mat or a warm windowsill. A consistent, gentle warmth at the base really stimulates root growth, almost like giving them a cozy warm bed.
- Don’t be tempted to peek too early! It’s so tempting to lift up your cuttings to check for roots, but resist! Every time you disturb them, you risk damaging new, fragile root hairs. Let them be for at least 4-6 weeks.
Aftercare & Troubleshooting
Once you start to see signs of new growth or feel a gentle tug when you lightly pull on the stem, it’s a good sign roots have formed! You can then gradually acclimate your new plants to normal humidity by opening the plastic bag a little more each day.
Keep the soil consistently moist but not soggy. Overwatering is probably the most common killer of cuttings. If you see your leaves wilting and turning yellow, or the stem turning mushy and dark at the soil line, that’s usually a sign of root rot. This often happens from too much moisture. Sadly, once rot sets in, it’s very difficult to save the cutting, but don’t be discouraged! It’s just part of the learning curve.
A Encouraging Closing
Propagating your own Viburnum mullaha is a wonderfully rewarding experience. Be patient with yourself and the process. Some cuttings will take off immediately, others might take a bit longer, and some, well, they might not make it. Every attempt is a learning opportunity. So, get your hands dirty, enjoy the process of nurturing these little wonders, and soon you’ll have more beautiful Viburnums to admire and share. Happy gardening!
Resource: