Oh, hello there, fellow plant lover! It’s so good to sit down with you for our little garden chat. Today, I want to talk about a fern that has captured my heart over the years: the magnificent Polystichum munitum, more commonly known as the Western Sword Fern.
Introduction: Bringing a Forest Favorite Home
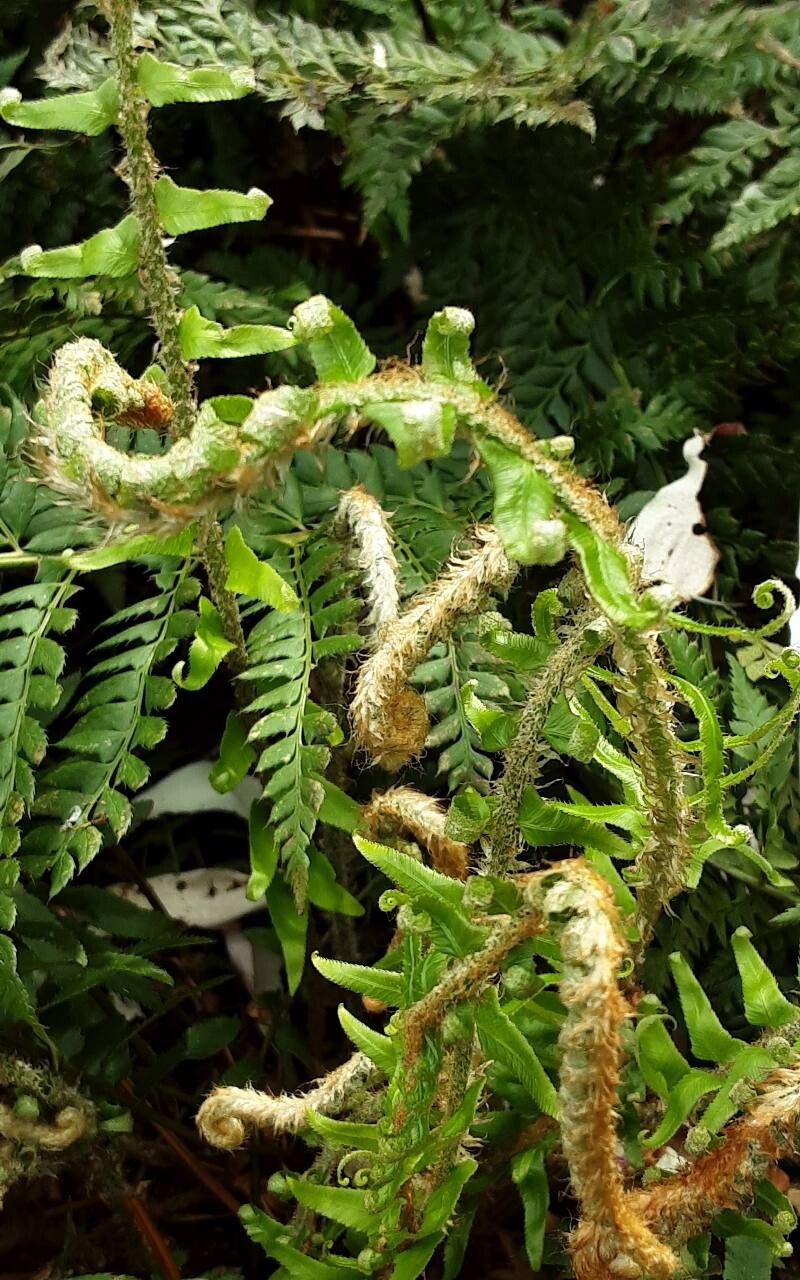
There’s something undeniably wild and beautiful about the Western Sword Fern. Its leathery, evergreen fronds fan out with such robust grace, bringing a touch of the Pacific Northwest’s lush forests right into our gardens. They’re tough, they’re stunning, and honestly, they make me feel like I’m tending to a miniature ancient woodland. And the best part? Propagating them is a deeply rewarding experience. It’s a chance to multiply that forest magic and share it with friends. For beginners, I’d say propagating sword ferns falls into the moderately easy category. It’s not as hands-off as some plants, but with a little attention, you’ll be celebrating success in no time.
The Best Time to Start
When it comes to Polystichum munitum, patience often pays off. The absolute best time to propagate is in late spring or early summer, just as the plant is entering its most active growth period. If you’re dividing, you can also do this in early autumn when things begin to cool down, giving the divisions a chance to establish before winter sets in. Avoid propagating during the heat of summer or the dead of winter.
Supplies You’ll Need
Here’s a little kit to get you started on your fern-propagation adventure:
- Sharp pruning shears or a clean knife: Make sure they’re sterilized to avoid spreading any nasties.
- Rooting hormone powder (optional but helpful): Especially for division, it gives the newly separated pieces a little boost.
- Well-draining potting mix: A good blend for ferns usually includes peat moss, perlite, and compost. Some orchid bark can also be a nice addition.
- Small pots or trays: Terracotta pots are fantastic for ferns as they allow for good air circulation.
- Watering can with a fine rose: Gentle watering is key.
- Plastic bags or a propagation dome: To create a humid environment.
- Labels: Trust me, you’ll thank yourself later.
Propagation Methods: Getting Your Hands Dirty!
For Western Sword Ferns, division is by far the most straightforward and successful method. Ferns don’t typically grow from stem cuttings in the way many other plants do.
Division: The Tried and True Way
- Gently excavate your parent plant: Carefully dig around the base of your mature fern, trying to disturb the roots as little as possible. You want to expose the root ball.
- Assess the root system: Look for natural separations where new fronds are emerging from the main crown. These are your potential new plants.
- Separate the divisions: Using your sterilized shears or knife, carefully cut through the root ball. Aim to give each division at least 2-3 healthy fronds and a good portion of the root system. If the roots are tightly matted, you can sometimes gently tease them apart with your fingers.
- Optional: Apply rooting hormone: If you’re feeling fancy, dip the cut end of each division into rooting hormone powder. This can help encourage faster root development, but it’s not strictly necessary for sword ferns.
- Potting up: Plant each division in its own pot filled with your prepared, well-draining potting mix. Make sure the crown (where the fronds emerge) is at soil level.
- Water gently: Water thoroughly but gently. You don’t want to dislodge the soil or any new roots.
The “Secret Sauce” (Pro Tips)
Now, for a few little nuggets of wisdom that I’ve picked up over the years:
- Don’t over-pot: When you’re dividing, resist the urge to put a tiny division into a huge pot. It can lead to the soil staying too wet, which is the enemy of delicate roots. A pot that’s just a little larger than the division’s root ball is perfect.
- Humidity is your friend: Ferns absolutely adore humidity. After potting your divisions, place the pots inside clear plastic bags or cover them with a propagation dome. This creates a mini-greenhouse effect, keeping the moisture levels high and helping the plant conserve energy while it establishes. Just be sure to poke a few small holes in the bag or lift the dome for a bit of air circulation each day to prevent fungal issues.
- Observe, don’t obsess: It’s easy to get anxious about new plants. Resist the urge to constantly poke and prod the roots. Your new divisions need time and stability to heal and begin growing.
Aftercare & Troubleshooting
Once your divisions are potted, the real magic begins. Keep them in a bright, indirect light location – never direct sun, which can scorch delicate new growth. Water them whenever the top inch of soil feels dry to the touch. You’ll know they’re happy when you start seeing new fronds unfurling!
The most common sign of trouble is rot. If you notice mushy, black stems or leaves dropping off rapidly, it’s usually a sign of overwatering or poor drainage. If this happens, gently remove the affected parts and allow the soil to dry out more thoroughly between waterings. Sometimes, a division might not take. Don’t be disheartened! It happens to all of us, even seasoned gardeners. It just means that particular piece wasn’t quite ready or strong enough.
A Encouraging Closing
Propagating your Western Sword Fern is a journey, and like any good journey, it requires a little patience and a lot of observation. Enjoy the process of nurturing these new life forms. Each new fern you create is a testament to your growing green thumb and a beautiful continuation of the forest’s whisper in your garden. Happy growing!
Resource:
https://identify.plantnet.org/k-world-flora/species/Polystichum%20munitum%20(Kaulf.)%20C.Presl/data