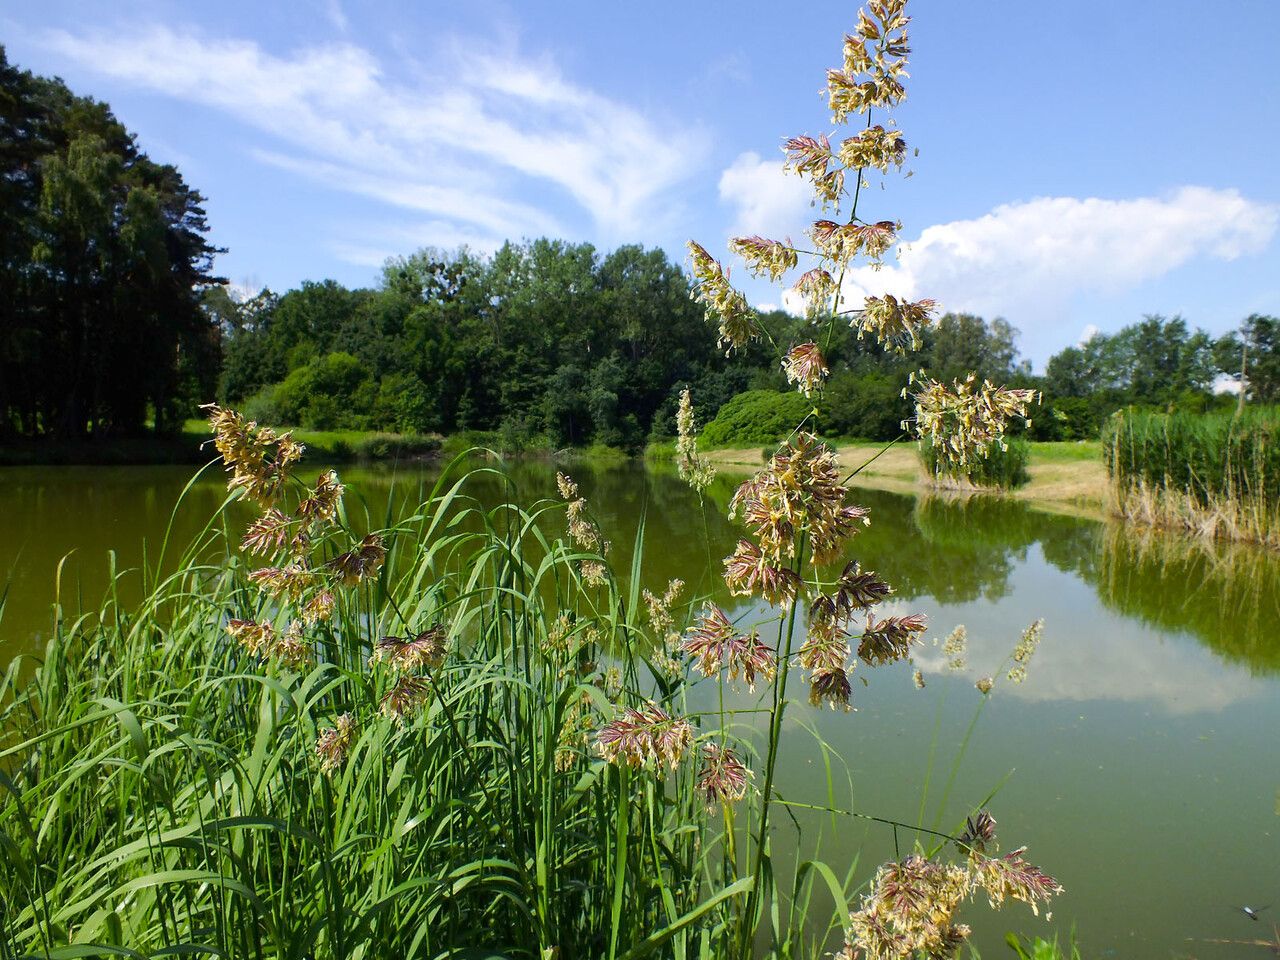
Oh, hello there! It’s so lovely to see you here. If you’ve fallen for the elegant sway and golden hues of Calamagrostis sesquiflora, you’re in for a treat. This ornamental grass, often called “pine-stem reed grass,” brings a wonderful textural element to any garden. Its slender, upright habit and beautiful seed heads are simply captivating. And the best part? Propagating it yourself is incredibly rewarding. While it’s not the absolute easiest plant for a complete novice, with a little care and patience, you’ll be well on your way to creating more of these beauties.
The Best Time to Start
For Calamagrostis sesquiflora, the sweet spot for propagation is definitely spring. As the plant begins its active growth phase, it has the energy to put forth new roots, making your efforts much more successful. Aim for early to mid-spring, when the soil is warming up but before the heat of summer sets in. You can also have success with fall division, but spring generally offers a higher strike rate.
Supplies You’ll Need
- Sharp pruning shears or a clean knife: For making clean cuts.
- Potting mix: A good quality, well-draining potting mix is key. I like to use a blend of about 50% peat moss or coco coir and 50% perlite or coarse sand.
- Small pots or seed trays: Whatever you have on hand that will hold the new divisions. Make sure they have drainage holes!
- Rooting hormone (optional but recommended): A powdered hormone can give your cuttings a nice boost.
- Watering can or spray bottle: For gentle watering.
- Labels and a marker: So you don’t forget what you’ve planted!
- Gardening gloves: Always a good idea.
Propagation Methods: Dividing Your Grass
Calamagrostis sesquiflora is most commonly and successfully propagated by division. It’s like giving your plant a little haircut and creating new individuals from the well-established clumps.
- Prepare your plant: In early spring, before new growth really takes off, water your mature Calamagrostis sesquiflora thoroughly a day or two before you plan to divide it. This helps the soil loosen.
- Gently excavate: Using your trowel or spade, carefully dig around the perimeter of the clump. You want to loosen it from the soil without causing too much damage.
- Lift and separate: Once the clump is loose, carefully lift it out of the ground. You can often gently pull the clump apart with your hands. For tougher divisions, use two garden forks, tines facing each other, to pry the roots apart.
- Inspect the roots: Look for sections that have healthy roots and at least a few shoots or potential growth points. Discard any dead or mushy material.
- Prepare your new homes: Fill your pots with your prepared, well-draining potting mix.
- Plant your divisions: Place each healthy division into a pot, ensuring the base of the plant is at soil level. Firm the soil gently around the roots. If you’re using rooting hormone, dip the cut end of the division into it before placing it in the pot.
- Water thoroughly: Give your newly potted divisions a good, gentle watering. You want the soil to be moist but not waterlogged.
The “Secret Sauce” (Pro Tips)
Here are a few little tricks I’ve picked up over the years that can make a big difference:
- Don’t be afraid to be firm with the division: While we want to be gentle, sometimes you need a bit of muscle to separate a well-established clump. Those roots can be tough! Just make sure you’re separating viable sections, not just wisps of old growth.
- Consider a light topdressing: After dividing and replanting, I like to add a very thin layer (about half an inch) of fine-textured compost over the top of the soil. This helps retain moisture while still allowing for good aeration.
- Give them a sheltered spot: For the first few weeks after division, I place my new pots in a partially shaded, sheltered location. This protects them from harsh sun and strong winds, allowing them to focus on establishing their roots.
Aftercare & Troubleshooting
Once your divisions are potted, keep the soil consistently moist but never soggy. You should see new growth appearing within a few weeks to a couple of months, depending on your climate and the plant’s vigor.
The most common sign of trouble is rot. If you notice your divisions turning brown and mushy, or if there’s a foul smell coming from the pot, it’s likely due to overwatering. In this case, you can try carefully removing the affected division, trimming away any rotten parts with clean shears, and replanting it in fresh, drier potting mix. Ensure good drainage is paramount.
Keep Planting!
So there you have it! Dividing your Calamagrostis sesquiflora is a wonderful way to expand your garden and share these lovely grasses with friends. Be patient with the process; nature has its own rhythm. Happy gardening, and enjoy watching your new grasses thrive!
Resource: