Hello there, fellow plant enthusiasts! It’s so lovely to sit down with a warm cup of something delicious and talk about getting more of those beautiful plants we adore. Today, we’re diving into the wonderful world of Solanum berthaultii.
The Allure of Solanum berthaultii
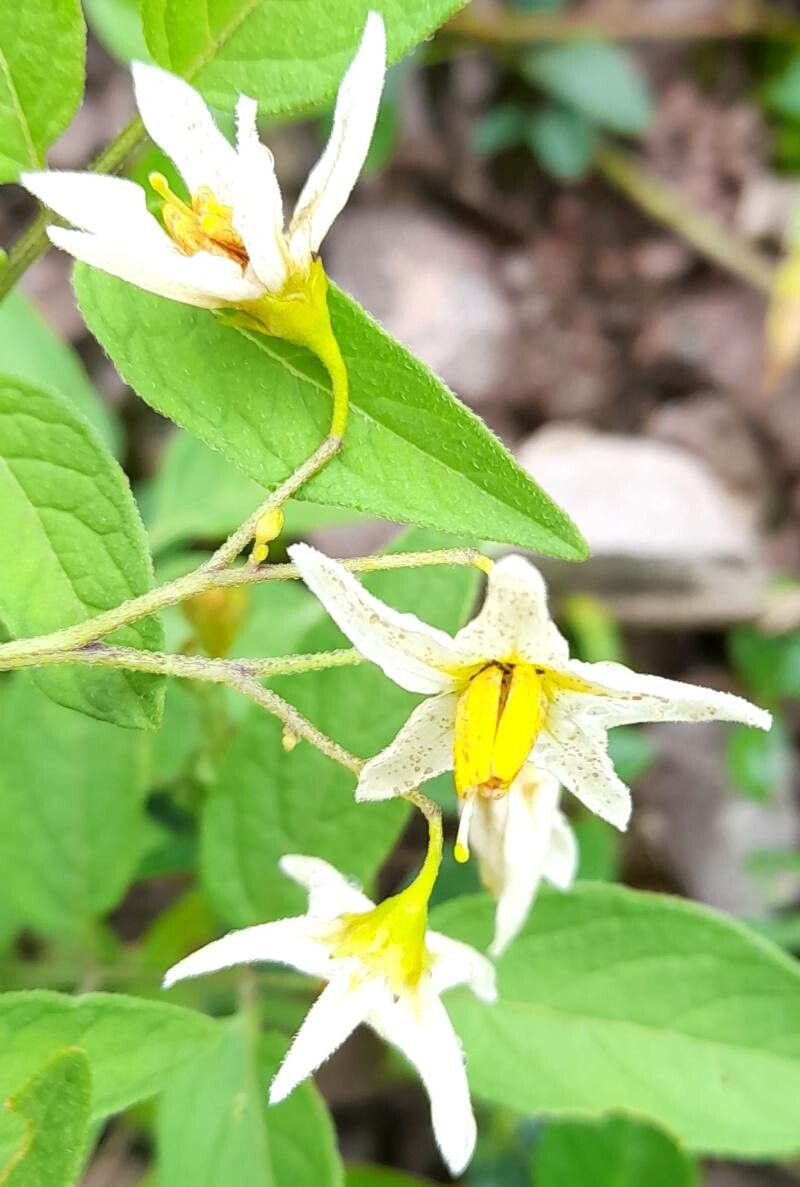
You know, there’s something truly magical about Solanum berthaultii. Its delicate blooms and unique foliage have captured my heart over the years. And the joy of coaxing a new plant from just a small piece of a parent? It’s an incredibly rewarding feeling. Propagating this particular solanum can be a bit of a journey, but I promise, the effort is well worth it. For beginners, it might pose a slight challenge, but with a little guidance, you’ll be creating new little solanums in no time.
When the Magic Happens: The Best Time to Start
For Solanum berthaultii, I’ve found the spring and early summer to be the absolute sweet spot for propagation. This is when the plant is actively growing, brimming with energy, and has a better chance of successfully rooting. Look for new, vigorous growth – those are the pieces that will have the most vitality.
Your Propagation Toolkit
Gathering your supplies is half the fun, don’t you think? Here’s what I always have on hand:
- Sharp pruning shears or a clean craft knife: For making clean cuts.
- Rooting hormone powder or gel: This really gives cuttings a boost.
- Well-draining potting mix: A blend of equal parts peat moss or coco coir, perlite, and a bit of compost works wonders.
- Small pots or seed trays: Clean ones are essential to prevent disease.
- Plastic bags or a propagator lid: To create a humid environment.
- Watering can or spray bottle: For gentle watering.
Bringing New Life: Propagation Methods
Let’s get our hands dirty! The most reliable method for Solanum berthaultii is stem cuttings.
-
Take Your Cuttings: Select healthy, non-flowering stems from your parent plant. Look for stems that are about 4-6 inches long. Using your clean shears or knife, make a clean cut just below a leaf node (that little bump where a leaf attaches to the stem). Remove the lower leaves, leaving just a couple at the very top. This reduces water loss and prevents leaves from rotting.
-
Apply Rooting Hormone: Dip the cut end of the stem into your rooting hormone powder or gel. Tap off any excess. This magical stuff encourages root development.
-
Planting the Cuttings: Fill your clean pots with your well-draining potting mix. Make a small hole in the center of the soil with your finger or a pencil. Gently insert the prepared stem cutting into the hole, ensuring the leaf nodes are below the soil surface.
-
Create a Humid Environment: Lightly water the soil around the cuttings. Then, place the pots inside a clear plastic bag, sealing it loosely with twist ties, or cover them with a propagator lid. This creates a mini-greenhouse effect, keeping humidity high, which is crucial for successful rooting.
-
Placement: Place your pots in a bright location that receives indirect sunlight. Avoid direct sun, as this can scorch the delicate cuttings.
The “Secret Sauce”: My Insider Tips
Here are a few things I’ve learned over the years that can make a big difference:
- Bottom Heat is Your Friend: If you have a heat mat, placing your cuttings on it can dramatically speed up root formation. The warmth stimulates the plant’s natural rooting hormones.
- Don’t Drown Your Cuttings: While humidity is key, too much water in the pot can lead to root rot. I like to give them a good water initially, then only water again when the first inch of soil feels dry to the touch. A gentle misting with a spray bottle can help maintain humidity without over-watering.
- Patience, Young Grasshopper: Solanum berthaultii can be a bit slow to root. Don’t be discouraged if you don’t see action immediately. It can take anywhere from 4 to 8 weeks, sometimes even longer, for roots to develop sufficiently.
Aftercare and When Things Go Wrong
Once you start seeing new leaf growth, that’s a good sign the roots are developing! You can also gently tug on the cutting – if there’s resistance, it’s likely rooted.
Keep the humidity high for a while longer. Gradually acclimate your new plants to lower humidity by opening the plastic bag or propagator lid a little each day over a week or two. Once they seem sturdy and have a good root system, you can transplant them into their own individual pots.
Now, about troubleshooting: The most common enemy is rot. If your cuttings turn black and mushy, or develop fuzzy white mold, it’s usually a sign of too much moisture or poor air circulation. Sadly, at this point, they’re likely lost. Prevention is key: use sterile pots, clean tools, and that well-draining soil mix.
Keep Growing!
Propagating Solanum berthaultii is a wonderful way to expand your collection and share the plant love. It requires a bit of patience and keen observation, but the feeling of success when those roots finally appear is unparalleled. So, grab your tools, find a healthy stem, and get propagating. You’ve got this! Happy gardening!
Resource:
https://identify.plantnet.org/k-world-flora/species/Solanum%20berthaultii%20Hawkes/data