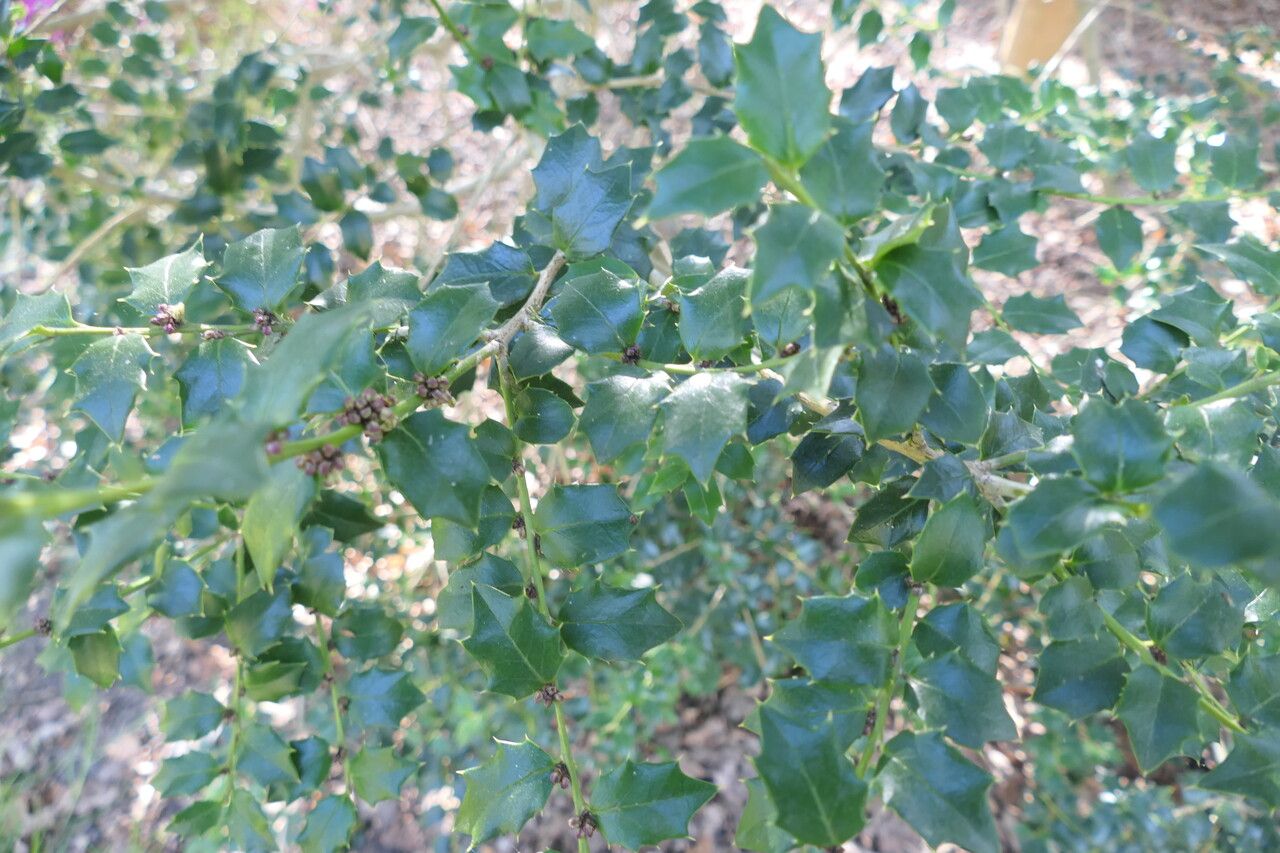
Oh, Ilex bioritsensis! Isn’t it just a dream? Those glossy, deep green leaves and the way they hold their shape through the seasons… it’s a plant that really brings a touch of elegance to any garden. And the best part? You can actually make more of them yourself! Propagating a plant you love, watching it grow from a tiny cutting into its own little success story – there’s a special kind of magic in that.
Now, Ilex bioritsensis isn’t usually the easiest plant for a complete beginner to propagate, but don’t let that deter you. With a little care and a bit of patience, you can absolutely achieve success. Think of it as a lovely challenge that’s incredibly rewarding when you get it right!
The Best Time to Start
For Ilex bioritsensis, the golden window for propagation is late spring to early summer. This is when the plant is actively growing, meaning it’s full of energy and more likely to sprout new roots. You’ll want to look for what we call semi-hardwood cuttings. These are stems that are no longer brand new and soft, but haven’t yet become completely woody and rigid. They should feel firm but still have a bit of flexibility.
Supplies You’ll Need
Gathering your supplies before you begin makes the whole process much smoother. Here’s what I keep on hand:
- Sharp Pruning Shears or a Sharp Knife: Clean cuts are crucial to prevent disease.
- Rooting Hormone: This isn’t strictly essential, but it really gives your cuttings a boost. I prefer the powder form.
- Small Pots or Seed Starting Trays: With drainage holes, of course!
- A Good Potting Mix: I usually use a well-draining, sterile seed starting mix or a blend of peat moss, perlite, and a little bit of sand. The key is to keep it light and airy so roots can develop easily.
- A Clear Plastic Bag or a Propagator Lid: This helps create a humid environment for your cuttings.
- Water: For misting and watering.
- Labels and a Marker: So you don’t forget what you’ve planted where!
Propagation Methods: Stem Cuttings
This is my go-to method for Ilex bioritsensis. It’s reliable and gives you the best chance of success.
- Take Your Cuttings: On a cool, overcast morning if possible, select healthy, vigorous stems. Using your sharp shears, take cuttings that are about 4-6 inches long. Make the cut just below a leaf node (where a leaf joins the stem). Remove any flowers or developing berries.
- Prepare the Cuttings: Gently strip off the lower leaves, leaving just a few at the very top. This prevents leaves from rotting once you plant them. If the leaves are large, you can even cut them in half horizontally to reduce water loss.
- Apply Rooting Hormone: Dip the cut end of each stem into rooting hormone, tapping off any excess. This is a really important step, especially for plants that can be a bit slower to root.
- Pot Up Your Cuttings: Fill your small pots with the moistened potting mix. Make a hole in the center of each pot with your finger or a pencil. Gently insert the rooted end of the cutting into the hole, making sure the nodes where you removed the leaves are below the soil surface. Firm the soil gently around the base of the stem to ensure good contact.
- Create a Humid Environment: Water the soil lightly. Then, place the pot inside a clear plastic bag, securing it loosely around the pot with a rubber band, or cover it with a propagator lid. This will create that vital humid microclimate.
The “Secret Sauce” (Pro Tips)
Over the years, I’ve learned a few little tricks that seem to make all the difference.
- Bottom Heat is Your Friend: If you can, placing your pots on a gentle heat mat can significantly speed up root development. It mimics the warmth of spring soil and really encourages those roots to get going. Just make sure the heat isn’t too intense – a gentle warmth is all you need.
- Don’t Drown Them! While humidity is key, overwatering the soil is a common pitfall. You want the soil to be consistently moist, like a wrung-out sponge, not soggy. If you see water pooling on the surface, that’s too much. Good drainage in your pots is absolutely critical here.
- Air Them Out Occasionally: Even though you want humidity, it’s good to ventilate the plastic bag or propagator for a few minutes each day or every couple of days. This helps prevent fungal diseases from setting in. Just a quick peek and a bit of fresh air will do.
Aftercare & Troubleshooting
Once your cuttings have been in their humid environment for a few weeks, you’ll start to see signs of life. The true test is a gentle tug. If you feel a bit of resistance, it means roots are forming!
Care for your new little plants as you would any young seedling. Keep them in bright, indirect light. Continue to water them when the top inch of soil feels dry. As they grow and develop more leaves, you can gradually acclimate them to lower humidity by opening the bag or propagator more and more over a week or two. Then, you can transplant them into slightly larger pots.
Now, what if things go wrong? The most common signs of trouble are wilting and rot. If your cuttings look limp and the stems feel mushy or black at the soil line, that’s usually a sign of too much moisture and/or a fungal issue. In this case, sadly, it’s often best to discard the affected cuttings to prevent it from spreading to others. If they just look dry, you might need to make sure your humidity cover is sealed well enough or that you’re watering more consistently. Root rot is the biggest enemy, so prioritize that excellent drainage and avoid soggy soil!
A Encouraging Closing
Propagating plants is a journey, and like any good journey, there will be ups and downs. Don’t get discouraged if your first few attempts aren’t perfect. Every gardener has lost cuttings – it’s part of the learning process! Keep trying, pay attention to what your plants tell you, and most importantly, enjoy the magic of nurturing new life. Happy propagating!
Resource:
https://identify.plantnet.org/k-world-flora/species/Ilex%20bioritsensis%20Hayata/data