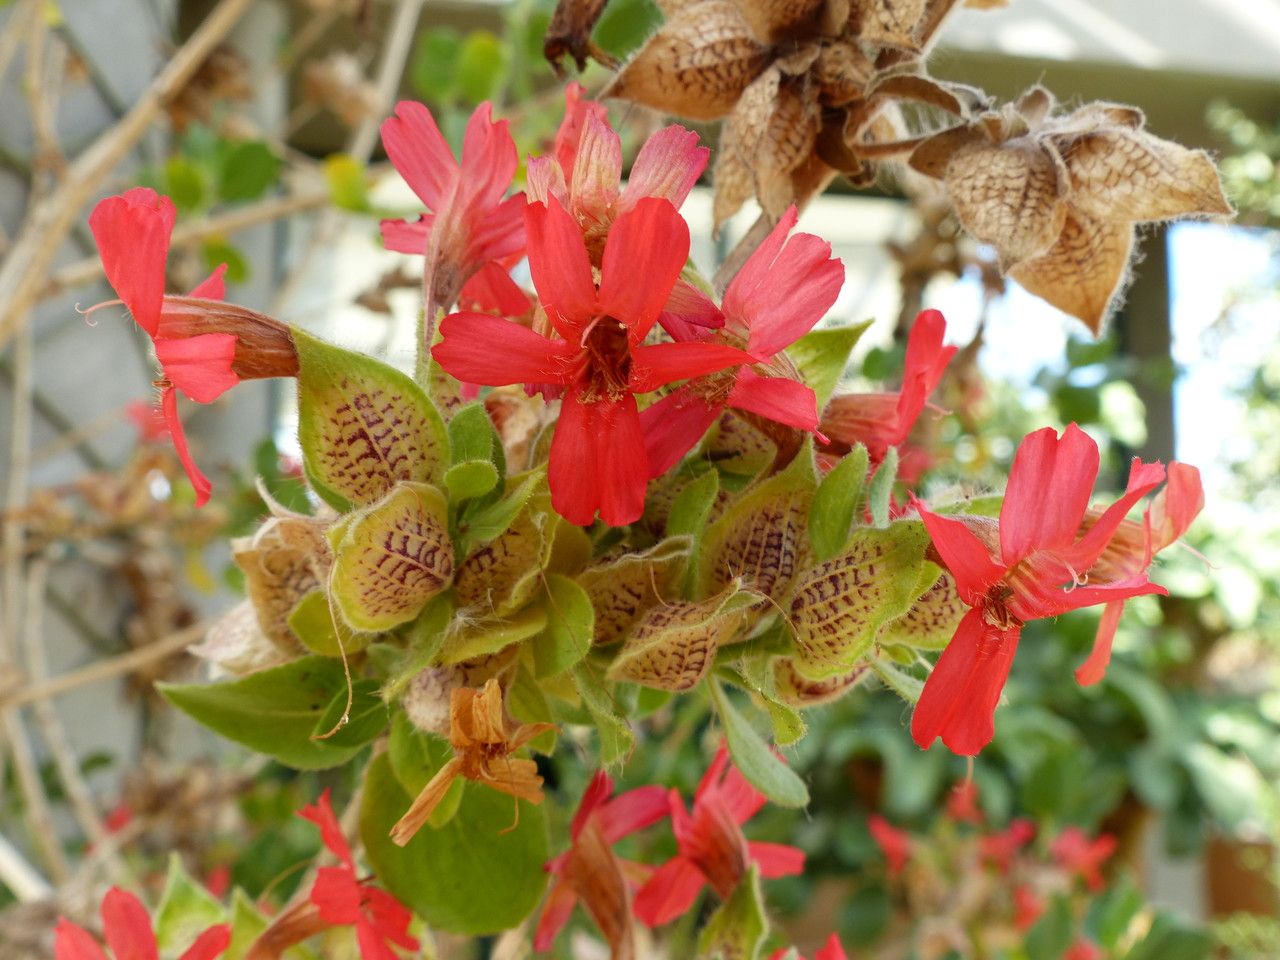
Oh, hello there! Come on in, grab a mug of something warm. Today, we’re going to talk about a real gem for the garden: Petalidium coccineum. You know, those lovely plants with their cheerful, vibrant blooms that just sing “summer joy”? They have this wonderful way of brightening up any corner, and I’ve always found them particularly rewarding to grow.
Propagating Petalidium coccineum can feel like a little bit of garden magic. It’s not an overly fussy plant, but it does have its preferences. For beginners, I’d say it’s moderately easy. You need to pay a bit of attention, but with a few key steps, you’ll be well on your way to more beautiful blooms.
The Best Time to Start
When it comes to getting this beauty to multiply, spring or early summer is truly your golden ticket. This is when the plant is in a strong growth phase and has plenty of energy to put into developing new roots. You’ll want to take cuttings from healthy, non-flowering stems. Look for stems that are firm but not woody – they should snap cleanly when bent a little.
Supplies You’ll Need
Before we dive in, let’s gather our tools. Having everything ready makes the whole process smoother, doesn’t it?
- Sharp pruning shears or a clean, sharp knife: For making those crucial clean cuts.
- Rooing hormone (optional but recommended): Helps give your cuttings a little boost.
- A good quality potting mix: I like a gritty mix that drains well. Think something with perlite or pumice mixed with your usual potting soil.
- Small pots or seed trays: Clean them well!
- Plastic bags or a propagator: To create a humid environment.
- Watering can or spray bottle: For gentle watering.
Propagation Methods
While Petalidium coccineum can sometimes be grown from seed, I find that taking stem cuttings is the most reliable and straightforward method for getting new plants going.
- Take Your Cuttings: Find those healthy, non-flowering stems I mentioned. Using your sharp shears or knife, take cuttings that are about 4-6 inches long. Make the cut just below a leaf node – that’s the point where a leaf grows from the stem. This is where the magic happens for root formation.
- Prepare the Cuttings: Gently remove the lower leaves from your cuttings, leaving just the top few leaves. If the leaves are quite large, you can even cut them in half to reduce water loss.
- Apply Rooting Hormone (Optional): Dip the cut end of the stem into rooting hormone, if you’re using it. Tap off any excess.
- Plant Your Cuttings: Fill your small pots or trays with your prepared potting mix. Make a small hole in the center of the soil with your finger or a pencil. Carefully insert the cut end of your Petalidium coccineum cutting into the hole, and gently firm the soil around it.
- Water Gently: Water the soil lightly, just enough to moisten it. You don’t want to drown your little cuttings.
- Create a Humid Environment: This is key! Cover the pot or tray with a plastic bag, or place it inside a propagator. This traps moisture and encourages root growth. Make sure the leaves aren’t touching the sides of the bag, if possible.
- Find a Suitable Spot: Place your cuttings in a warm, bright spot, but out of direct sunlight. A windowsill that gets morning sun is often perfect.
The “Secret Sauce”
Now, for a couple of little tricks I’ve picked up over the years. These might sound small, but they can make a big difference!
- Bottom Heat is Your Friend: If you can provide gentle bottom heat – like a seedling heat mat – your cuttings will be so much happier. It encourages root development from below, giving them a real head start.
- Don’t Let Them Drown: While humidity is crucial, stagnant water is the enemy. Make sure your potting mix is airy. If you see water pooling in the bottom of the tray, empty it out. And, as I mentioned before, try to keep the leaves from sitting in water, as this can lead to rot.
Aftercare & Troubleshooting
Once your cuttings have started to show signs of life, it’s time for a little more direct care. You’ll know roots are forming when you gently tug on a cutting and feel a slight resistance, or you might even see tiny roots peeking out from the drainage holes.
When roots are established, you can gradually remove the plastic cover over a few days to acclimate them to the drier air. Continue to keep them in bright, indirect light and water when the top inch of soil feels dry. You can then transplant them into slightly larger pots as they grow.
Now, what if things don’t go as planned? The most common issue you’ll encounter is rot. If your cuttings turn mushy, black, or smelly, it’s usually a sign of too much moisture or insufficient airflow. Don’t be discouraged if this happens! It’s all part of the learning process. Just discard the rotted cuttings and try again with fresh ones, paying close attention to drainage and humidity. Brown, crispy leaves can indicate they’re too dry or getting too much direct sun.
A Little Patience, A Lot of Reward
Growing new plants takes time and a touch of patience, doesn’t it? Don’t get discouraged if your first few attempts don’t yield immediate results. Each time you try, you learn a little more about what your Petalidium coccineum loves. So go ahead, give it a try! Enjoy the process, and soon you’ll have a whole little family of these beautiful bloomers to share. Happy gardening!
Resource:
https://identify.plantnet.org/k-world-flora/species/Petalidium%20coccineum%20S.Moore/data