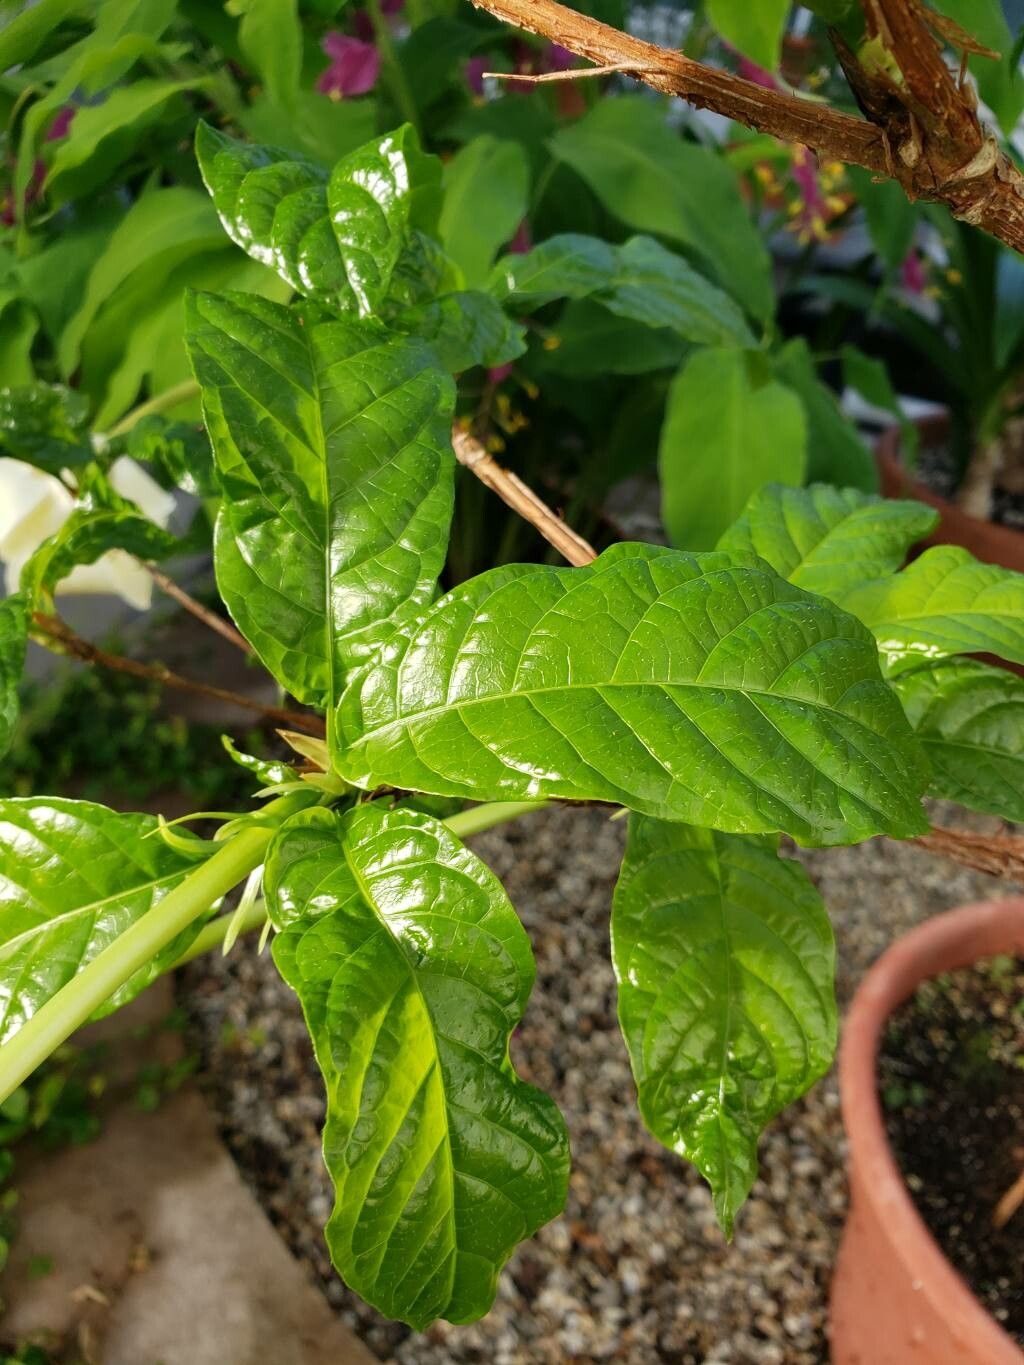
Oh, hello there! It’s so lovely to have you in my little corner of the garden today. We’re going to talk about a real stunner: Euclinia longiflora, often called the Long-Flowered Euclinia. If you haven’t met this beauty yet, imagine delicate, trumpet-shaped blooms cascading in shades of pink, peach, and sometimes a lovely blush white. They have this wonderful, almost ethereal fragrance that just makes you want to linger outdoors.
Propagating these darlings is just so satisfying. It’s like giving the gift of future blooms, multiplying that joy over and over. Now, I’ll be honest, Euclinia longiflora isn’t the absolute easiest plant for a first-timer to propagate, but with a little care and these tips, you’ll be well on your way. Think of it as a delightful challenge that truly pays off.
The Best Time to Start
For the highest success rate with Euclinia longiflora, I always aim for late spring to early summer. This is when the plant is in its most vigorous growth phase after its main blooming period. You want to work with healthy, actively growing stems. Avoid taking cuttings from flowering stems or from plants that are stressed or looking a bit weary.
Supplies You’ll Need
Gathering your supplies beforehand makes the whole process so much smoother. Here’s what I usually have on hand:
- Clean, sharp pruning shears or secateurs: A nice, clean cut is crucial.
- Small pots or trays: Anything that will hold your cuttings. Old yogurt pots with drainage holes poked in work perfectly!
- Peat-free potting mix: A good quality, well-draining mix is essential. A blend of coco coir and perlite is something I often reach for.
- Rooting hormone (optional but recommended): This can give your cuttings a little boost.
- Plastic bags or a propagator lid: To create a humid environment.
- Watering can with a fine rose attachment: For gentle watering.
- Labels and a permanent marker: So you don’t forget what you’ve planted!
Propagation Methods
While you might have some luck with other methods, I find stem cuttings to be the most reliable and straightforward for Euclinia longiflora.
Stem Cuttings:
- Select Your Parent Plant: Choose a healthy, mature Euclinia longiflora that you love. Look for stems that are strong and have developed since the last bloom.
- Take the Cuttings: Using your clean shears, take cuttings that are about 4-6 inches long. Look for stems that have at least two sets of leaves. Make your cut just below a leaf node (the point where a leaf attaches to the stem). This is where roots are most likely to form.
- Prepare the Cuttings: Gently remove the lower leaves from the cutting, leaving just the top two or three leaves. This prevents those leaves from rotting in the soil and encourages the plant to focus its energy on rooting.
- Apply Rooting Hormone (if using): Dip the cut end of the stem into your rooting hormone powder. Tap off any excess.
- Pot Them Up: Fill your prepared pots with your potting mix. Make a small hole in the center with your finger or a pencil. Gently insert the cutting into the hole, ensuring the node where you removed the leaves is just below the soil surface. Firm the soil gently around the stem.
- Provide Humidity: Water the soil thoroughly but gently. To create a humid environment, you can place a plastic bag over the pot and secure it with a rubber band, or use a clear propagator lid. Make sure the plastic doesn’t touch the leaves.
- Placement: Place the pots in a bright location, but out of direct, harsh sunlight. A greenhouse, a sunny windowsill (without scorching rays), or a sheltered spot on a patio would be ideal.
The “Secret Sauce” (Pro Tips)
Here are a few little tricks I’ve learned over the years that can really make a difference:
- The “Heel” Trick: Sometimes, when I’m taking cuttings from a slightly more mature stem, I’ll actually try to pull a small piece of the older bark with it. This little bit of “heel” attached to the stem can sometimes encourage root development. You’re not literally tearing it, but if a slight section comes with the cutting when you snap or cut it, don’t discard it!
- Bottom Heat is Your Friend: If you have access to a heat mat designed for propagation, use it. Euclinia longiflora absolutely loves a little warmth from below. It really speeds up root formation and dramatically increases your success rate, especially in cooler weather.
- Don’t Drown Them: While humidity is key, too much moisture sitting around the base of the cutting can lead to rot. Make sure your potting mix is well-draining and that any excess water can escape. If you’re using the plastic bag method, I like to loosely tent it so there’s still some air circulation.
Aftercare & Troubleshooting
Once you’ve potted up your cuttings, keep an eye on them. You’ll want to check the soil moisture regularly, watering when the top inch feels dry. Mist the leaves occasionally if they look a bit dry, but remember our tip about avoiding the water sitting on the leaves.
The first sign that your cuttings are taking is usually new leaf growth. It might be tiny at first, but it’s a clear indication that roots are forming below. This can take anywhere from 4 to 8 weeks, or sometimes even longer. Be patient!
Common signs of failure? Rot is the big one. If your cutting turns mushy or black and falls apart, it’s likely rotted. This usually points to too much moisture or poor air circulation. If you see leaves yellowing and dropping off without any new growth appearing after a significant time, they might not have rooted, and it’s best to discard them and try again.
A Little Seed of Hope
So there you have it! Propagating Euclinia longiflora is a wonderful journey. Don’t be discouraged if your first attempt isn’t a resounding success. Gardening is all about learning and observing. Take what you’ve learned, enjoy the process of nurturing these new little plants, and before you know it, you’ll have a whole host of beautiful Euclinia to share. Happy propagating!
Resource:
https://identify.plantnet.org/k-world-flora/species/Euclinia%20longiflora%20Salisb./data