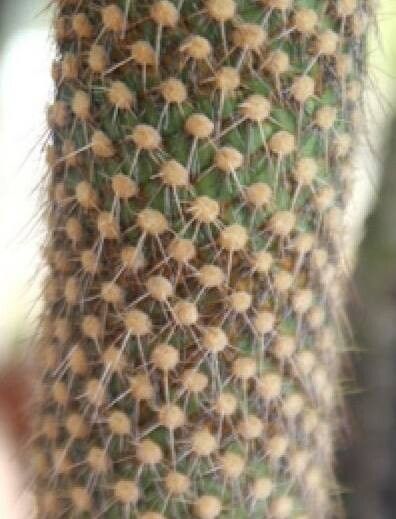
Oh, Austrocylindropuntia pachypus! If you’ve ever seen this striking cactus, you’ll know exactly what I mean. It’s got this wonderfully architectural look, with its segmented stems and those unique, almost balloon-like pads. For me, it’s a real showstopper in any succulent collection, and truthfully, it’s a plant that really rewards your efforts when you bring a new one into being. Now, is it a walk in the park for absolute beginners? I’d say it’s more of a gentle stroll—it requires a bit of attention, but nothing too daunting with a few pointers.
The Best Time to Start
My favorite time to get stuck into propagating these beauties is definitely when things are warming up; think late spring or early summer. This is when the plant is actively growing and has plenty of energy to put into forming new roots. You’ll see visible growth happening, and that’s your cue that it’s ready to share!
Supplies You’ll Need
- Sharp, clean pruning shears or a sharp knife. Sterilize them with rubbing alcohol before you start.
- A well-draining potting mix. I like to use a commercial succulent or cactus mix, and often add a bit more perlite or pumice to it for extra aeration.
- Small pots or trays. Terracotta pots are great because they breathe.
- Rooting hormone (optional, but I find it helpful). Look for a powder or gel specifically for succulents.
- A spray bottle for gentle watering.
- Gloves – those little spines can be sneaky!
- A warm, bright spot that isn’t in direct, scorching sun.
Propagation Methods
The most reliable way to get more Austrocylindropuntia pachypus is through stem cuttings. It’s a straightforward process, but success hinges on a couple of crucial steps.
- Taking the Cutting: Choose a healthy, mature stem segment. Gently twist or cut it from the main plant. Aim for a piece that’s at least a few inches long. Don’t be afraid to take more than one cutting – it’s always good to have backups!
- Callusing Over: This is super important. You absolutely cannot plant a fresh cutting directly into soil. The cut end needs to dry out and form a protective callus. Place your cuttings in a dry, airy spot away from direct sun for anywhere from a few days to a week, or even longer. The end should look dry and sealed.
- Planting the Cutting: Once callused, you can plant your cutting. You can either dip the callused end in rooting hormone first (tap off any excess) or go straight to planting. Make a small hole in your well-draining soil and gently insert the callused end. You don’t need to plant it very deep, just enough to keep it upright.
- Watering (Sparingly!): Now, resist the urge to drench it. I like to wait a few days after planting before the very first watering. Then, when I do water, I do it very lightly, perhaps with a spray bottle around the base of the cutting, or a very gentle moistening of the soil. The goal is to encourage roots to seek out moisture, not to provide a constant bath.
The “Secret Sauce” (Pro Tips)
- Avoid the Soggy Bottom: When you are watering your cuttings, even after they’ve rooted, make sure the foliage itself never touches the water. This is a fast track to rot, and Austrocylindropuntia pachypus is a bit sensitive to that. Aim to water the soil directly.
- Warmth is Key: While you don’t want direct sun, a little warmth can be a great motivator for root growth. If you have a heat mat designed for seedlings, placing your pots on that can really speed things up. It mimics that lovely summer soil temperature.
- Patience is Your Best Friend: This isn’t a plant that will sprout roots overnight. Sometimes it can take weeks, even months, for a significant root system to develop. Don’t be discouraged if it looks like nothing is happening initially. Just keep it in its bright, warm spot, and water very sparingly.
Aftercare & Troubleshooting
Once your cutting shows signs of having taken – often you’ll see new growth appearing, or it will feel a bit more firmly anchored in the soil – you can gradually increase your watering. Still, go easy! Let the soil dry out almost completely between waterings.
The most common problem you’ll encounter is rot. If you see a cutting turning mushy or blackening at the base, it’s usually a sign of too much moisture. Unfortunately, once rot sets in, it can be hard to save. Your best bet is to remove the affected part immediately. To prevent it, the callusing step and careful watering are your best defenses. Another sign of struggle is if the cutting shrivels up completely; this could mean it’s drying out too much, or simply that it wasn’t able to form roots before its reserves ran out.
A Encouraging Closing
Propagating Austrocylindropuntia pachypus might take a little patience, but there’s such a thrill in watching a tiny cutting transform into a brand new plant. Don’t be afraid to experiment and learn as you go. Trust your instincts, observe your plant, and most importantly, enjoy the wonderful journey of creating more green life! Happy propagating!
Resource: