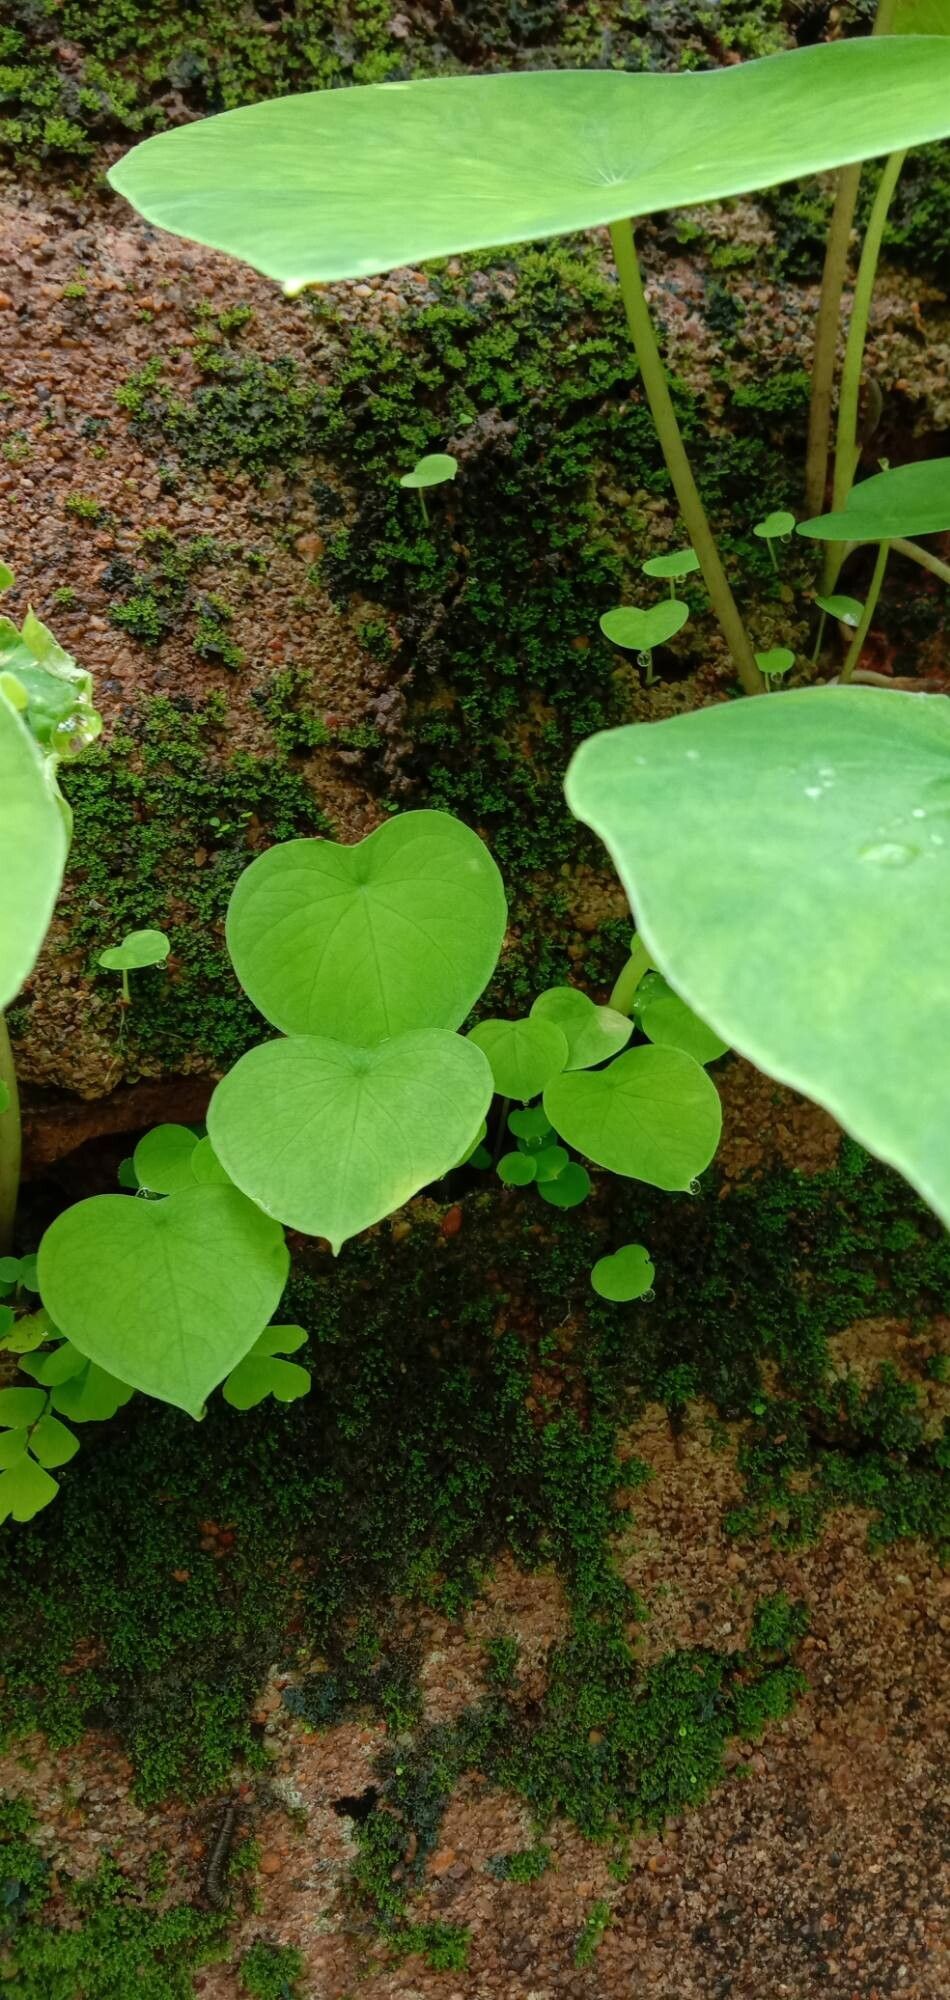
Oh, Ariopsis peltata! You know, that gorgeous plant with the shiny, shield-shaped leaves that just instantly elevate any space. It’s like a living sculpture, isn’t it? I remember the first time I saw one, I was absolutely smitten. And the best part? You can easily bring that same beauty into your own home, and even share it with friends, by propagating it. It’s a plant that truly rewards your efforts, and while it’s not overly fussy, it does have a few specific needs. For a beginner, I’d say it’s moderately easy – just a little bit of know-how and you’ll be laughing, or rather, growing!
When to Get Your Hands Dirty
The sweet spot for propagating Ariopsis peltata is definitely spring or early summer. This is when the plant is in its most vigorous growth phase. You’ll see fresh, new shoots emerging, and that’s exactly what you want. Taking cuttings when the plant is actively pushing out new life means they’ll have the best energy reserves to root and grow.
What to Gather Before You Begin
Here’s a little checklist to have everything ready before you start:
- Sharp Pruning Shears or a Clean Knife: For making clean cuts.
- Rooting Hormone (Optional but Recommended): A powder or gel to give your cuttings a little boost.
- Well-Draining Potting Mix: I like a blend of perlite and regular potting soil, about a 50/50 mix. Or, you can use a dedicated cactus/succulent mix.
- Small Pots or Seedling Trays: Clean containers are key to preventing disease.
- Watering Can or Spray Bottle: For gentle watering.
- Plastic Bag or Clear Dome: To create a humid environment for your cuttings.
- Damp Paper Towels: For cleaning your tools.
Getting Your Ariopsis to Multiply
There are a couple of tried-and-true methods that work wonders for Ariopsis peltata.
Stem Cuttings: My Go-To Method
This is usually the most straightforward way to get new plants.
- Locate a Healthy Stem: Look for a stem that’s actively growing but hasn’t flowered yet. You want a section that has at least 2-3 sets of leaves.
- Make the Cut: Using your sterilized pruning shears or knife, make a clean cut just below a leaf node (where a leaf attaches to the stem). You want pieces that are about 4-6 inches long.
- Remove Lower Leaves: Gently take off the leaves from the bottom half of your cutting. This prevents them from rotting when they’re in the soil or water.
- Apply Rooting Hormone (Optional): Dip the cut end into your rooting hormone powder or gel. Tap off any excess.
- Plant Your Cuttings: Fill your small pots with your well-draining potting mix. Make a small hole in the center and insert the cut end of your stem. Gently firm the soil around the cutting.
Water Propagation: A Visual Treat
If you’re patient and enjoy watching the roots develop, this is a fun option.
- Prepare Your Cuttings: Follow steps 1-3 from the stem cutting method. You can even use cuttings that are slightly shorter for this.
- Place in Water: Fill a clean glass or jar with filtered water or room-temperature tap water. Place your cuttings in the water, ensuring that no leaves are submerged. The leaf nodes where you removed the leaves should be just touching the water.
- Change Water Regularly: Every 2-3 days, refresh the water to keep it clean and oxygenated.
The Little Secrets That Make a Big Difference
Here are a few things I’ve learned over the years that really boost your success rate:
- Bottom Heat is Your Friend: For stem cuttings, placing your pots on a seedling heat mat can make an incredible difference. It encourages root development from the bottom up. Think of it as giving your cutting a warm little hug.
- Humidity, Humidity, Humidity: Once you’ve potted your cuttings, tent a clear plastic bag loosely over them or use a propagation dome. This creates a mini-greenhouse effect, keeping the humidity high and preventing the cuttings from drying out before they can form roots. Make sure there’s still some airflow.
- Don’t Overwater! This is probably the most common mistake. Cuttings are easily prone to root rot if they sit in soggy soil. Let the top inch of soil dry out between waterings. When you water, water thoroughly until it drains from the bottom.
Nurturing Your New Sprouts and What to Watch For
Once you see signs of root growth – maybe a tiny new leaf emerging or resistance when you gently tug on a cutting – congratulations!
- Gradual Acclimation: If you used a plastic bag or dome, start by removing it for a few hours each day, slowly increasing the time until the plant is fully accustomed to open air.
- Light Needs: Place your new cuttings in bright, indirect light. Too much direct sun will scorch their delicate new leaves.
- Patience is Key: It can take anywhere from weeks to a couple of months for Ariopsis peltata cuttings to root well. Don’t get discouraged if it seems slow.
Now, about those less-than-happy signs. The big one to watch out for is rot. If your cutting turns black and becomes mushy, that’s a sign of too much moisture and not enough airflow. Unfortunately, this often means the cutting is lost. If you see yellowing leaves, it could be a sign of overwatering or not enough light. Adjust accordingly.
So, go forth and propagate! Enjoy the process of watching these little beauties take root and grow. It’s a truly magical part of gardening, and I’m so excited for you to experience it with Ariopsis peltata. Happy growing!
Resource:
https://identify.plantnet.org/k-world-flora/species/Ariopsis%20peltata%20Nimmo/data