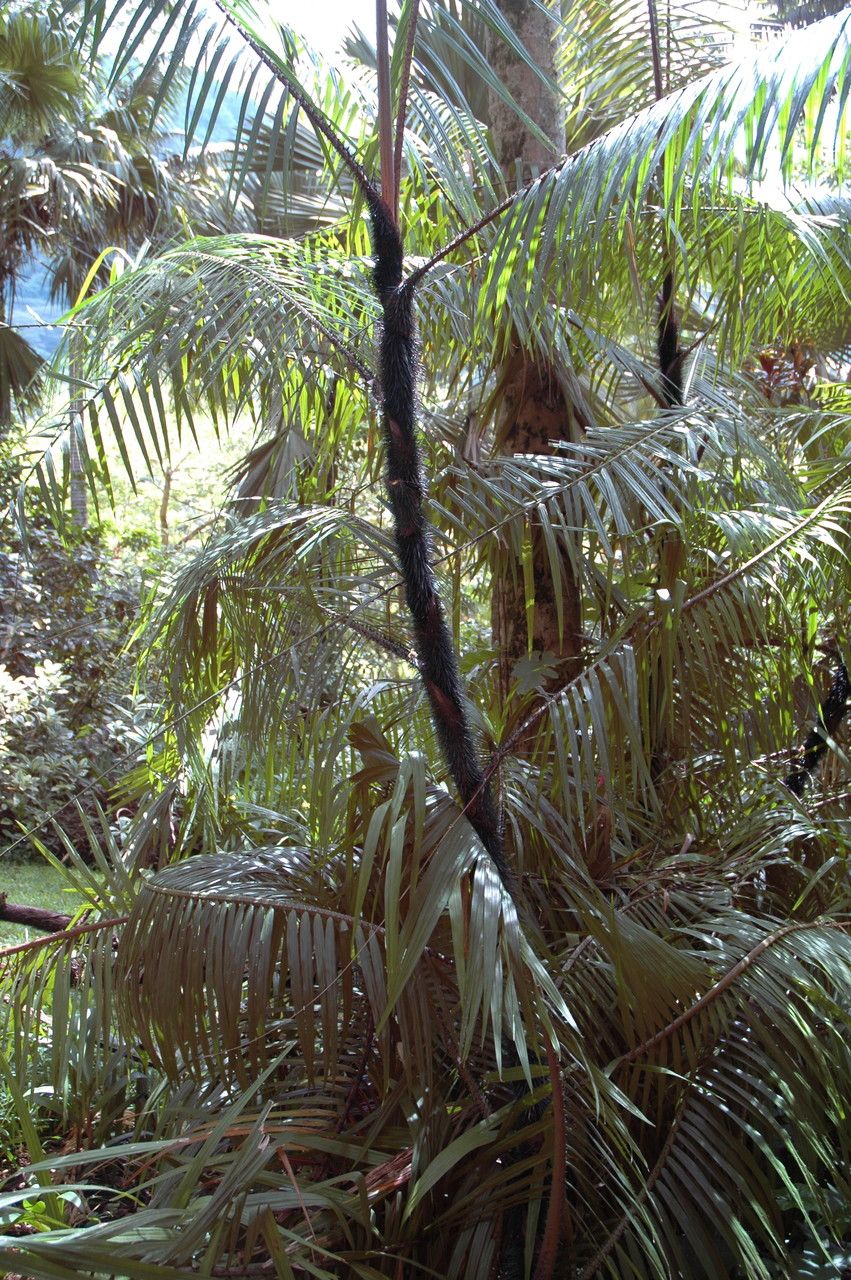
Oh, hello there! Pull up a chair and let’s talk about one of my absolute favorites: Calamus validus. You know, the Water Bamboo? Its architectural beauty and lush, green stalks bring such a wonderful, tropical vibe, even if you only have a small space. And the best part? Propagating it is surprisingly rewarding, and I think you’ll find it’s not nearly as intimidating as it might sound. Even seasoned beginners can get a thrill from watching these beauties multiply!
The Best Time to Start
My favorite time to embark on this propagation adventure is in the late spring or early summer. This is when Calamus validus is really hitting its stride, actively growing and full of vigor. You’ll have plenty of healthy stems to choose from, and the warmer temperatures really give those new roots a fantastic boost.
Supplies You’ll Need
Before we get our hands dirty, let’s gather our tools. You won’t need anything too fancy, thankfully!
- Sharp pruning shears or a clean knife: For making those crucial cuts.
- A well-draining potting mix: I like a blend of regular potting soil with some perlite or coco coir for extra aeration.
- Small pots or containers: Clean ones, please!
- Rooting hormone (optional but recommended): A little goes a long way for encouraging strong root development.
- Water: For hydration, of course!
- A plastic bag or propagation dome (optional): To help maintain humidity around your cuttings.
- A spray bottle: For gentle misting.
Propagation Methods
Calamus validus is wonderfully versatile, and thankfully, quite forgiving! For this beauty, division is my go-to method, and it’s also the easiest for most home gardeners.
Division:
This is essentially dividing an existing plant into smaller, independent sections that can grow into new plants.
- Timing is Key: Again, late spring or early summer is perfect. Gently remove your Calamus validus from its pot. You might need to tap the sides or carefully loosen it if it’s a bit root-bound.
- Locate the Divisions: Look for where the rhizomes (those thick, horizontal stems that grow underground) naturally separate or where you see strong new shoots emerging.
- Make the Cut: Using your clean shears or knife, carefully separate these sections. Each division should have at least one or two healthy stems and a good portion of the rhizome with some roots attached. Don’t be afraid; the plant is robust!
- Potting Up: Plant each division in its own pot filled with your well-draining potting mix. Make sure the rhizome is just covered by soil.
- Watering: Water thoroughly after potting, allowing excess to drain away.
Stem Cuttings (a bit more patience required, but rewarding!):
If you’re feeling adventurous and have plenty of stems, you can try stem cuttings!
- Select Healthy Stems: Choose strong, disease-free stems that are at least 6-8 inches long.
- Make the Cut: Using your sharp shears, cut just below a node. Nodes are those little bumps on the stem where leaves or roots will emerge.
- Prepare the Cutting: Remove the lower leaves, leaving just a few at the top. If you’re using rooting hormone, dip the cut end into it now.
- Planting: Insert the cut end a couple of inches into your prepared potting mix. If you’re using a container, you can plant several cuttings, giving them a little space.
- Create a Humid Environment: This is where that plastic bag or dome comes in handy. Cover the pot loosely to create a mini-greenhouse effect.
- Placement: Place your cuttings in a bright spot but out of direct, harsh sunlight.
The “Secret Sauce” (Pro Tips)
Here are a couple of little tricks I’ve picked up over the years that make a big difference:
- Think “Swampy, Not Soggy”: Calamus validus loves moisture, but it also needs good air circulation around its roots. Whenever I’m watering new divisions or cuttings, I ensure the pots drain freely. Waterlogged soil is a fast track to rot, and we want happy roots!
- Warmth is Your Friend: If you’re propagating by stem cuttings and it’s not super warm in your house, consider placing your pots on a heat mat. Consistent, gentle bottom warmth really encourages root formation. It’s like giving them a cozy blanket to start growing!
Aftercare & Troubleshooting
Once your Calamus validus divisions are potted, give them consistent moisture. Keep the soil evenly moist but not waterlogged. For stem cuttings, you’ll want to mist the leaves occasionally to keep them hydrated while they work on developing roots. You should start to see new growth within a few weeks to a couple of months, depending on the method.
The most common issue you’ll encounter is rot. If a cutting or division turns mushy and black, it’s likely a sign of too much moisture and not enough airflow. If you see this, remove the affected part immediately. For stem cuttings, if the leaves start to yellow and wilt despite being moist, it might mean they aren’t getting enough light, or they haven’t developed roots yet – a bit of patience is key here.
A Encouraging Closing
So there you have it! Propagating Calamus validus is a wonderfully rewarding process. Don’t be discouraged if your first attempt isn’t perfect. Gardening is all about learning and observing. Enjoy the journey, be patient with your new plants, and soon you’ll have a whole collection of these striking beauties! Happy gardening!
Resource:
https://identify.plantnet.org/k-world-flora/species/Calamus%20validus%20W.J.Baker/data