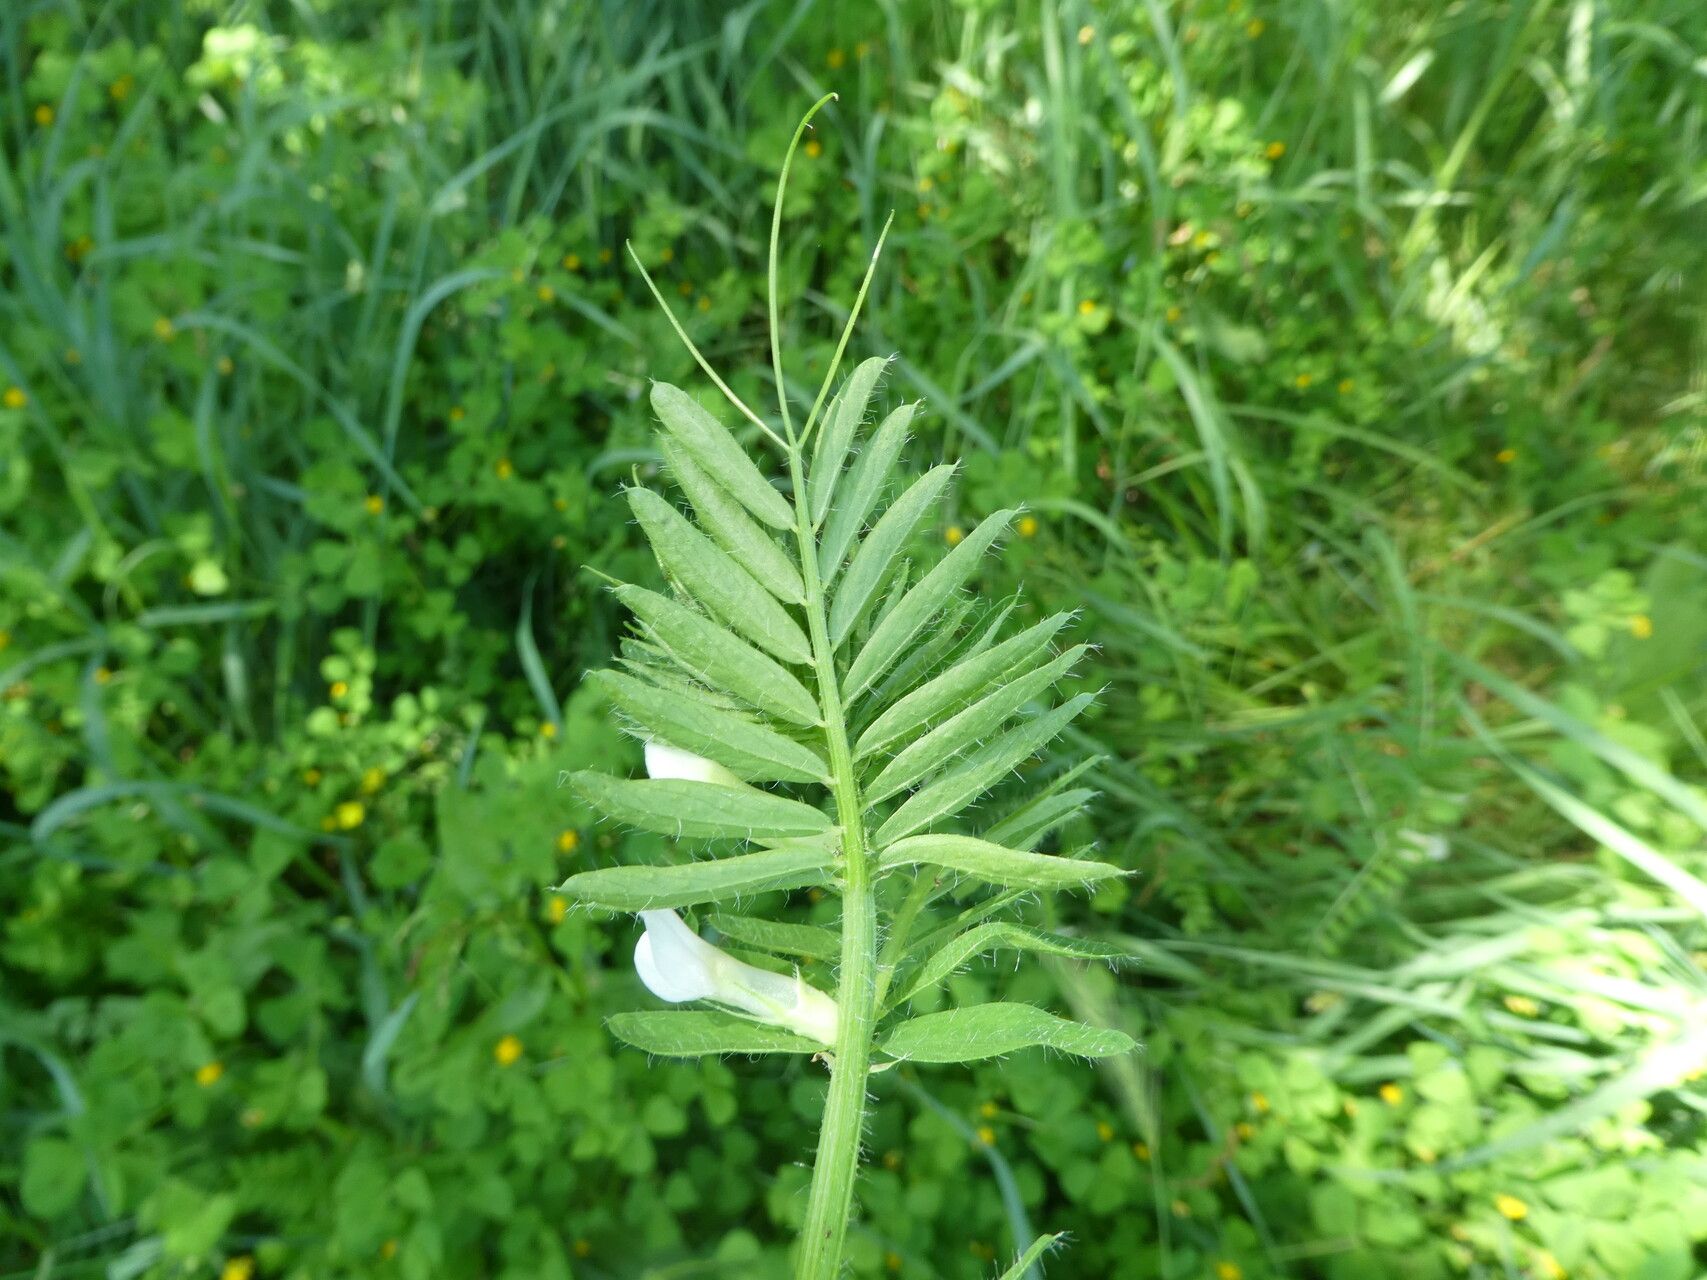
Hey there, fellow plant lovers! So, you’ve fallen for the sunny charm of Vicia lutea, or Yellow Vetch, haven’t you? It’s such a wonderfully cheerful climber, with its delicate pea-like flowers and lovely trailing habit. Bringing a bit more of that sunshine into your garden by propagating it is truly a joy. And guess what? You’ll be happy to know that Vicia lutea is generally a pretty easy-going plant to propagate, making it a fantastic choice for beginners and seasoned gardeners alike.
The Best Time to Start
For the highest success rates with Vicia lutea, I find that late spring to early summer is the absolute sweet spot. This is when the plant is actively growing and has plenty of energy to put into developing new roots. Waiting until after it’s established itself post-flowering also works well, but you’ll get a bit of a head start with spring propagation.
Supplies You’ll Need
Before we dive in, let’s make sure you’ve got everything ready. A little preparation goes a long way!
- Sharp, clean pruning shears or a sharp knife: Essential for making clean cuts.
- Seedling potting mix or a perlite/peat moss blend: Something light and airy is best. You want good drainage!
- Small pots or seed trays: About 4-6 inches deep are perfect.
- Watering can with a fine rose: For gentle watering.
- Rooting hormone (optional but helpful): Especially if you’re propagating from cuttings.
- Clear plastic bags or propagation domes: To create a humid environment.
- Labels: So you remember what you’ve planted where!
Propagation Methods
While Vicia lutea does reseed readily, propagating it yourself gives you more control and the satisfaction of creating new plants from your favorite specimens. Here are my go-to methods:
1. Stem Cuttings
This is a fantastic way to get a reliable clone of your existing plant.
- Select your source: Look for healthy, non-flowering stems. Aim for stems about 4-6 inches long.
- Make the cut: Using your sharp, clean shears, make a cut just below a leaf node (where a leaf joins the stem). This is where the magic happens for root development.
- Prepare the cutting: Gently remove the lower leaves, leaving just a few at the top. If the leaves are quite large, you can even snip the remaining ones in half to reduce water loss.
- Apply rooting hormone (optional): Dip the cut end into your rooting hormone powder. You don’t need a lot, just enough to coat the bottom inch or so.
- Potting up: Fill your small pots with your light, airy potting mix. Make a small hole with your finger or a pencil, and gently insert the cutting. Firm the soil around it to ensure good contact.
- Water and cover: Water the soil thoroughly but gently. Then, cover the pot with a clear plastic bag or a propagation dome to maintain high humidity. You can prop the bag up with a couple of small sticks if needed so it doesn’t touch the leaves.
2. Direct Sowing Seeds
Vicia lutea produces lovely pea-like pods in the summer, and the seeds within are quite viable.
- Harvesting seeds: Once the seed pods have dried on the plant and turned brown, carefully collect them. If you’re unsure, you can also snip off the entire pod and let it dry out indoors in a paper bag.
- Scarification (if needed): Vicia seeds can sometimes have a hard coat that prevents germination. You can lightly nick the seed coat with a sharp knife or file, or soak them in warm water for 12-24 hours.
- Sowing: You can sow seeds directly into the garden bed where you want them to grow, or start them in pots. Fill pots with your seedling mix and sow seeds about an inch deep. Water gently.
- Location: Place pots in a sunny spot. Vicia lutea likes warmth to germinate.
The “Secret Sauce” (Pro Tips)
Here are a few little tricks I’ve learned over the years that really boost my propagation success:
- Don’t let those leaves touch the water! When propagating from stem cuttings, if any of the remaining leaves dip into the soil or sit right on the surface, they can rot. Rot is our enemy, so keep those leaves up and dry.
- Bottom heat makes a huge difference. For stem cuttings, placing your pots on a heated propagator mat can significantly speed up root development. It mimics the warmth of spring soil and really encourages those roots to form.
- Give them a gentle misting. Instead of just watering, a light misting of the leaves (especially under that plastic cover) can help keep them turgid and happy while they’re working on growing roots.
Aftercare & Troubleshooting
Once you see signs of new growth, like tiny leaves emerging from the cutting or little shoots from seed, celebrate! It’s time to transition them.
- Acclimatization: Gradually remove the plastic bag or dome over a few days. Start by opening it for a few hours at a time. This helps the new plant adjust to the drier greenhouse or room air.
- Watering: Water regularly, but don’t let them sit in soggy soil. For cuttings, once they have a good root system, you can pot them into slightly larger containers.
- Light: Continue to provide bright, indirect light. Once they are well-established, you can transition them to more direct sun.
Now, what if things go wrong? The most common sign of trouble is wilting or blackening stems in cuttings. This is usually a sign of rot, often caused by too much moisture or poor drainage. If you see this, unfortunately, the cutting is likely lost. With seeds, if nothing appears after a few weeks, and you’ve done the scarification, they might just not be viable. Don’t be disheartened! Gardening is a constant learning process.
A Encouraging Closing
Propagating Vicia lutea is such a rewarding endeavor. Each new plant you coax into existence is a little piece of sunshine you’ve cultivated yourself. Be patient with the process; some cuttings can take a few weeks to show signs of life. Enjoy the journey, learn from each success and setback, and before you know it, you’ll have a whole cascade of Yellow Vetch to brighten your garden! Happy growing!
Resource:
https://identify.plantnet.org/k-world-flora/species/Vicia%20lutea%20L./data