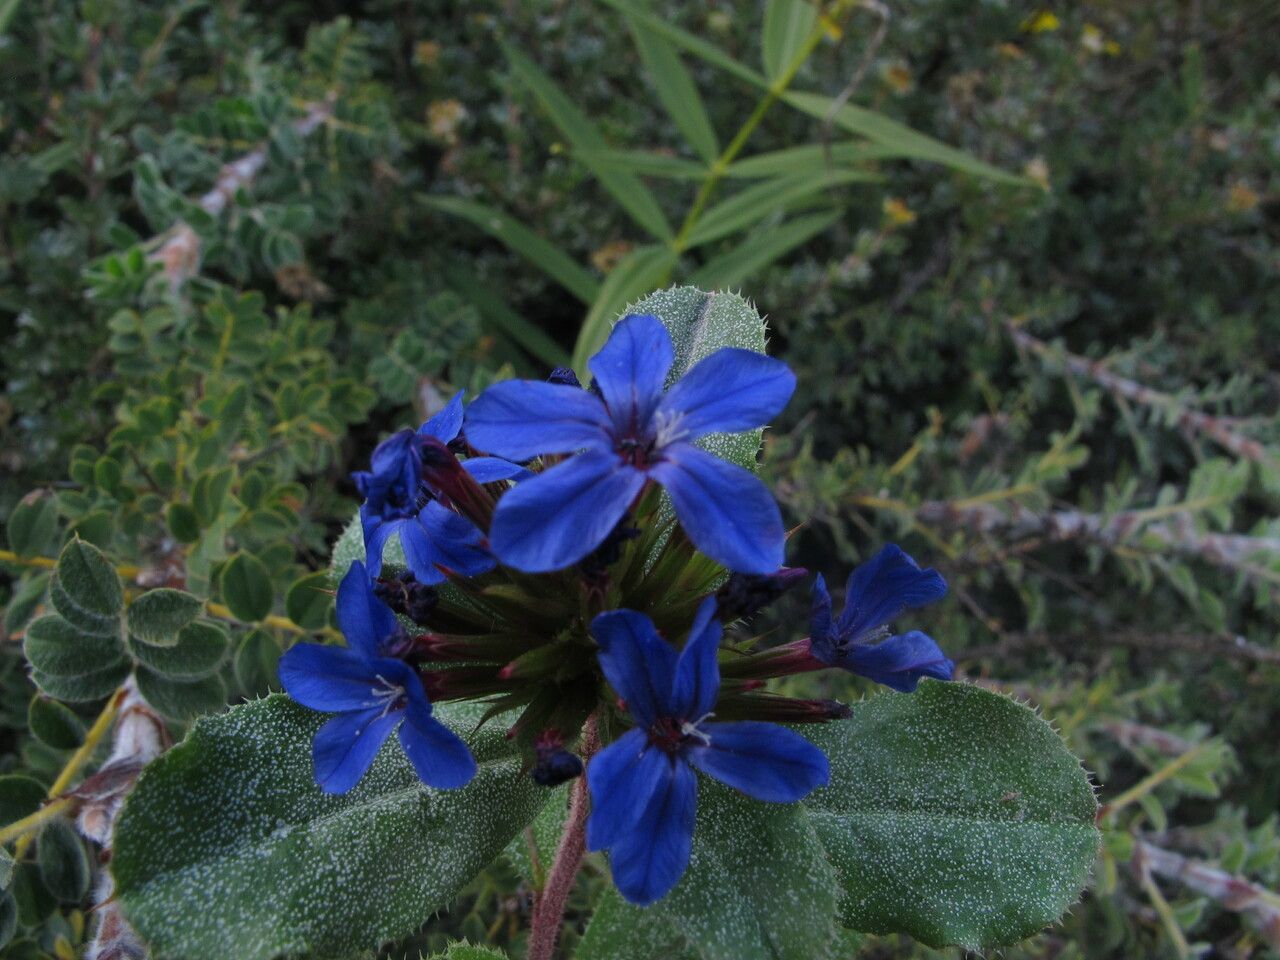
Oh, Ceratostigma ulicinum! It’s one of those unsung heroes in the garden, isn’t it? I just love its vibrant little blue flowers, usually appearing when much else has started to fade. Think deep cerulean bursts against lovely evergreen foliage – it’s a real treat for the eyes, especially in late summer and fall. And the best part? You can easily share that joy. Propagating Ceratostigma ulicinum is definitely a rewarding endeavor, and I’d say it’s a pretty beginner-friendly plant to try your hand at. You’ll be amazed at how readily it responds!
The Best Time to Start
For the highest success rate, I always recommend propagating Ceratostigma ulicinum from softwood cuttings in late spring or early summer. This is when the plant is actively growing, and its new shoots are pliable and full of life. You can also have success with semi-hardwood cuttings later in the summer, once those new shoots have started to firm up a bit.
Supplies You’ll Need
Gathering your supplies beforehand makes the whole process smoother. Here’s what I usually have on hand:
- Sharp pruning shears or a clean knife: For taking your cuttings.
- Rooting hormone (optional but recommended): A good powder or gel helps speed things up.
- A well-draining potting mix: I like a blend of peat moss or coco coir with perlite or coarse sand. About a 50/50 ratio works wonders.
- Small pots or propagation trays: Clean ones are key!
- Plastic bags or a propagation dome: To keep humidity high.
- Watering can with a fine rose: For gentle watering.
Propagation Methods
Let’s get our hands dirty! Here are the two methods I find most reliable for Ceratostigma ulicinum.
Stem Cuttings
This is my go-to for this lovely shrub.
- Take the cuttings: In late spring or early summer, look for healthy, actively growing shoots. You want pieces that are about 4-6 inches long. Make a clean cut just below a leaf node (where a leaf attaches to the stem).
- Prepare the cuttings: Gently remove the lower leaves, leaving just a few at the top. This prevents them from rotting once in the soil. If the leaves are quite large, you can even cut them in half to reduce water loss through transpiration.
- Apply rooting hormone (optional): Dip the cut end of each cutting into rooting hormone, tapping off any excess.
- Pot them up: Fill your pots or trays with your prepared potting mix. Make holes with a pencil or your finger and insert the cuttings, ensuring the bottom leaves are above the soil line. Gently firm the soil around them.
- Water gently: Give them a good, gentle watering to settle the soil.
- Create humidity: Place a plastic bag over the pot, or cover the tray with a propagation dome. Make sure the plastic doesn’t directly touch the leaves! Ventilate occasionally to prevent fungal issues.
Water Propagation (for the impatient!)
While I prefer soil for this one, water propagation can be fun.
- Prepare your cuttings: Follow steps 1 and 2 above, but you don’t need to remove quite as many lower leaves if you’re careful with water depth.
- Place in water: Put the cuttings in a clean jar or vase filled with fresh water.
- Position: Make sure no leaves are submerged in the water. This is crucial to prevent rot.
- Change water regularly: Refresh the water every few days to keep it clean and oxygenated.
- Wait for roots: You should see tiny white roots appearing within a few weeks. Once they are about an inch long, you can transplant them into soil using the method above.
The “Secret Sauce” (Pro Tips)
Here are a few things I’ve learned over the years that really make a difference:
- Bottom heat is your friend: If you have a propagation mat or can place your pots on a sunny windowsill above a warm appliance, this gentle warmth really encourages root development. It mimics the soil temperature of summer.
- Don’t rush the move: Even when you can see roots, be patient! Wait until they are well-established and you can see new shoot growth before you think about transplanting them to a larger pot or out into the garden. For cuttings in soil, you can gently tug on them and if there’s resistance, the roots are forming.
- Cleanliness is paramount: I can’t stress this enough. Using clean pots, tools, and fresh potting mix dramatically reduces the risk of fungal diseases and rot, which are the biggest culprits for propagation failure.
Aftercare & Troubleshooting
Once you see signs of new growth – tiny leaves unfurling or little sprouts – it’s time to slowly transition your new plants.
First, gradually decrease humidity. Open the plastic bag or dome for a few hours each day, then increase the time until they are acclimated to normal room humidity. Continue to keep the soil consistently moist but not waterlogged. They’re still delicate!
The most common issue you’ll encounter is rot. If a cutting turns black and mushy, it’s usually a sign of too much moisture combined with poor air circulation and potentially a fungal infection. Don’t be discouraged! Just discard the affected cutting and try again, paying close attention to those humidity and watering tips. Another sign of failure is if the cutting simply wilts and dries out, which can happen if it’s not getting enough humidity or if the rooting hormone didn’t take.
A Encouraging Closing
Propagating plants is a wonderful way to connect with nature and expand your garden without spending a fortune. Be patient, observe your little cuttings closely, and celebrate every success. You’re cultivating life, and that’s a truly magical thing. Happy propagating!
Resource:
https://identify.plantnet.org/k-world-flora/species/Ceratostigma%20ulicinum%20Prain/data