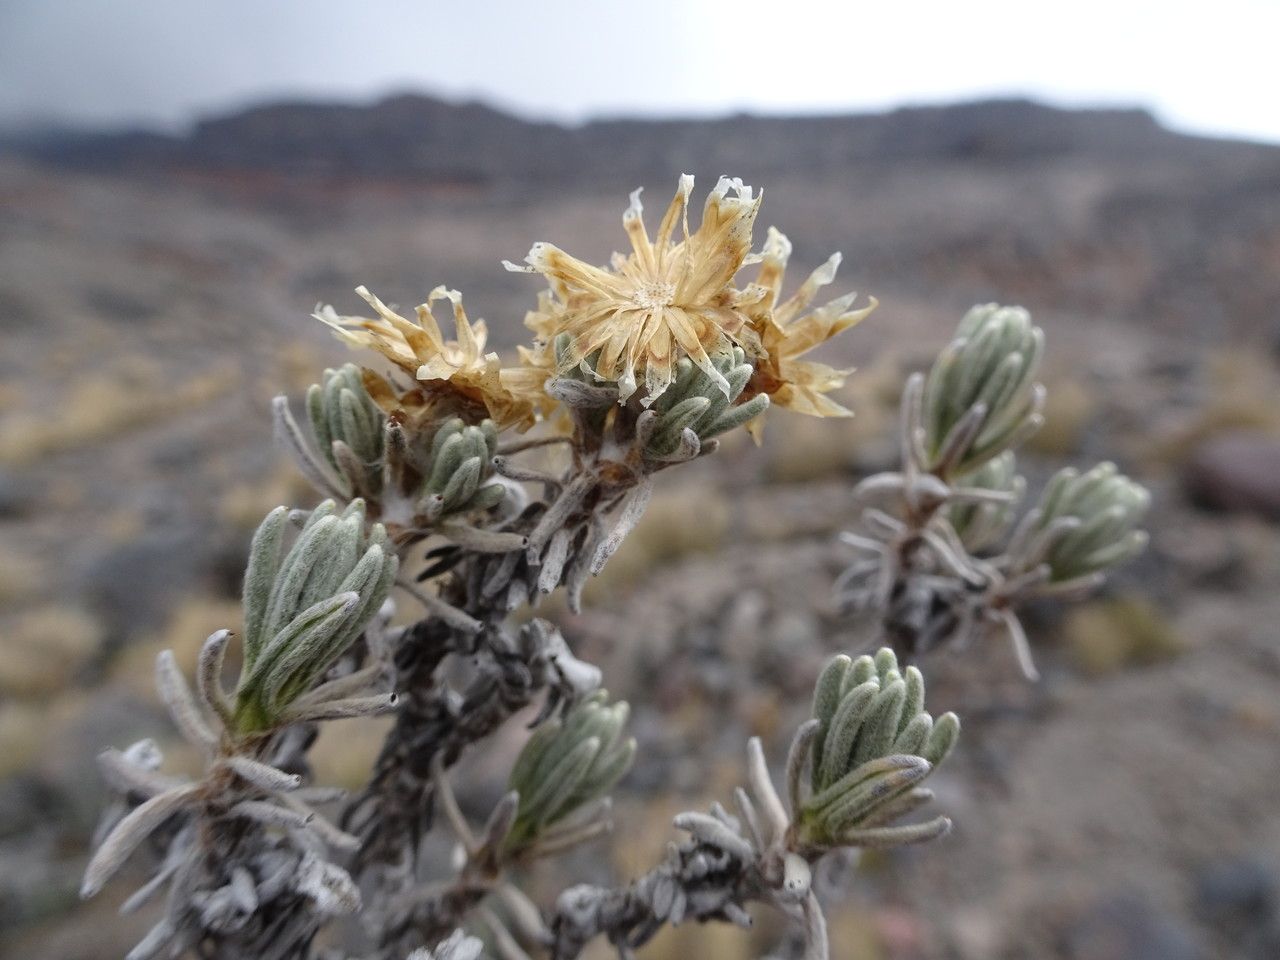
Hey there, fellow plant lovers! Today, we’re diving into the delightful world of Gnaphaliothamnus lavandulifolius. You might know it better by its common name, the fragrant lavender everlasting. If you adore that lovely, aromatic foliage and pretty little dried flowers that last forever (hence the name!), then you’re in for a treat. Successfully propagating this beauty is a wonderfully rewarding experience, and I’m happy to guide you through it. Now, I’ll be honest, it’s not the absolute easiest plant for a complete beginner, but with a little care and these tips, you’ll be well on your way to success. Persistence is key here, and seeing those tiny new plants sprout is just chef’s kiss!
The Best Time to Start
For Gnaphaliothamnus lavandulifolius, you’ll get the best results if you start your propagation efforts in late spring or early summer. This is when the plant is actively growing and has plenty of energy to put into developing new roots. Look for stems that are mature but not woody – that soft, green growth is ideal. Think of it as capturing that vibrant life force before things get too hot or too slow.
Supplies You’ll Need
Gathering your tools beforehand makes the whole process much smoother. Here’s what I always have on hand:
- Sharp, clean pruning shears or a sharp knife: A clean cut is crucial to prevent disease.
- Potting mix: A well-draining mix is non-negotiable. I like a blend of peat moss, perlite, and coarse sand. You can also find specialized succulent or cactus mixes that work beautifully.
- Rooting hormone (optional but recommended): This can give your cuttings a significant boost.
- Small pots or seed trays: Ensure they have drainage holes.
- Watering can with a fine rose: Gentle watering is key.
- Plastic bags or a propagator lid: To create a humid environment.
- Labels and a waterproof pen: Don’t forget to label your creations!
Propagation Methods
We’ll focus on the most reliable method for this plant: stem cuttings.
- Select Your Cuttings: Find healthy, non-flowering stems from your mature plant. Aim for stems that are about 3-4 inches long. Make your cuts just below a leaf node (where a leaf attaches to the stem).
- Prepare the Cuttings: Gently remove the lower leaves from the stem. You want to leave about 2-3 sets of leaves at the top. If the leaves are very large, you can even cut them in half to reduce water loss.
- Apply Rooting Hormone (Optional): Dip the cut end of the stem into your rooting hormone powder or gel. Tap off any excess.
- Plant Your Cuttings: Fill your pots or trays with your chosen well-draining potting mix. Make a small hole with your finger or a pencil and insert the prepared cutting, ensuring that the leaf nodes you cleared are buried in the soil. Gently firm the soil around the stem.
- Water Gently: Water the soil thoroughly but gently. You don’t want to dislodge the cuttings.
- Create Humidity: Cover the pots with a clear plastic bag or a propagator lid. This creates a mini-greenhouse effect, keeping the cuttings from drying out. Open it for a few minutes each day to allow for air circulation.
- Provide Warmth and Light: Place your cuttings in a bright location that receives indirect sunlight. Avoid direct, hot sun, which can scorch the delicate cuttings. A little bottom heat from a heat mat can really speed up rooting, but it’s not strictly necessary.
The “Secret Sauce” (Pro Tips)
Alright, let’s talk about those little tricks that make a difference.
- Don’t let the leaves touch the water in the soil: When you water, ensure the moisture level is consistent but not soggy. If the lower leaves are constantly sitting in water, they’ll rot before they have a chance to root. The goal is moist soil, not a swamp!
- The power of patience and observation: Keep an eye on your cuttings. After a few weeks, you should start to see signs of new growth, usually tiny leaves emerging from the top. If you gently tug on a cutting and feel resistance, that’s a good sign that roots have formed.
- Bottom heat is your friend: While not essential, a gentle heat mat placed under your propagation tray can significantly speed up root development. It mimics the warmth of a well-drained outdoor environment in summer, encouraging those roots to form faster.
Aftercare & Troubleshooting
Once your cuttings have developed a healthy root system (you might see roots peeking out of the drainage holes, or they’ll resist a gentle tug), it’s time for them to graduate!
Carefully transplant your new plants into individual small pots with your well-draining potting mix. Continue to water them gently and keep them in bright, indirect light. As they grow, you can gradually acclimate them to more direct sunlight.
Now, about troubleshooting. The most common issue you’ll encounter is rot. This usually happens due to overwatering or poor drainage. If you see cuttings turning black and mushy, it’s a sign of rot. Remove them immediately to prevent it from spreading. Ensure your soil is always draining well, and let the surface dry out slightly between waterings. Another sign of trouble is cuttings wilting persistently – this often means they’re drying out too quickly, so ensure your humidity dome or plastic bag is sealed well.
A Encouraging Closing
Propagating Gnaphaliothamnus lavandulifolius is a journey, and like any good garden project, it’s about the process as much as the outcome. Be patient with yourself and your new little plants. Some might not make it, and that’s perfectly normal! Just keep trying, learn from each attempt, and soon enough, you’ll be surrounded by your own fragrant lavender everlastings to share with friends. Happy propagating!
Resource: