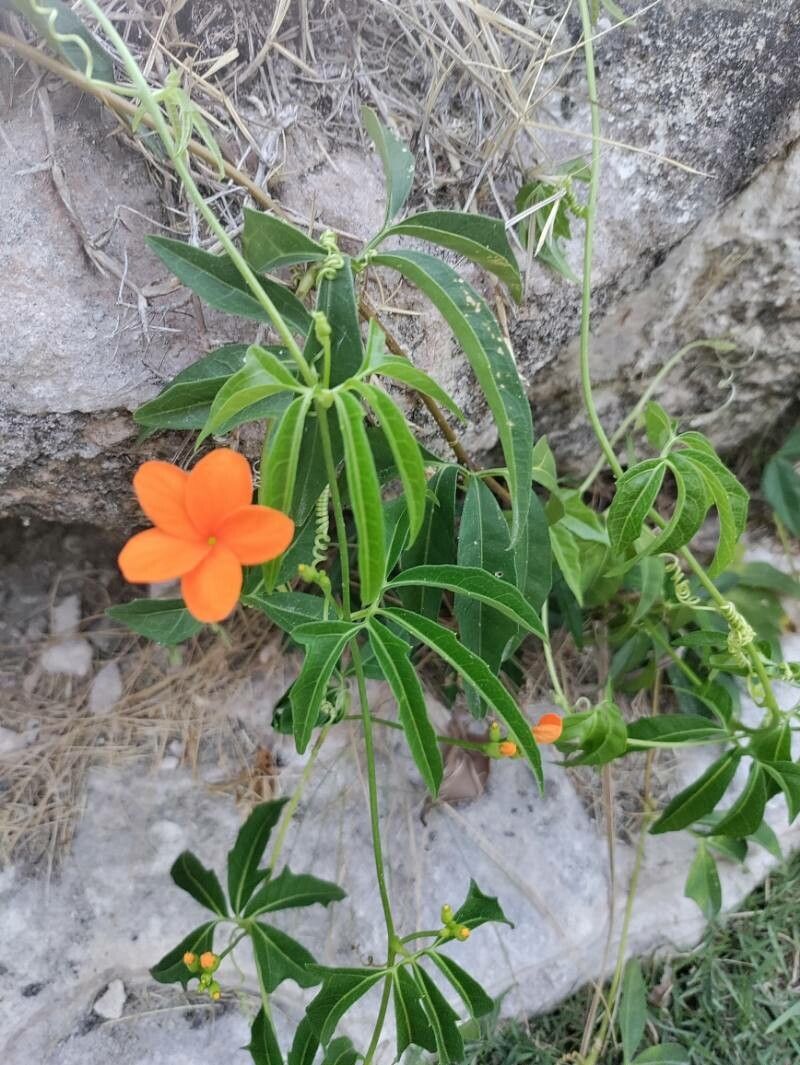
Oh, hello there, fellow plant enthusiast! I’m so glad you’ve stumbled upon my little corner of the internet. Today, we’re diving into something truly special: Psiguria pedata. Have you seen its gorgeous, heart-shaped leaves? Some varieties even boast vibrant blooms that attract all sorts of pollinators. It’s a real showstopper, and honestly, propagating it is one of those garden delights that just warms your soul. For those of you just starting out, I’d say it’s moderately easy – a little patience, and you’ll be a pro in no time!
The Best Time to Start
When it comes to getting new Psiguria pedata plants, spring is your golden ticket. Think of it as the plant waking up from its slumber. The days are getting longer, temperatures are warming up, and everything is just bursting with life. This active growth phase means your cuttings have the best chance of success. Aim for a time when you can see new growth on your parent plant, that’s usually a good indicator.
Supplies You’ll Need
Before we get our hands dirty, let’s gather our tools. Having everything ready makes the whole process so much smoother.
- Sharp Pruning Shears or Scissors: Clean cuts are crucial!
- A Well-Draining Potting Mix: I like a blend of peat moss, perlite, and a touch of compost. About a 1:1:1 ratio usually works wonders.
- Small Pots or Propagation Trays: Clean and ready for your new babies.
- Rooting Hormone (Optional but Recommended): This little helper can speed things up.
- A Spray Bottle: For misting.
- Plastic Bags or a propagator: To create a humid environment.
Propagation Methods
Let’s get down to business! There are a couple of ways to coax new life from your Psiguria pedata. I find stem cuttings to be the most reliable.
Stem Cuttings:
- Take Your Cuttings: Gently select a healthy stem from your mature Psiguria pedata. Look for a stem that has at least two sets of leaves and is not flowering. Using your sharp pruning shears, make a clean cut just below a leaf node (where a leaf attaches to the stem). Aim for cuttings that are about 4-6 inches long. Remove the lower leaves, leaving just one or two at the very top.
- Apply Rooting Hormone (If Using): Dip the cut end of the stem into your rooting hormone powder. Just a light coating is all you need. Gently tap off any excess.
- Plant Your Cuttings: Fill your small pots with your prepared potting mix. Make a little hole in the center with your finger or a pencil. Carefully insert the cut end of your stem cutting into the hole, ensuring the leaf nodes are below the soil surface. Gently firm the soil around the base of the cutting.
- Create Humidity: Water the soil lightly until it’s moist but not soggy. Place the potted cuttings in a clear plastic bag or a propagator. This will trap moisture and create that vital humid environment. Make sure the leaves aren’t directly touching the sides of the bag.
The “Secret Sauce” (Pro Tips)
Here are a few little tricks I’ve picked up over the years that make a big difference.
- Bottom Heat is Your Friend: Psiguria pedata loves warmth. If you can, place your propagation pots on a seedling heat mat. This little boost from below encourages root development like nothing else.
- Don’t Drown Them: While humidity is key, overwatering is the quickest way to kill a cutting. Stick your finger into the soil. If it feels dry about an inch down, give it a light watering, or better yet, mist the leaves.
- Patience, Young Grasshopper: Some cuttings will surprise you by rooting in a few weeks, while others might take a couple of months. Don’t give up too soon! Gently tugging on a cutting is a good indicator. If you feel resistance, roots are forming.
Aftercare & Troubleshooting
Once you see those little roots peeking out from the drainage holes or feel that tell-tale resistance when you gently tug, you’re almost there!
- Gradual Acclimation: Slowly start to introduce your new plant to drier air. Gradually open the plastic bag or propagator over a week or two.
- First Watering: Water thoroughly when you first notice significant root growth.
- Repotting: Once the plant has a good root system and is actively growing, you can repot it into a slightly larger pot with fresh potting mix.
Now, what if things go wrong? The most common culprit is rot. If your cutting turns mushy and black, it’s a sign of too much moisture and not enough air circulation. This is where ensuring good drainage and avoiding overwatering becomes critical. If you see signs of wilting that aren’t related to dryness, it could also be a sign of root rot. It’s often best to discard a rotting cutting and start fresh.
A Bit of Encouragement
See? Propagating Psiguria pedata is totally doable! It’s a journey, and each new plant you nurture from a tiny cutting is a little triumph. Be patient, observe, and don’t be afraid to experiment. Enjoy the process of watching new life unfurl – there’s truly nothing quite like it. Happy growing!
Resource:
https://identify.plantnet.org/k-world-flora/species/Psiguria%20pedata%20(L.)%20R.A.Howard/data