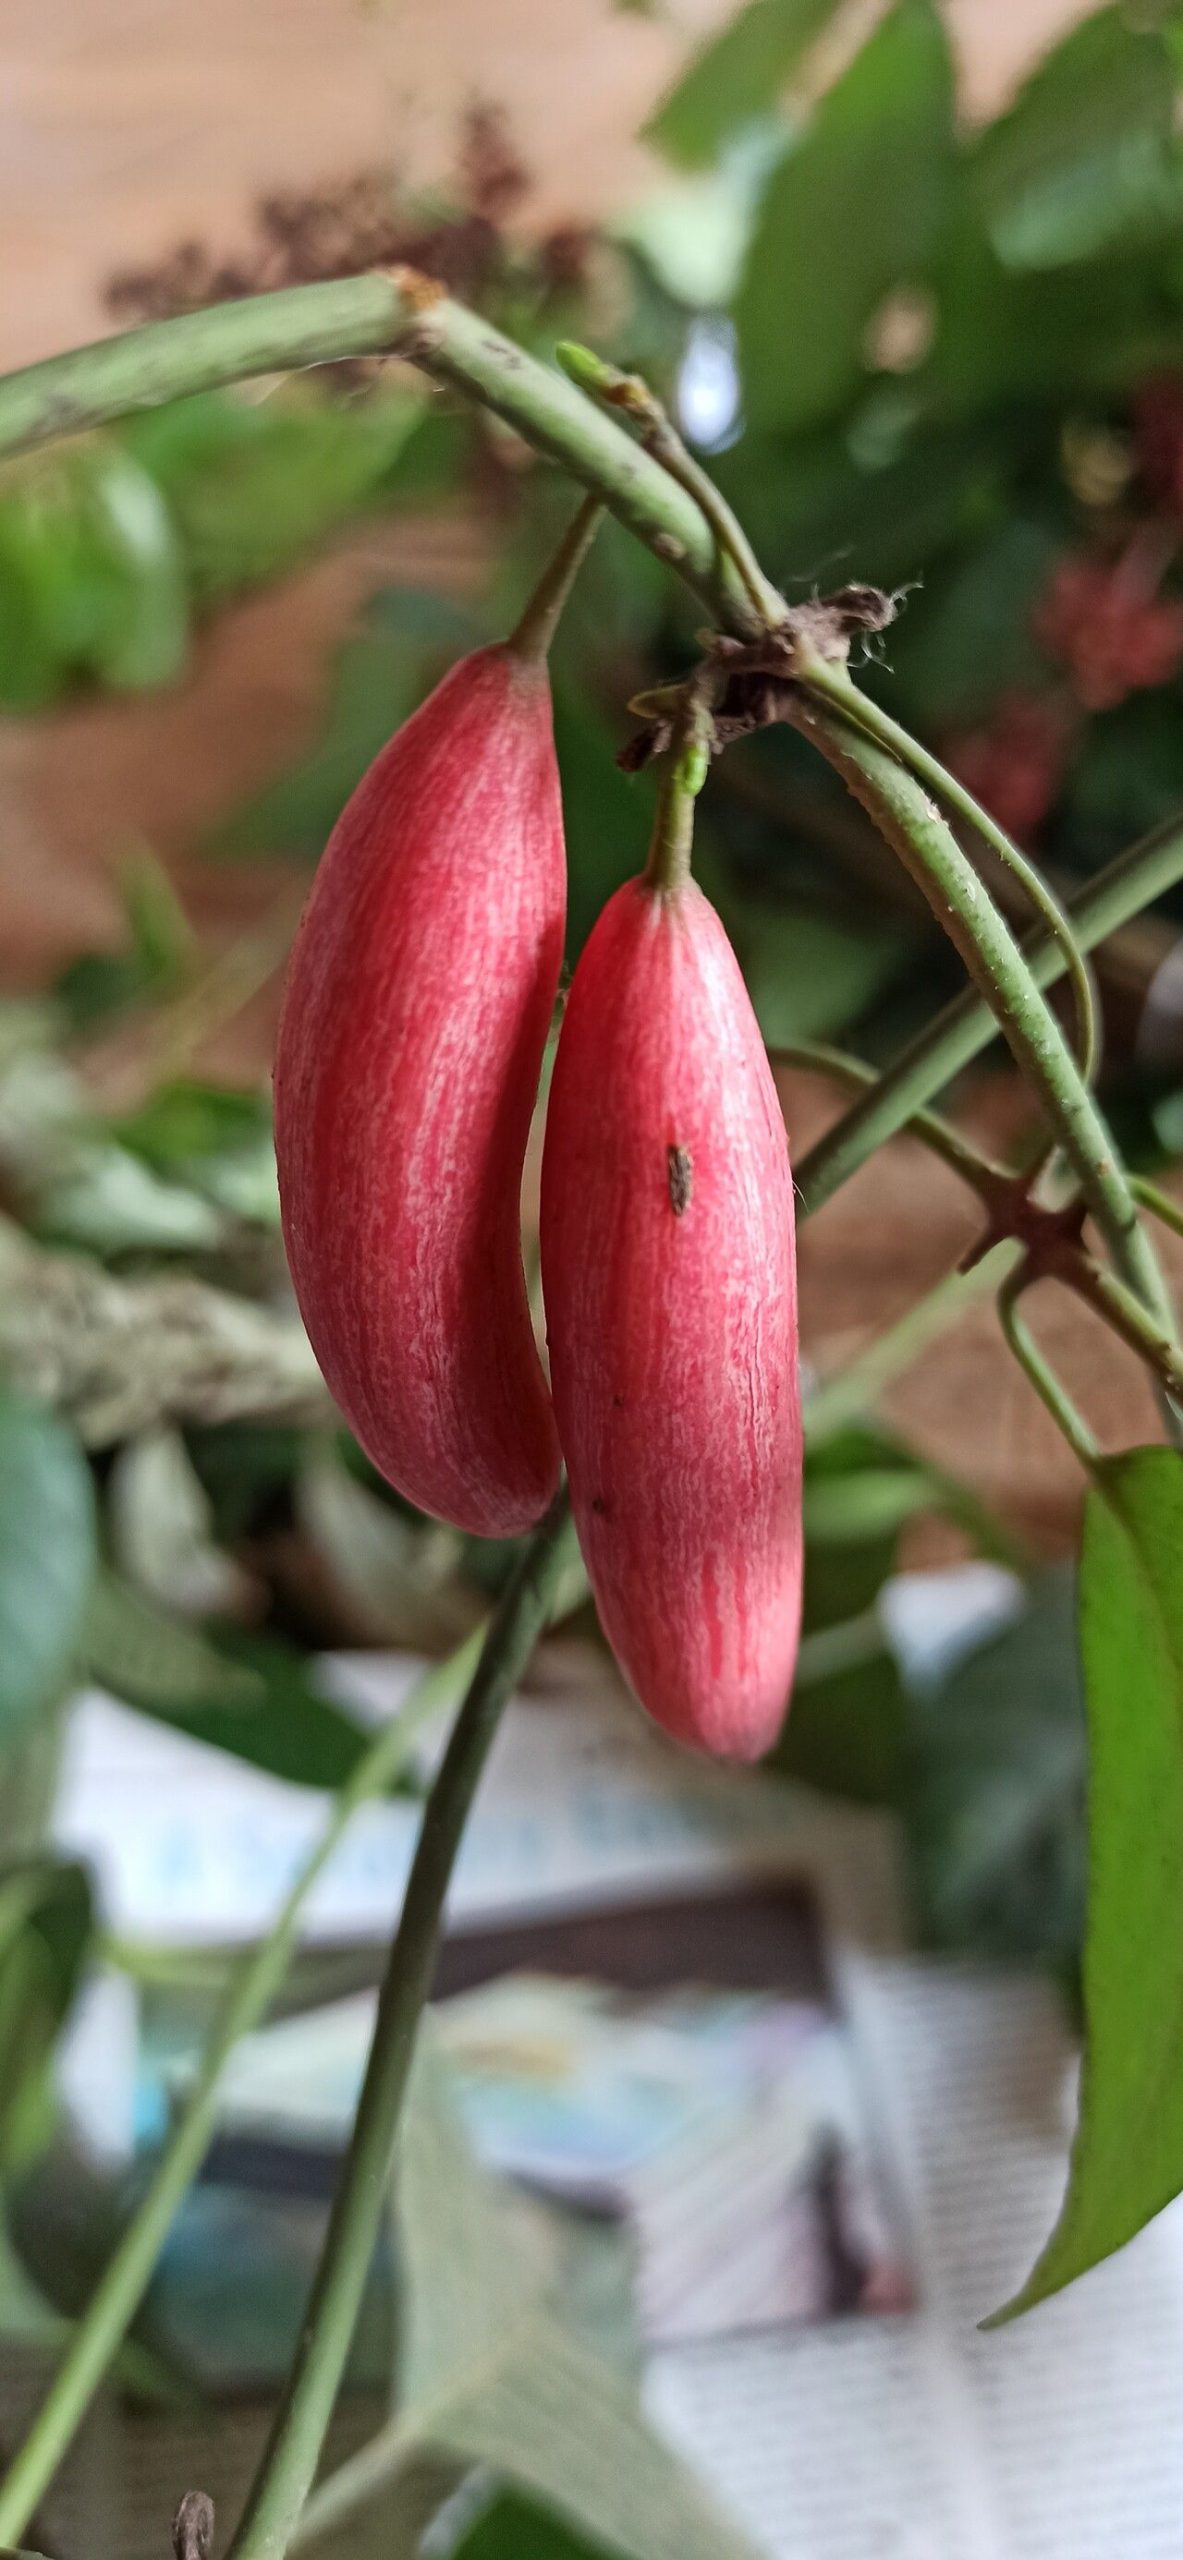
Oh, welcome, fellow plant lover! Grab a mug, settle in, and let’s chat about a truly special plant – Atractogyne gabonii. I’ve been captivated by its lush, almost tropical foliage for years. It adds such a vibrant, architectural element to any space, and seeing a tiny cutting unfurl its first new leaf is just pure magic.
Now, if you’re wondering if this is one of those finicky plants that requires a degree in botany to propagate, let me put your mind at ease. While it’s not quite as simple as snapping off a spider plant leaf, Atractogyne gabonii is achievable for the determined beginner. With a little patience and the right approach, you’ll be well on your way to a whole new collection!
The Best Time to Start
For Atractogyne gabonii, I find that the late spring to early summer is the absolute sweet spot. This is when the plant is actively growing and has plenty of energy to put into developing new roots. Think of it as the plant’s “go time”! Trying to propagate when the plant is dormant or stressed is just setting yourself up for disappointment.
Supplies You’ll Need
This is where we gather our tools for success. Don’t be intimidated by the list – most of these are standard garden supplies you might already have.
- Sterilized pruning shears or sharp knife: Clean tools are crucial to prevent disease.
- Rooting hormone (optional but recommended): A little boost can speed things up.
- Well-draining potting mix: A good blend of perlite, peat moss, and coir works wonders. I often use a mix specifically designed for houseplants.
- Small pots or propagation trays: Small is good! We don’t want too much soil volume for a little cutting.
- Watering can or spray bottle: For gentle watering.
- Plastic bags or a propagation dome: To create a humid environment.
- Labels: Trust me, you’ll thank yourself later!
Propagation Methods
Let’s dive into the hands-on part. Atractogyne gabonii does beautifully from stem cuttings. It’s straightforward and rewarding.
- Take Your Cuttings: Select a healthy, non-flowering stem from your mature plant. Look for a stem that’s at least 4-6 inches long and has several sets of leaves. Using your sterilized shears, make a clean cut just below a leaf node (that little bump where a leaf attaches to the stem). This is where the magic happens!
- Prepare the Cuttings: Gently remove the lower leaves from the cutting, leaving just the top 2-3 leaves. This helps the plant focus its energy on rooting. If the remaining leaves are very large, you can trim them in half to reduce water loss.
- Apply Rooting Hormone (Optional): If you’re using rooting hormone, dip the cut end of the stem into the powder, tapping off any excess. This step can significantly increase your chances of success.
- Plant Your Cuttings: Fill your small pots or propagation tray with your well-draining potting mix. Make a small hole in the center with your finger or a pencil. Insert the cut end of the stem into the hole, ensuring the leaf nodes are covered by the soil. Gently firm the soil around the stem.
- Create a Humid Environment: Water the soil gently until it’s evenly moist. Then, cover the pot loosely with a plastic bag or place it inside a propagation dome. You want to trap humidity, but allow for a little air circulation.
The “Secret Sauce” (Pro Tips)
Here are a few things I’ve learned over the years that can really make a difference:
- Don’t let the leaves touch the water: If you opt for water propagation (which you can try with Atractogyne gabonii if you’re careful!), make sure only the stem is submerged, not the leaves. Any soggy foliage will just rot.
- Bottom heat is your friend: If you have a heated propagation mat, using it will dramatically speed up root development. It mimics the warmth of the soil in spring and encourages those roots to form quickly.
- Patience is paramount: Seriously, don’t be tempted to pull up your cuttings every few days to “check” for roots. Resist the urge! You’ll only disturb the delicate new growth.
Aftercare & Troubleshooting
Once you start seeing signs of new growth – a tiny leaf unfurling or a gentle tug on the cutting revealing resistance – you know you’ve succeeded!
Gradually acclimate your new plant to normal humidity by opening the plastic bag a little more each day over a week. Continue to water when the top inch of soil feels dry. Treat it like a young seedling, providing bright, indirect light.
The most common issue you might encounter is rot. If your cutting turns mushy and black, it’s a sign that it’s too wet or not getting enough air. This usually means starting over with a fresh cutting. Another sign of failure is if the cutting wilts and discolors without any sign of root formation, indicating it just didn’t take. Don’t get discouraged; it happens to all of us!
A Little Encouragement
Propagating plants is a journey, and every cutting is a learning experience. Be patient with your Atractogyne gabonii, give it the right conditions, and celebrate every tiny victory. The joy of nurturing a new plant from a simple piece of stem is truly one of gardening’s greatest pleasures. Happy propagating!
Resource:
https://identify.plantnet.org/k-world-flora/species/Atractogyne%20gabonii%20Pierre/data