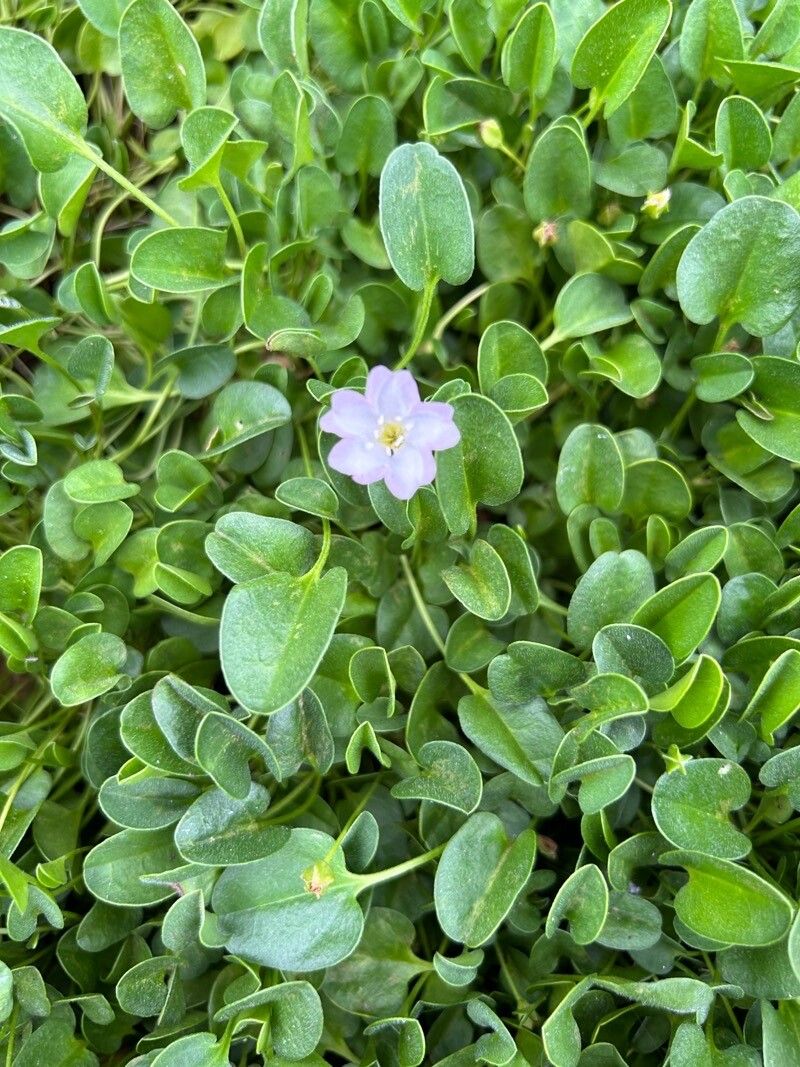
Hello there, fellow garden enthusiasts! I’m so excited to chat with you today about a little gem that’s captured my heart: Falkia repens, also known as creeping speedwell. If you’re looking for a plant that brings a splash of delicate blue to your garden floor, or just a charming addition to your hanging baskets, this is it. Its dainty, star-shaped flowers are an absolute joy, and the way it spreads, creating a soft, verdant carpet, is truly something special.
Now, if you’re new to the gardening scene, I have some good news. Propagating Falkia repens is wonderfully straightforward. This isn’t a plant that will have you tearing your hair out! It’s a fantastic choice for beginners looking to expand their plant collection without a lot of fuss. The reward of watching a tiny cutting transform into a thriving new plant is just… well, it never gets old for me, even after all these years. It’s that satisfying feeling of nurturing something new into life.
The Best Time to Start
For the absolute highest success rate with Falkia repens, I find that the late spring and early summer months are your best bet. This is when the plant is in its most vigorous growth phase. You want to take cuttings from healthy, non-flowering stems that are still a bit soft and flexible, not woody. Think of it as borrowing a piece of the plant when it’s full of energy and ready to grow!
Supplies You’ll Need
To get our little Falkia babies started, here’s what I always have on hand:
- Sharp pruning shears or a clean craft knife: For making clean cuts.
- Potting mix: A good quality, well-draining potting mix is key. I often use a mix of equal parts peat moss, perlite, and compost.
- Small pots or seed trays: Whatever you have available that’s clean and has drainage holes.
- Rooting hormone (optional but recommended): A simple garden center rooting powder or gel can give your cuttings a nice boost.
- Watering can or spray bottle: For gentle watering.
- Plastic bag or propagation dome: To create a humid environment.
Propagation Methods
Let’s get our hands dirty! Falkia repens is wonderfully versatile, but my go-to method is stem cuttings.
Stem Cuttings:
- Take your cuttings: Head out to your plant on a bright, mild morning. Look for healthy stems that are about 4-6 inches long. Using your clean shears or knife, make a clean cut right below a leaf node. A leaf node is that little bump on the stem where a leaf grows from.
- Prepare the cuttings: Gently remove the leaves from the bottom half of the cutting. You really only want to leave a couple of leaves at the very top. This helps the plant focus its energy on rooting rather than supporting too many leaves. If you’re using rooting hormone, dip the cut end into it now.
- Pot them up: Fill your small pots with your prepared potting mix. Make a small hole with your finger or a pencil, and gently insert the cut end of the Falkia cutting. Firm the soil gently around it.
- Water them in: Give them a good, gentle watering. Enough to moisten the soil thoroughly, but not so much that it becomes waterlogged.
Water Propagation (Another lovely option!):
Alternatively, you can try propagating in water!
- Prepare the cuttings: Similar to the soil method, take 4-6 inch cuttings and remove the lower leaves.
- Place in water: Pop them into a clean jar or glass of water. Make sure that no leaves are submerged in the water. Only the stem should be in the water.
- Find a good spot: Place the jar in a bright location, but out of direct, scorching sunlight.
- Change the water: Refresh the water every couple of days to keep it clean and oxygenated. You should start to see tiny roots forming within a few weeks.
- Pot up once rooted: Once the roots are about an inch long, you can carefully transplant them into your potting mix.
The “Secret Sauce” (Pro Tips)
Here are a few little tricks I’ve learned over the years that can really make a difference:
- Don’t crowd your cuttings: Give them a little space in their pots. Overcrowding can lead to fungal issues and poor air circulation, which isn’t good for developing roots.
- Mimic a greenhouse: After potting your cuttings, cover the pot loosely with a clear plastic bag or a propagation dome. This traps humidity, which is crucial for encouraging those first fragile roots. Make sure the leaves aren’t pressed directly against the plastic. You can use little stakes to hold the bag up.
- Warmth is welcome: If you can provide a little gentle bottom heat, you’ll often see much faster rooting. A seedling heat mat placed under your pots works wonders without being too intense.
Aftercare & Troubleshooting
Once your Falkia cuttings start to show signs of new growth – little leaves unfurling or you can feel a gentle tug when you lightly pull on them – you know they’ve rooted! At this stage, you can gradually remove the plastic cover over a few days to help them acclimate to normal humidity. Continue to keep the soil consistently moist but not soggy.
The most common issue you might encounter is rot. If you see your cuttings turning mushy or blackening, it’s usually a sign of too much moisture and not enough air circulation. In this case, it’s best to discard the affected cutting and ensure the remaining ones have good drainage and are not waterlogged. If in doubt, it’s always better to err on the side of slightly drier than too wet.
A Little Encouragement
And that’s it! You’re well on your way to a whole garden of beautiful Falkia repens. Remember, patience is a gardener’s best friend. Not every cutting will take, and that’s perfectly okay. Just enjoy the process of nurturing and learning. Before you know it, you’ll have not only more lovely Falkia repens, but a real confidence boost in your propagation skills. Happy gardening!
Resource:
https://identify.plantnet.org/k-world-flora/species/Falkia%20repens%20Thunb./data