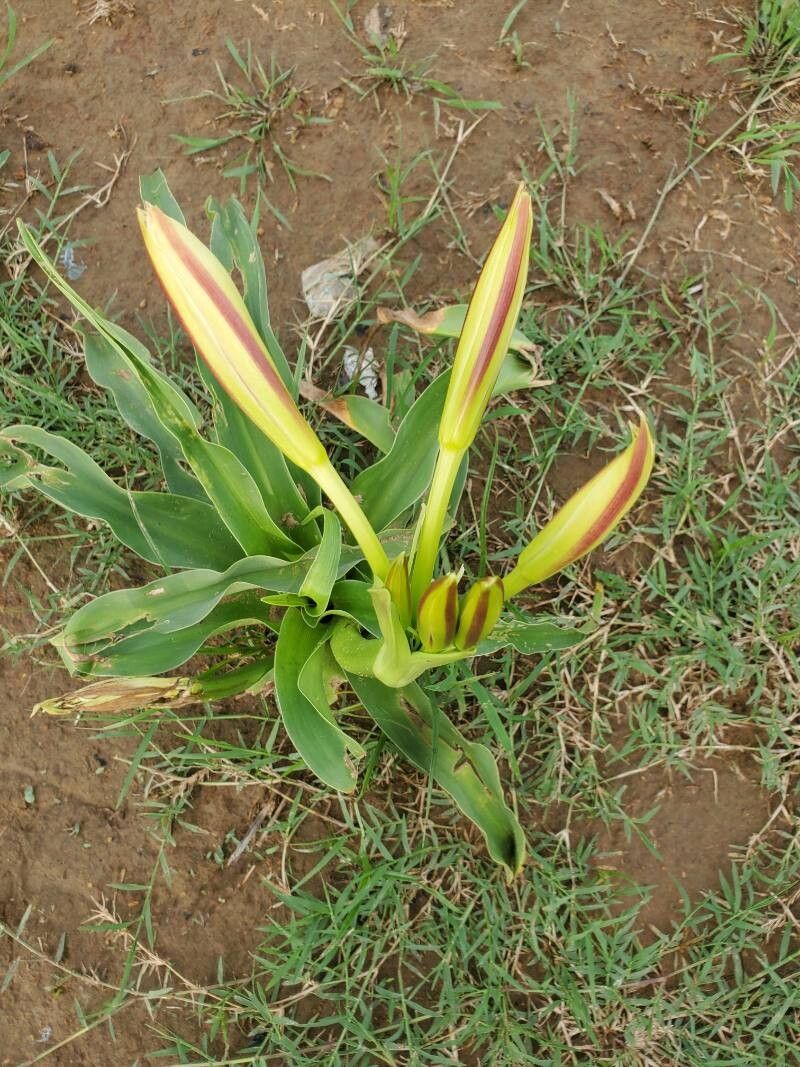
Oh, Crinum lilies! If you’re looking for a bit of old-fashioned elegance and serious bang for your buck in the garden, these beauties are certainly worth it. Their lush, strap-like leaves and often dramatic, fragrant blooms can transform any space. And the best part? You can easily create more of these showstoppers for your own garden or to share with friends. Propagating Crinum lilies is a wonderfully rewarding experience, and I’ve found it’s quite forgiving, even for those just starting their gardening journey.
The Best Time to Start
For Crinum lilies, spring is your golden ticket. This is when the bulbs are waking up, putting out new growth after their winter rest. Starting propagation as the weather warms up and the days get longer gives your new plants the best possible chance. You’re essentially catching them at their most energetic moment!
Supplies You’ll Need
Gathering your tools beforehand makes the whole process smoother. Here’s what you’ll want:
- Sharp pruning shears or a clean knife: For making precise cuts to the bulb or stems. Sterilize them first with rubbing alcohol to prevent disease.
- Well-draining potting mix: A good blend of potting soil, perlite, and maybe some coarse sand is ideal. Something that won’t hold too much moisture.
- Rooting hormone (optional but recommended): This can give your cuttings a helpful boost and speed up root development.
- Small pots or trays: For your new baby plants. Make sure they have drainage holes!
- Watering can or spray bottle: For gentle watering.
- Labels: So you don’t forget what you planted where!
- A warm spot: For optimal root growth.
Propagation Methods
Crinums are pretty straightforward. The most common and successful method I’ve found is through division of the bulb. It’s like giving the mother plant a haircut and getting multiple new plants in return!
- Digging Up the Bulb: In spring, after the last frost, gently dig around the established Crinum bulb. The goal is to loosen the soil and lift the entire bulb clump without causing damage. Be patient here; you don’t want to stab the bulb.
- Dividing the Bulb: Once you have the clump out, you’ll likely see several smaller bulbs attached to the main one, or perhaps offsets growing from the sides. Using your sterilized knife or pruning shears, carefully separate these smaller bulbs or offsets. Each section should have at least one good basal plate (where the roots will grow from) and preferably a bit of stem or leaf attached. If the bulb is very large, you can even cut it into wedges, making sure each wedge has an eye or growing point.
- Letting the Wounds Heal: This is crucial! After dividing, let the cut surfaces of the bulbs air dry for a day or two. This helps to callus over the wound, preventing rot when you replant. You can place them in a dry, shady spot.
- Replanting: Prepare your pots with your well-draining mix. Plant each division so that the top of the bulb is just at or slightly above the soil surface. The neck of the bulb, where the leaves emerge, should be exposed. Water gently.
For those seeking to experiment with stem cuttings (though less common and sometimes trickier for Crinums), you can take cuttings from the leaf bases. Ensure you get a bit of the fleshy part attached. Dust the cut end with rooting hormone and insert it into your soil mix. Keep the humidity high and the soil consistently moist but not soggy.
The “Secret Sauce” (Pro Tips)
Here are a few tricks I’ve learned over the years that can really make a difference:
- Don’t Crowd the Replanting: When you replant your divisions, give them a little breathing room. Overcrowding can lead to rot and competition for resources. It’s better to have a few securely rooted plants than a pot full of sad, struggling ones.
- Embrace Bottom Heat: If you can, placing your pots on a seedling heat mat can significantly speed up root development, especially if your spring weather is still a bit cool. The gentle warmth encourages those roots to get going.
- Watch Your Watering – Less is More Initially: After replanting, water thoroughly once. Then, resist the urge to water constantly. Let the soil surface dry out slightly between waterings. Overwatering new divisions is the quickest way to invite rot.
Aftercare & Troubleshooting
Once your Crinum divisions are planted, keep them in bright, indirect light. Avoid scorching direct sun while they’re establishing. Water them when the top inch of soil feels dry.
The first signs of success will be new leaf growth emerging from the center of the bulb. If you see softening, mushy spots, blackening, or a foul smell, you’re likely dealing with rot. This usually stems from too much moisture. If rot appears, dig up the bulb immediately, cut away all affected areas, dust the healthy parts with fungicide or cinnamon, and let it callus again before replanting in fresh, dry soil. Don’t be discouraged if a division doesn’t make it; it happens to the best of us. Learn from it and try again!
A Encouraging Closing
Propagating Crinum lilies is a journey, and like any good garden endeavor, it requires a little patience. But seeing those new shoots emerge, knowing you’ve helped a life begin, is incredibly rewarding. So, grab your trowel, get your hands in the soil, and enjoy the process of multiplying those beautiful blooms. Happy gardening!
Resource:
https://identify.plantnet.org/k-world-flora/species/Crinum%20ornatum%20(Aiton)%20Herb./data