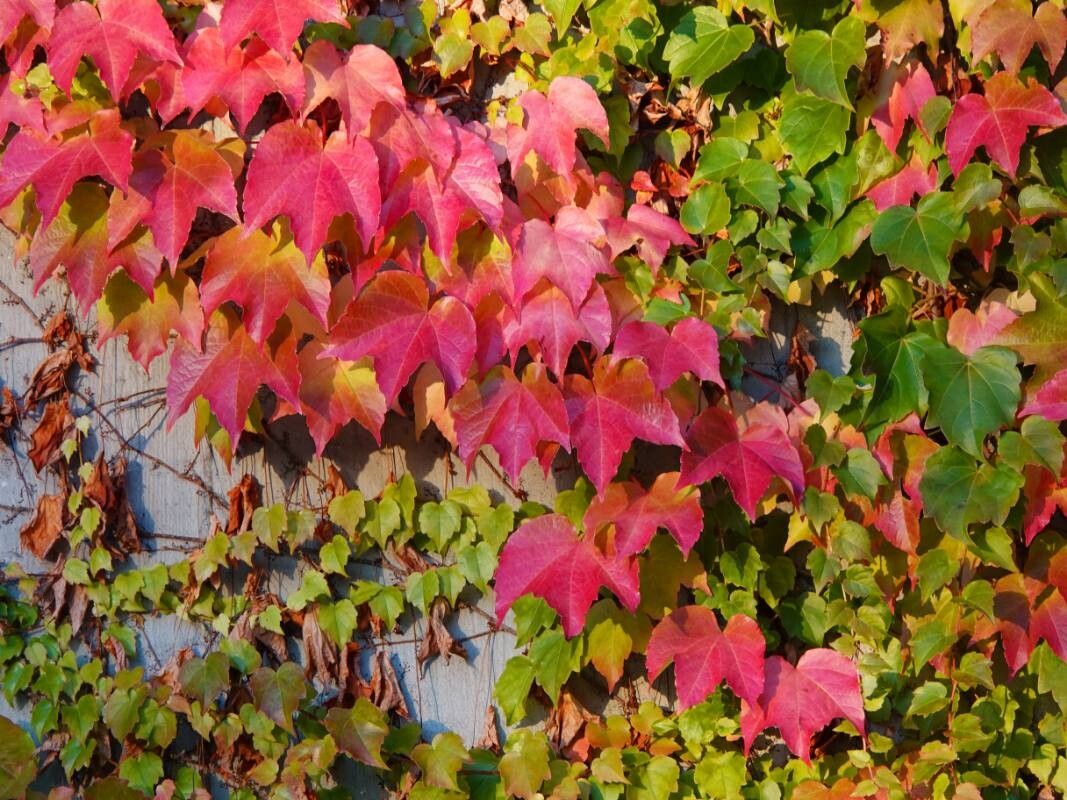
Hey there, fellow plant lovers! Today, we’re diving into the wonderful world of Parthenocissus tricuspidata, or as many of us affectionately call it, Boston Ivy. If you’ve ever admired those stunning walls draped in vibrant, three-lobed leaves that turn fiery shades of crimson and orange in the fall, you’re in for a treat. Propagating this beauty is incredibly rewarding, and honestly, it’s one of those plants that just wants to grow. It’s a fantastic option for beginners looking to expand their green collection or share cuttings with friends.
The Best Time to Start
For Boston Ivy, my favorite time to get propagating is during the late spring or early summer. This is when the plant is actively growing, producing plenty of healthy, new shoots that are perfect for taking cuttings. You’ll want to look for stems that are semi-hardwood – not brand new and floppy, but not completely woody and old either. They should feel firm but still have a bit of flexibility.
Supplies You’ll Need
Here’s what you’ll want to have on hand before you get started:
- Sharp, clean pruning shears or a sharp knife: This is crucial for making clean cuts, which helps prevent disease.
- Rooting hormone (optional but recommended): This can significantly boost your success rate, especially for trickier cuttings. Look for a powdered or gel form.
- Potting mix: A well-draining mix is key. I like to use a blend of equal parts peat moss or coco coir and perlite or coarse sand. You can also buy a good quality seedling starting mix.
- Small pots or containers: Clean pots are important! Small nursery pots, yogurt cups with drainage holes poked in them, or even seed starting trays will work.
- Watering can or spray bottle: For gentle watering.
- Plastic bags or a propagator: To create a humid environment for your cuttings.
Propagation Methods
Boston Ivy is surprisingly versatile when it comes to propagation. Here are a couple of my go-to methods:
Stem Cuttings: My Most Reliable Method
- Take your cuttings: With your clean shears, select healthy, semi-hardwood stems about 6-10 inches long. Make your cut just below a leaf node (where a leaf attaches to the stem).
- Prepare the cuttings: Gently remove the lower leaves, leaving just a few at the top. If any leaves are very large, you can cut them in half to reduce water loss through transpiration.
- Apply rooting hormone: If you’re using rooting hormone, dip the cut end of the stem into the hormone, tapping off any excess.
- Plant your cuttings: Fill your clean pots with your prepared potting mix. Make a small hole in the center of the mix with a pencil or your finger. Insert the cut end of the stem into the hole, ensuring the leaf nodes are nestled into the soil. Gently firm the soil around the cutting.
- Water gently: Give your cuttings a light watering so the soil is moist but not soggy.
- Create humidity: Cover the pot loosely with a plastic bag or place it in a propagator. This creates a humid microclimate that helps prevent the cuttings from drying out while they develop roots. Make sure the leaves don’t touch the plastic if possible.
Water Propagation: A Visual Treat
This method is especially satisfying because you can watch the roots grow!
- Take your cuttings: Follow steps 1 and 2 from the stem cutting method.
- Place in water: Remove all leaves except the top one or two. Fill a clean jar or glass with fresh water.
- Position the cuttings: Place the cuttings in the water so that at least one leaf node is submerged. This is where the roots will emerge from.
- Change the water regularly: This is super important. Change the water every 2-3 days to keep it fresh and prevent bacteria buildup.
- Wait for roots: You should start seeing tiny roots emerging from the nodes in a few weeks. Once the roots are about an inch long, you can transplant them into potting mix (follow step 4 of stem cuttings).
The “Secret Sauce” (Pro Tips)
Here are a couple of little tricks I’ve picked up over the years that can really make a difference:
- Bottom Heat is Your Friend: If you’re struggling with rooting, especially with stem cuttings, consider using a seedling heat mat. This gently warms the soil from below, encouraging faster root development. It’s like giving your cuttings a cozy, warm bed to grow in!
- Don’t Be Afraid of a Little “Clutter”: When taking stem cuttings, it’s actually beneficial to leave a few leaves on. While you want to reduce water loss, a few leaves are needed for photosynthesis to produce energy for root growth. Just make sure they aren’t touching the soil or rubbing against each other too much.
Aftercare & Troubleshooting
Once you see signs of new growth or a good root system forming (you might feel a gentle tug when you try to disturb the soil), it’s time for a bit more hands-on care.
- Gradual Acclimation: Slowly introduce your rooted cuttings to less humid conditions. If you used a plastic bag, start by opening it for a few hours each day. This prevents shock.
- Watering: Continue to water when the top inch of soil feels dry. Boston Ivy likes consistent moisture, but avoid letting it sit in soggy soil.
- Light: Place your new plants in a bright, indirect light location. Direct sun can be too harsh for tender new growth.
- Troubleshooting Rot: The most common issue you’ll encounter is rot. If you notice your cuttings turning brown and mushy, or the soil feels constantly waterlogged, you’re likely overwatering or have poor drainage. Don’t be discouraged! It happens to the best of us. Discard any rotten cuttings and try again, focusing on that well-draining soil and lighter watering. Remove any leaves that fall into the water in water propagation!
Enjoy the Journey!
Propagating Boston Ivy is a truly rewarding experience. It’s a chance to connect with your plants on a deeper level and to fill your garden or your friends’ gardens with beautiful, cascading vines. Be patient, celebrate every tiny root, and don’t be afraid to experiment. Happy propagating!
Resource: