Hey there, fellow plant lovers! I’m so excited to dive into a plant that brings a little wild magic to the garden: Ammocharis tinneana, often called the False Natal Lily or the Tinne’s Amaryllis. If you’ve ever seen its gorgeous, trumpet-shaped pink flowers emerge, usually after a period of dryness, you know why it’s captivating. Propagating these beauties is incredibly rewarding, a chance to multiply that joy and perhaps even share these treasures with other keen gardeners. Now, let’s be honest, this isn’t the easiest plant for a complete beginner to propagate, but with a little patience and these tips, you’ll be well on your way.
The Best Time to Start
To get the best results, we want to work with Ammocharis tinneana when it’s actively growing. This usually means spring or early summer, after its flowering period and when it’s putting out fresh leaves. Avoid trying to propagate it when it’s resting or dormant; it just won’t have the energy to put into making new roots. Think of it like starting a project when you’re feeling refreshed and energized – much more likely to succeed!
Supplies You’ll Need
To gather your tools for this propagation adventure, you’ll want:
- Well-draining potting mix: A good blend for bulbs or succulents works wonders. I often use a mix of perlite, coarse sand, and a bit of peat or coco coir.
- Sharp, clean pruning shears or a knife: For making clean cuts.
- Rooting hormone (optional but recommended): This can give your cuttings a nice boost.
- Small pots or trays: With drainage holes, of course.
- Watering can or spray bottle: For gentle watering.
- Labels and a marker: To keep track of what’s what!
- A warm, bright spot: Not direct, harsh sun initially.
Propagation Methods
Ammocharis tinneana is primarily propagated by offsets (baby bulbs that grow from the base of the parent bulb) or, with a bit more care, by leaf cuttings.
Method 1: Dividing Offsets
This is generally the most successful method for Ammocharis tinneana.
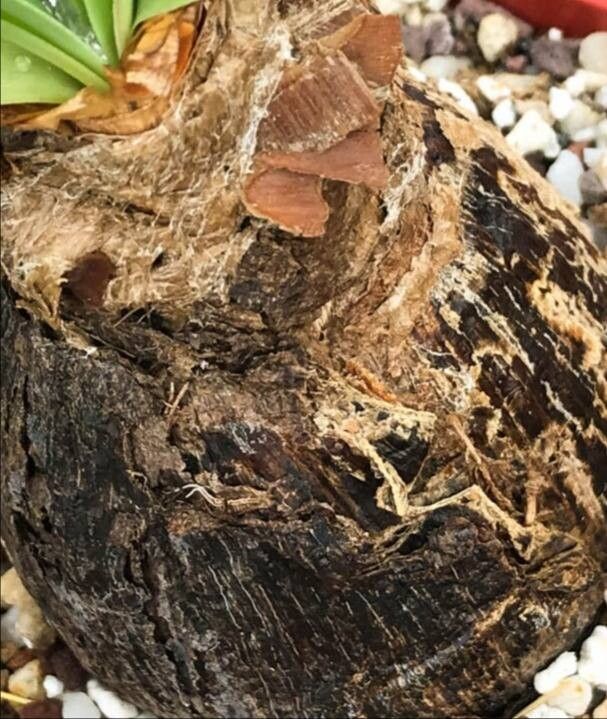
- Gently Excavate: Carefully lift the parent bulb from its pot or the ground. I like to do this when the soil is slightly moist, as it’s less likely to damage the roots.
- Identify the Offsets: Look for smaller bulbs clustered around the base of the main bulb. They’ll often have their own tiny roots.
- Separate with Care: Using your clean shears or knife, carefully cut away the offsets from the parent bulb. Try to ensure each offset has some roots attached. If an offset is very small, it might be trickier and take longer to establish, but it’s still worth a try!
- Allow to Dry (Briefly): Let the separated offsets sit for a day or two in a dry, airy place. This helps any cut surfaces to callus over, which reduces the risk of rot.
- Pot Them Up: Plant each offset in its own small pot filled with your well-draining mix. The top of the bulb should be at or just slightly above the soil surface.
- Initial Watering: Water very lightly, just enough to settle the soil.
Method 2: Leaf Cuttings (More Advanced)
This method isn’t always as successful as offset division, but it’s a fun challenge!
- Select Healthy Leaves: Choose mature, healthy leaves from a vigorous plant.
- Make the Cut: Using a sharp knife, make a clean cut at the base of the leaf, as close to the bulb as possible. You can take individual leaves or sometimes a whole cluster of leaves if they are already separating.
- Apply Rooting Hormone (Optional): Dip the cut end into rooting hormone if you’re using it.
- Plant the Leaf: Insert the cut end of the leaf about an inch deep into your well-draining potting mix. You can plant multiple leaves in the same pot, spacing them a few inches apart.
- Provide Moisture: Water gently and keep the soil consistently slightly moist, but not soggy.
The “Secret Sauce” (Pro Tips)
Here are a couple of things I’ve learned that really make a difference:
- Don’t Drown Them: This is crucial, especially with leaf cuttings. The leaf itself needs to survive on its stored energy while roots form. If the base sits in water, it’s far more likely to rot before it can even think about rooting. Keep the soil just barely moist, like a wrung-out sponge.
- Bottom Heat is Your Friend: For leaf cuttings, placing the pot on a seedling heat mat can dramatically speed up root development. It mimics the warmth of spring soil and gives those stubborn roots a gentle encouragement to appear.
Aftercare & Troubleshooting
Once your offsets or cuttings are potted, find them a bright spot that gets indirect sunlight. Resist the urge to water them constantly! Let the soil dry out a bit between waterings. For offsets, you should see new growth within a few weeks to a couple of months. Leaf cuttings can take much longer, sometimes six months or more before you see any sign of roots or a tiny new bulb forming at the base.
The most common pitfall is rot. If you see leaves turning mushy, yellowing excessively, or the base of your cutting becoming soft and black, it’s usually a sign of too much moisture. Don’t be afraid to pull out the affected piece and let it dry out completely. If the rot is extensive, it’s unfortunately lost, but don’t let it discourage you! Just adjust your watering habits for the next attempt. Sometimes, a persistent plant just needs more time – don’t give up too soon!
A Encouraging Closing
Propagating Ammocharis tinneana is a journey, not a race. It requires a bit of patience and a willingness to observe your plants. But the reward of nurturing a new life from a piece of an existing one is truly something special. Enjoy the process, learn from each attempt, and before you know it, you’ll be surrounded by more of these magnificent blooms. Happy growing!
Resource: