Oh, hello there! I’m so happy you’re interested in bringing more green into your life. Today, we’re going to talk about a truly special tree: Fraxinus quadrangulata, or as it’s commonly known, Blue Ash.
Why Propagate Blue Ash?
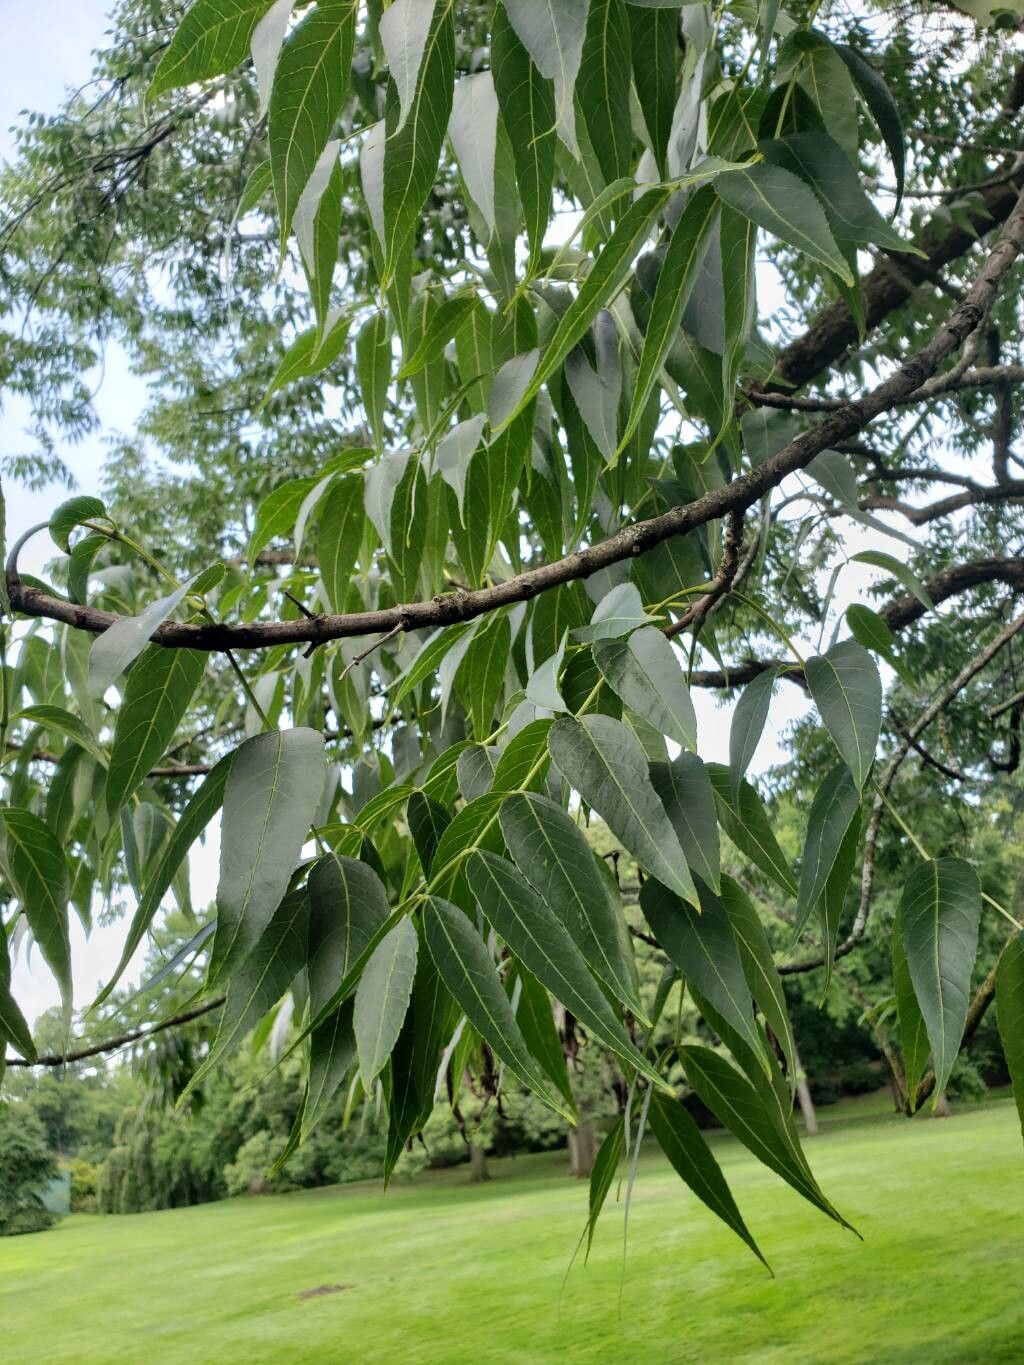
There’s something deeply satisfying about growing a tree from a tiny cutting or seed. Blue Ash is a beautiful native, known for its lovely blue-green summer foliage and gorgeous yellow fall color. Plus, its bark has a fascinating texture. Propagating it yourself is not only economical but incredibly rewarding when you see your little sapling thrive. Now, I won’t lie, Fraxinus quadrangulata isn’t the absolute easiest plant to get going for a complete beginner, but with a little patience and these tips, you’ll be well on your way!
The Best Time to Start
For Blue Ash, the best time to try your hand at propagation is typically in the late spring or early summer. This is when the plant is actively growing, and the new stems are flexible and full of life. You’ll want to select from current year’s growth that has started to mature a bit – not the very soft, brand-new tips, but not wood that’s too hard either. Think of it as the “pencil-thick” stage.
Supplies You’ll Need
Gathering your supplies beforehand makes the whole process smoother. Here’s what I always have on hand:
- Sharp, clean pruning shears or a very sharp knife: For making clean cuts.
- Small pots or seed trays: With drainage holes, of course!
- A good quality potting mix: I often use a well-draining blend, usually a mix of peat moss, perlite, and a little compost. For seed propagation, a lighter seed-starting mix is even better.
- Rooting hormone powder or liquid: This is particularly helpful for cuttings and gives them a real head start.
- A plastic bag or a propagation dome: To create a humid environment.
- A heat mat (optional but recommended): Bottom heat can significantly speed up root development.
- Labels and a permanent marker: Trust me, you’ll thank me later for remembering what you planted and when!
- Watering can or spray bottle: For gentle watering.
Propagation Methods
There are a couple of ways to go about this for Blue Ash.
Method 1: Stem Cuttings
This is often the most effective way to get a new Blue Ash going, especially from a parent tree you admire.
- Take Your Cuttings: In late spring or early summer, select healthy, semi-hardwood stems. Look for shoots that are about 4-6 inches long. Make a clean cut just below a leaf node (where a leaf attaches to the stem). Remove any leaves from the bottom half of the cutting. Leave just two or three leaves at the very top.
- Apply Rooting Hormone: Dip the cut end of the stem into your rooting hormone, ensuring it’s coated well. Tap off any excess.
- Plant Your Cuttings: Fill your pots with your moistened potting mix. Make a small hole in the center with your finger or a dibber. Gently insert the treated cutting, pressing the soil firmly around it.
- Create a Humid Environment: Water the soil gently. Then, cover the pot with a plastic bag or place it under a propagation dome. Make sure the bag doesn’t touch the leaves too much – if it does, you can prop it up with a few skewers. Place the pot in a bright spot with indirect light.
Method 2: Seed Propagation (More Challenging)
Blue Ash seeds also work, but they can be a bit trickier and often require stratification.
- Collect Seeds: Collect seeds in the fall after they’ve matured and begun to drop.
- Stratification (Crucial Step!): Blue Ash seeds need a period of cold, moist stratification to break dormancy. Mix the seeds with moistened peat moss or sand in a plastic bag. Store this in the refrigerator for 90-120 days. Check periodically to ensure the medium stays moist.
- Sow the Seeds: After stratification, sow the seeds 1/4 inch deep in a tray of seed-starting mix. Water gently.
- Germination: Keep the soil consistently moist but not soggy. Place the tray in a warm location, ideally with bottom heat from a mat. Germination can be slow and erratic, often taking several weeks or even months.
The “Secret Sauce” (Pro Tips)
Here are a few things I’ve learned over the years that can really boost your success:
- Don’t Let Leaves Drip: If you’re using a plastic bag or dome for cuttings, keep those leaves from touching the sides too much. Excess moisture sitting on the leaves can lead to fungal issues and rot. If they’re touching, try to gently fold the bag away.
- Bottom Heat is Your Friend: For cuttings, applying gentle bottom heat (around 70-75°F) from a heat mat really encourages root development. It mimics the warmth of the soil in summer and gives those roots a much-needed boost.
- Mist, Don’t Drown: When propagating, especially with seeds or newly potted cuttings, it’s so tempting to flood them. But hold back! A gentle misting or watering from the bottom often keeps the soil humid enough without waterlogging your precious young plants.
Aftercare & Troubleshooting
Once you see signs of roots – usually a tiny bit of new growth or resistance when you gently tug the cutting – it’s time for some careful management.
After Roots Appear:
- Acclimatize: Gradually let the humidity levels drop by opening the bag or dome a little each day over a week or so.
- Increase Light: Move your new plants to a spot with brighter, but still indirect, sunlight.
- Watering: Water when the top inch of soil feels dry. Avoid letting them sit in water.
- Repotting: Once the root system is well-established (you might see roots growing out of the drainage holes), you can carefully transplant them into slightly larger pots with a good quality potting mix.
Common Signs of Trouble:
- Wilting and Yellowing Leaves: This can be a sign of underwatering, but also of overwatering and root rot. Always check the soil moisture first.
- Mushy Stem Base: This is almost always rot, usually caused by too much moisture and not enough air circulation. Unfortunately, this is hard to recover from. This is why that well-draining mix and avoiding waterlogged conditions are so critical.
- No Growth: This can simply mean the plant hasn’t rooted yet, or it’s a sign the cutting or seed wasn’t viable. Don’t give up too soon!
Happy Planting!
Propagating Blue Ash takes a bit of practice, and not every attempt will be a smashing success, but that’s the beauty of gardening, isn’t it? Each try teaches you something new. Be patient with your little sprouts, give them good care, and before you know it, you’ll have your very own Blue Ash tree to enjoy for years to come. Happy planting!
Resource:
https://identify.plantnet.org/k-world-flora/species/Fraxinus%20quadrangulata%20Michx./data