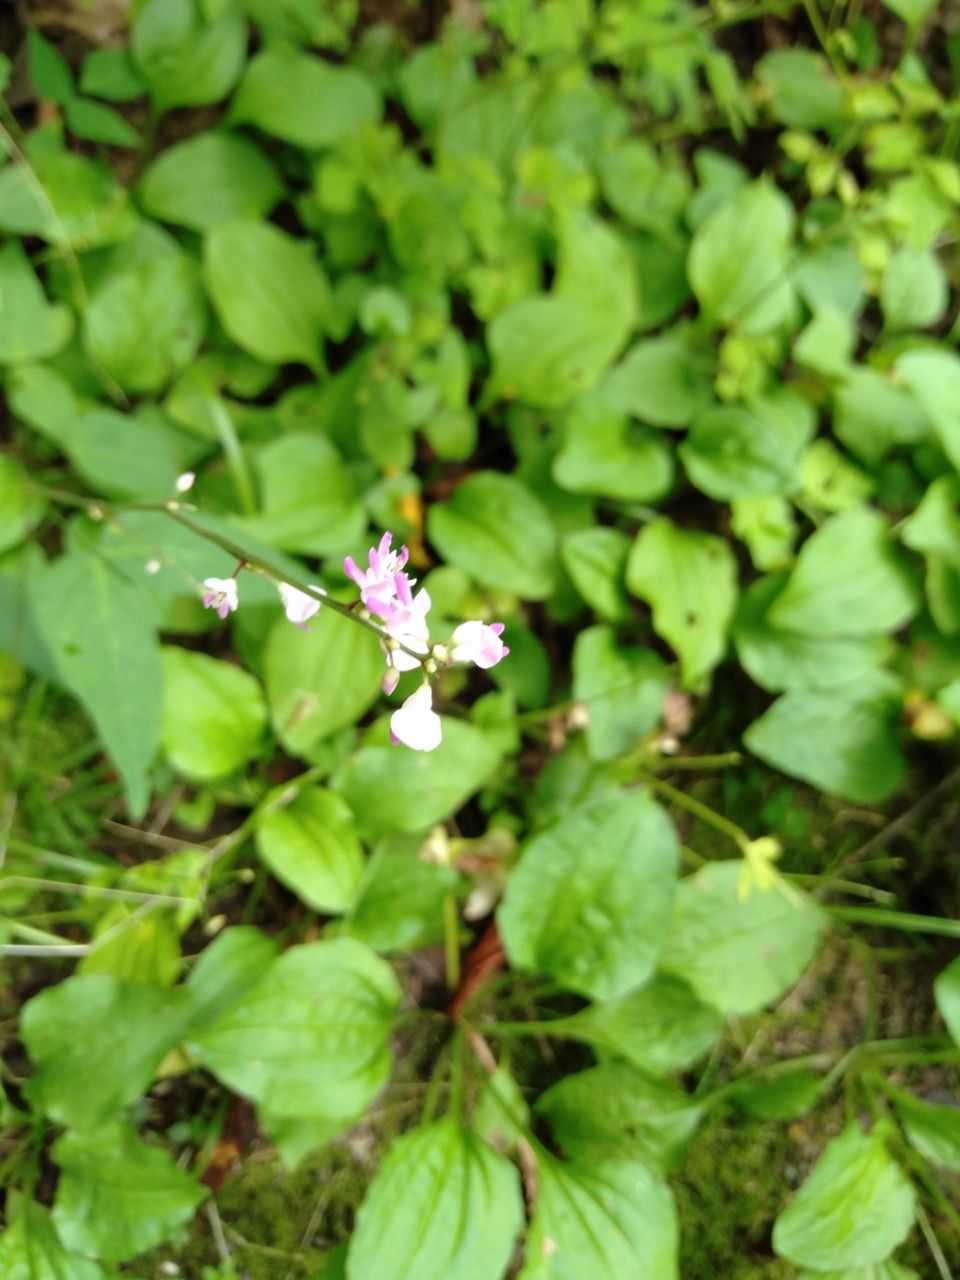
Oh, Hylodesmum podocarpum! If you’re looking for a plant that brings a touch of lushness and a whisper of the tropics to your space, you’ve found a winner. This beauty, often known for its lovely, delicate foliage and graceful habit, is a joy to have around. And guess what? Propagating it yourself is incredibly rewarding. It’s not overly fussy, making it a good candidate for those of you dipping your toes into the world of plant propagation.
The Best Time to Start
For the highest success rates with Hylodesmum podocarpum, I always recommend starting in the late spring or early summer. This is when the plant is in its active growth phase. New growth is tender and more receptive to rooting. You’re essentially catching it at its most energetic!
Supplies You’ll Need
Here’s what you’ll want to have on hand:
- Sharp Pruning Shears or a Clean Knife: For taking clean cuttings.
- Rooting Hormone (Optional but Recommended): A powder or gel will give your cuttings a helpful boost.
- Potting Mix: A light, airy mix is best. I like to use a blend of equal parts peat moss or coco coir, perlite, and a good quality potting soil.
- Small Pots or Seed Trays: With drainage holes, of course!
- Clear Plastic Bag or Humidity Dome: To create a humid environment for your cuttings.
- Watering Can or Spray Bottle: For gentle watering.
Propagation Methods
Let’s get our hands dirty with these propagation techniques!
Stem Cuttings
This is my go-to method for Hylodesmum podocarpum.
- Take Cuttings: Using your sharp shears, select healthy stems from your mature plant. Look for stems that are not too woody but also not brand new and soft. Aim for cuttings that are about 4-6 inches long. Make your cut just below a leaf node (where a leaf attaches to the stem).
- Prepare the Cuttings: Gently remove the lower leaves from your cuttings, leaving just a couple of leaves at the very top. This prevents them from rotting when they’re buried in the soil. If your cutting is long, you can even cut the remaining leaves in half to reduce water loss.
- Apply Rooting Hormone (If Using): Dip the cut end of each stem into your rooting hormone, tapping off any excess.
- Plant the Cuttings: Fill your small pots with your prepared potting mix. Make a small hole in the center of the mix with your finger or a pencil. Insert the cut end of the Hylodesmum cutting into the hole and gently firm the soil around it.
- Water and Cover: Water the soil gently until it’s moist but not waterlogged. Then, cover the pot with a clear plastic bag or a humidity dome. This creates a mini greenhouse effect, keeping the humidity high, which is crucial for successful rooting.
Water Propagation (Handle with Care!)
While I prefer soil propagation for Hylodesmum to avoid transplant shock, some find success with water.
- Prepare Cuttings: Follow steps 1 and 2 from the stem cutting method.
- Place in Water: Pop the cuttings into a clean jar or vase filled with lukewarm water.
- Positioning is Key: Make sure the leaves do NOT touch the water. Submerged leaves will quickly rot and can take down your entire cutting. If necessary, you can trim them further or use a method to keep them elevated.
- Location: Place the jar in a bright spot with indirect light. Change the water every few days to keep it fresh. You’re looking for tiny white root nubs to emerge.
The “Secret Sauce” (Pro Tips)
Here are a few little things I’ve learned over the years that can really make a difference:
- Bottom Heat is Your Friend: If you can, place your pots or water jar on a seedling heat mat. This gentle warmth from below encourages root development to jumpstart. It’s like giving your cuttings a cozy little spa treatment.
- Don’t Disturb Too Soon: Resist the urge to constantly pull your cuttings out to check for roots! Give them at least 3-4 weeks before you even think about tugging gently. A little resistance means roots are forming.
- Use Filtered or Distilled Water: Tap water can sometimes contain minerals that aren’t ideal for sensitive new roots. Using filtered, distilled, or even rainwater can give your cuttings a cleaner start.
Aftercare & Troubleshooting
Once you see signs of new growth, or gentle tugging reveals some resistance, it’s time to transition!
For soil-propagated cuttings, remove the plastic bag or humidity dome gradually over a few days to acclimate them to normal humidity levels. Continue to keep the soil consistently moist but not soggy. Bright, indirect light is still the goal.
When your water-propagated cuttings have developed roots about 1-2 inches long, it’s time to carefully transplant them into your potting mix. Be gentle with those fragile roots! Plant them as you would the stem cuttings and follow the watering and light instructions.
The most common issue you’ll encounter is rot. If your cutting turns mushy and black, it’s likely rotted. This is often due to too much moisture, poor air circulation, or the leaves touching water. If you spot it early, you might be able to salvage a healthy section by taking a new cutting from a firm part of the stem.
A Encouraging Closing
Watching a new plant emerge from a small cutting is one of the most satisfying parts of gardening. Be patient with your Hylodesmum podocarpum; it has its own pace. Don’t get discouraged if not every cutting takes. Each attempt is a learning experience, and you’ll soon be sharing those beautiful new plants with friends! Happy propagating!
Resource: