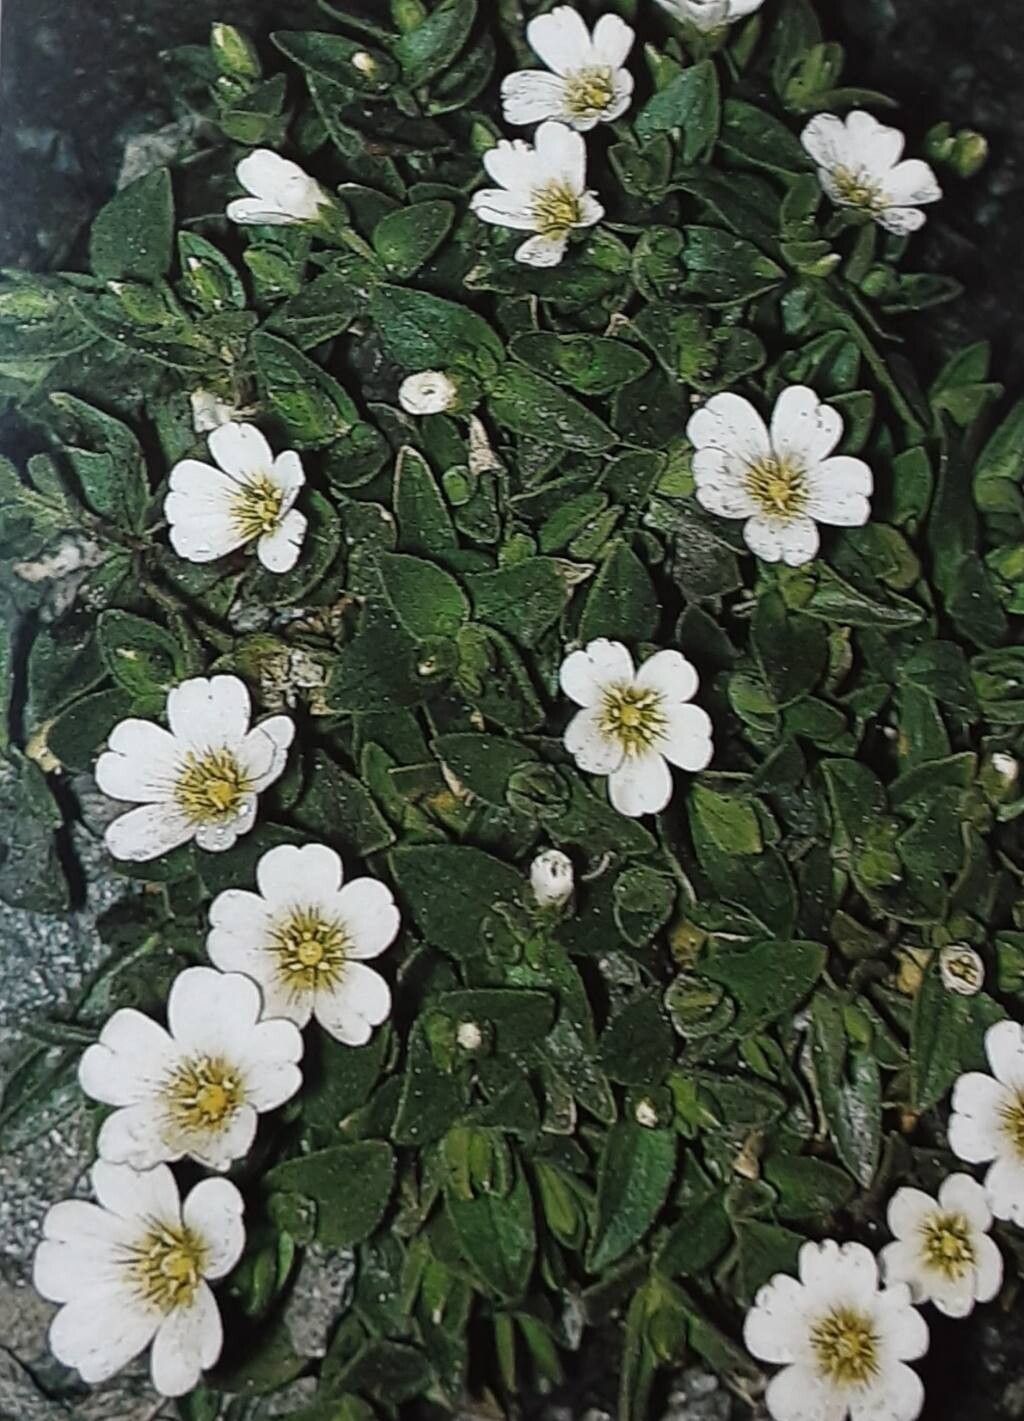
Hello there, fellow garden lovers! Today, we’re diving into the delightful world of Cerastium latifolium, or Broadleaf Mouse-ear Chickweed. If you’re looking for a charming groundcover that spills over walls and paths with delicate white flowers, this is your plant. I’ve always found its carpets of tiny blooms so inviting, and the best part? It’s remarkably rewarding to propagate. Don’t worry if you’re just starting out; this is a wonderfully forgiving plant to learn with.
The Best Time to Start
For the highest success rate with Cerastium latifolium, I find late spring to early summer is absolutely ideal. This is when the plant is actively growing and energy levels are high, meaning it’s more receptive to creating new roots. You’ll want to work with healthy, new growth that hasn’t yet flowered.
Supplies You’ll Need
Here’s what you’ll want to have handy:
- Sharp pruning shears or a clean knife: For making neat cuts.
- Well-draining potting mix: A good soilless seed-starting mix or a blend of peat, perlite, and a little compost works wonders.
- Small pots or trays: With drainage holes, of course!
- Rooting hormone (optional but helpful): A powdered or gel form can encourage faster root development.
- A watering can with a fine rose attachment or a spray bottle: For gentle watering.
- Plastic bags or a propagation dome: To maintain humidity.
Propagation Methods
Cerastium latifolium is quite amenable to a couple of common propagation techniques, and I often find division to be the simplest and most effective.
Stem Cuttings
- Take your cuttings: Select healthy, non-flowering shoots from your mature plant. Using your sharp shears, take cuttings that are about 4-6 inches long. Make sure each cutting has at least a couple of leaf nodes (where the leaves attach to the stem).
- Prepare the cuttings: Gently remove the lower leaves from the cutting, leaving just 2-3 sets of leaves at the top. If you’re using rooting hormone, dip the cut end into it according to the product’s instructions.
- Plant your cuttings: Fill your small pots with your well-draining potting mix. Make a small hole in the center of the soil with your finger or a pencil. Insert the cut end of the stem into the hole, about an inch deep. Firm the soil gently around the cutting.
- Water and cover: Water the soil gently. Then, cover the pot with a plastic bag or place it under a propagation dome to create a humid environment.
Division
This is a fantastic method for Cerastium latifolium, especially when your plant has grown a bit too large and is starting to look sparse in the center.
- Gently unearth the plant: Dig up the entire plant carefully. You might need to use a trowel to loosen the soil around the edges.
- Separate the sections: Gently pull the root ball apart with your hands. You’re looking for sections that have healthy roots and shoots. If they are tangled, a clean knife can help you make the separations.
- Replant immediately: Find new spots in your garden or prepare new pots with good soil. Plant the divisions as you would a new plant, ensuring the roots are well-covered with soil. Water them in thoroughly.
The “Secret Sauce” (Pro Tips)
Here are a couple of tricks I’ve learned over the years that really boost success:
- When taking cuttings, don’t be afraid to make a few extra. Not all will take, and having a few spares greatly increases your chances of getting a good number of new plants.
- For cuttings, bottom heat really makes a difference. If you have a heat mat or can place your pots on top of a warm appliance (not hot!), it encourages those roots to form much faster.
Aftercare & Troubleshooting
Once your cuttings are planted (or divisions replanted), keep the soil consistently moist but not waterlogged. If you’ve covered them with plastic, open the bag for an hour or so each day to allow for some air circulation and prevent fungal issues. You’ll know your cuttings have rooted when you see new growth emerging from the tips of the stems. For divisions, you’ll see the plant perking up and showing signs of renewed vigor.
The biggest challenge you might face is rot. If your cuttings look limp and mushy, or if you notice a dark, soft base, it’s usually a sign of too much moisture and not enough air. Make sure your soil is draining well and increase ventilation. Sometimes, unfortunately, it’s just how it goes, and you might need to start again with fresh cuttings.
A Little Patience Goes a Long Way
Propagating plants is such a satisfying way to expand your garden for free! Don’t get discouraged if your first attempt isn’t perfect. With Cerastium latifolium, patience and observation are your best tools. Enjoy the process of nurturing these little green shoots, and soon you’ll have even more of this lovely plant to enjoy. Happy gardening!
Resource:
https://identify.plantnet.org/k-world-flora/species/Cerastium%20latifolium%20L./data