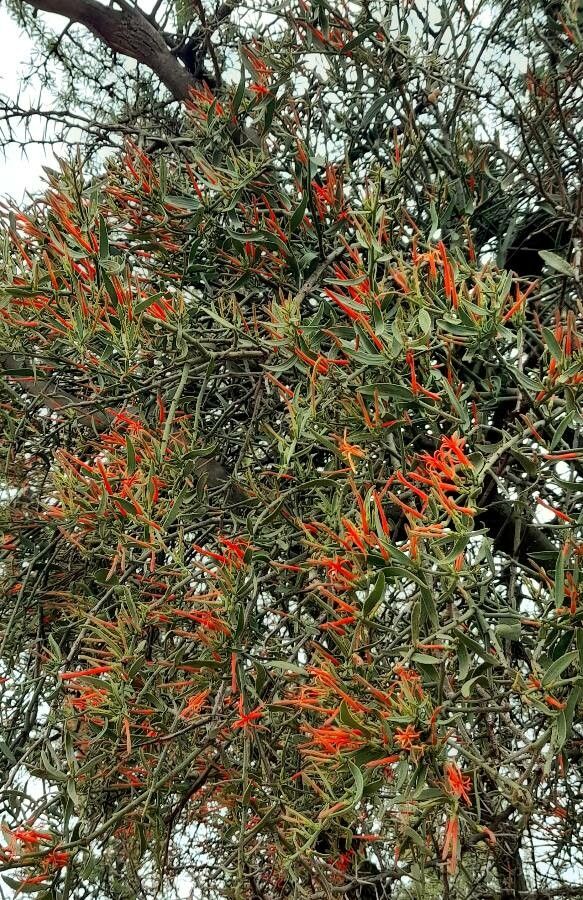
Oh, Ligaria cuneifolia! What a delightful plant to bring into your garden. Its bold, architectural blooms and vibrant green foliage are such a showstopper, aren’t they? And the best part? Propagating it is not only achievable for most gardeners, but it also feels like unlocking a little bit of gardening magic. I’ve been fussing over these beauties for years, and sharing cuttings with friends is one of my greatest joys. Don’t worry if you’re new to propagation; Ligaria is generally quite forgiving, and we’ll walk through it together.
The Best Time to Start
For Ligaria, aim for late spring or early summer. That’s when the plant is actively growing and has plenty of energy to put into new roots. You’ll want to take cuttings from healthy, non-flowering stems. Think of it as harvesting bits of vigorous growth before the plant really dedicates its resources to blooming and setting seed.
Supplies You’ll Need
Gathering your tools beforehand makes the whole process smoother. Here’s what I usually have on hand:
- Sharp Pruning Shears or a Clean Knife: For making clean cuts.
- Rooting Hormone (Optional but Recommended): A simple powder or gel can give your cuttings a helpful boost.
- Potting Mix: A well-draining mix is key. I often use a blend of peat moss (or coco coir), perlite, and a bit of compost.
- Small Pots or Trays: For your new cuttings. Make sure they have drainage holes!
- Plastic Bag or Humidity Dome: To create a humid environment.
- Patience! This is the most important tool of all.
Propagation Methods
Ligaria cuneifolia is wonderfully adaptable, and I’ve had great success with a couple of methods.
Stem Cuttings
This is my go-to for Ligaria.
- Select Your Stems: Look for healthy, mature stems that are at least 6 inches long. Avoid anything that looks leggy or has flower buds.
- Make the Cut: Using your clean shears, make a cut just below a leaf node. A leaf node is where a leaf attaches to the stem – this is where the magic of root formation usually happens.
- Prepare the Cutting: Gently remove the lower leaves, leaving just a few at the top. If the leaves are very large, I sometimes cut them in half to reduce water loss.
- Apply Rooting Hormone (If Using): Dip the cut end into your rooting hormone, tapping off any excess.
- Plant Your Cuttings: Fill your pots with your well-draining potting mix. Make a small hole with a pencil or your finger, and insert the cutting about 1-2 inches deep. Gently firm the soil around it.
- Water Lightly: Water the soil thoroughly but avoid making it waterlogged.
Water Propagation
This is a simpler, albeit sometimes slower, method.
- Select and Prepare Cuttings: Follow steps 1 and 2 from the stem cutting method.
- Place in Water: Fill a clean jar or glass with room-temperature water. Place the prepared cuttings in the water, ensuring that no leaves are submerged. Submerged leaves will rot and hinder rooting.
- Find a Bright Spot: Place the jar in bright, indirect light.
- Change Water Regularly: Refresh the water every few days to keep it clean and oxygenated.
- Wait for Roots: You should start to see small roots forming in a few weeks. Once the roots are about an inch long, you can transplant them into pots with soil.
The “Secret Sauce” (Pro Tips)
Having done this many times, a few little tricks have become second nature to me.
- Don’t Let Those Leaves Touch the Water (for water propagation): I can’t stress this enough! Any leaf submerged in water is an invitation for rot. Trim them off if you have to. The stem needs to be in contact with the water, not the foliage.
- Bottom Heat is Your Friend (for cuttings in soil): If you’re using the soil propagation method, especially if your house is a bit cooler, placing your pots on a seedling heat mat can significantly speed up root development. It mimics the warmth of spring soil and encourages those roots to get going.
- Condensation is a Good Sign: Once you’ve potted your cuttings and covered them with a plastic bag or humidity dome, look for gentle condensation on the inside of the plastic. This tells you the humidity is high enough to keep the cuttings from drying out. If it looks like a mini-rainforest, you can briefly air it out.
Aftercare & Troubleshooting
Once you see those precious roots – hooray!
- Care for Your New Plant: Gradually introduce your rooted cuttings to normal conditions. If they were under cover, start by removing the cover for a few hours a day before taking it off completely. Continue to water when the top inch of soil feels dry. New growth is the best indicator that your Ligaria has settled in.
- Watch for Rot: The most common problem is rot, which usually happens from overwatering or poor drainage. You’ll notice the stem turning soft and mushy, often at the soil line, and the leaves may yellow and drop. If you see this, it’s usually a sign that the cutting hasn’t made it. It’s a hard lesson some plants teach us, but don’t get discouraged! Just try again with fresh, well-draining soil and a lighter hand on the watering.
Starting new plants from cuttings is such a rewarding journey. It connects you to the life cycle of your garden and provides you with an abundance of beauty to share. Be patient with your Ligaria cuttings, give them a good start, and before you know it, you’ll have a whole collection of these stunning plants! Happy propagating!
Resource: