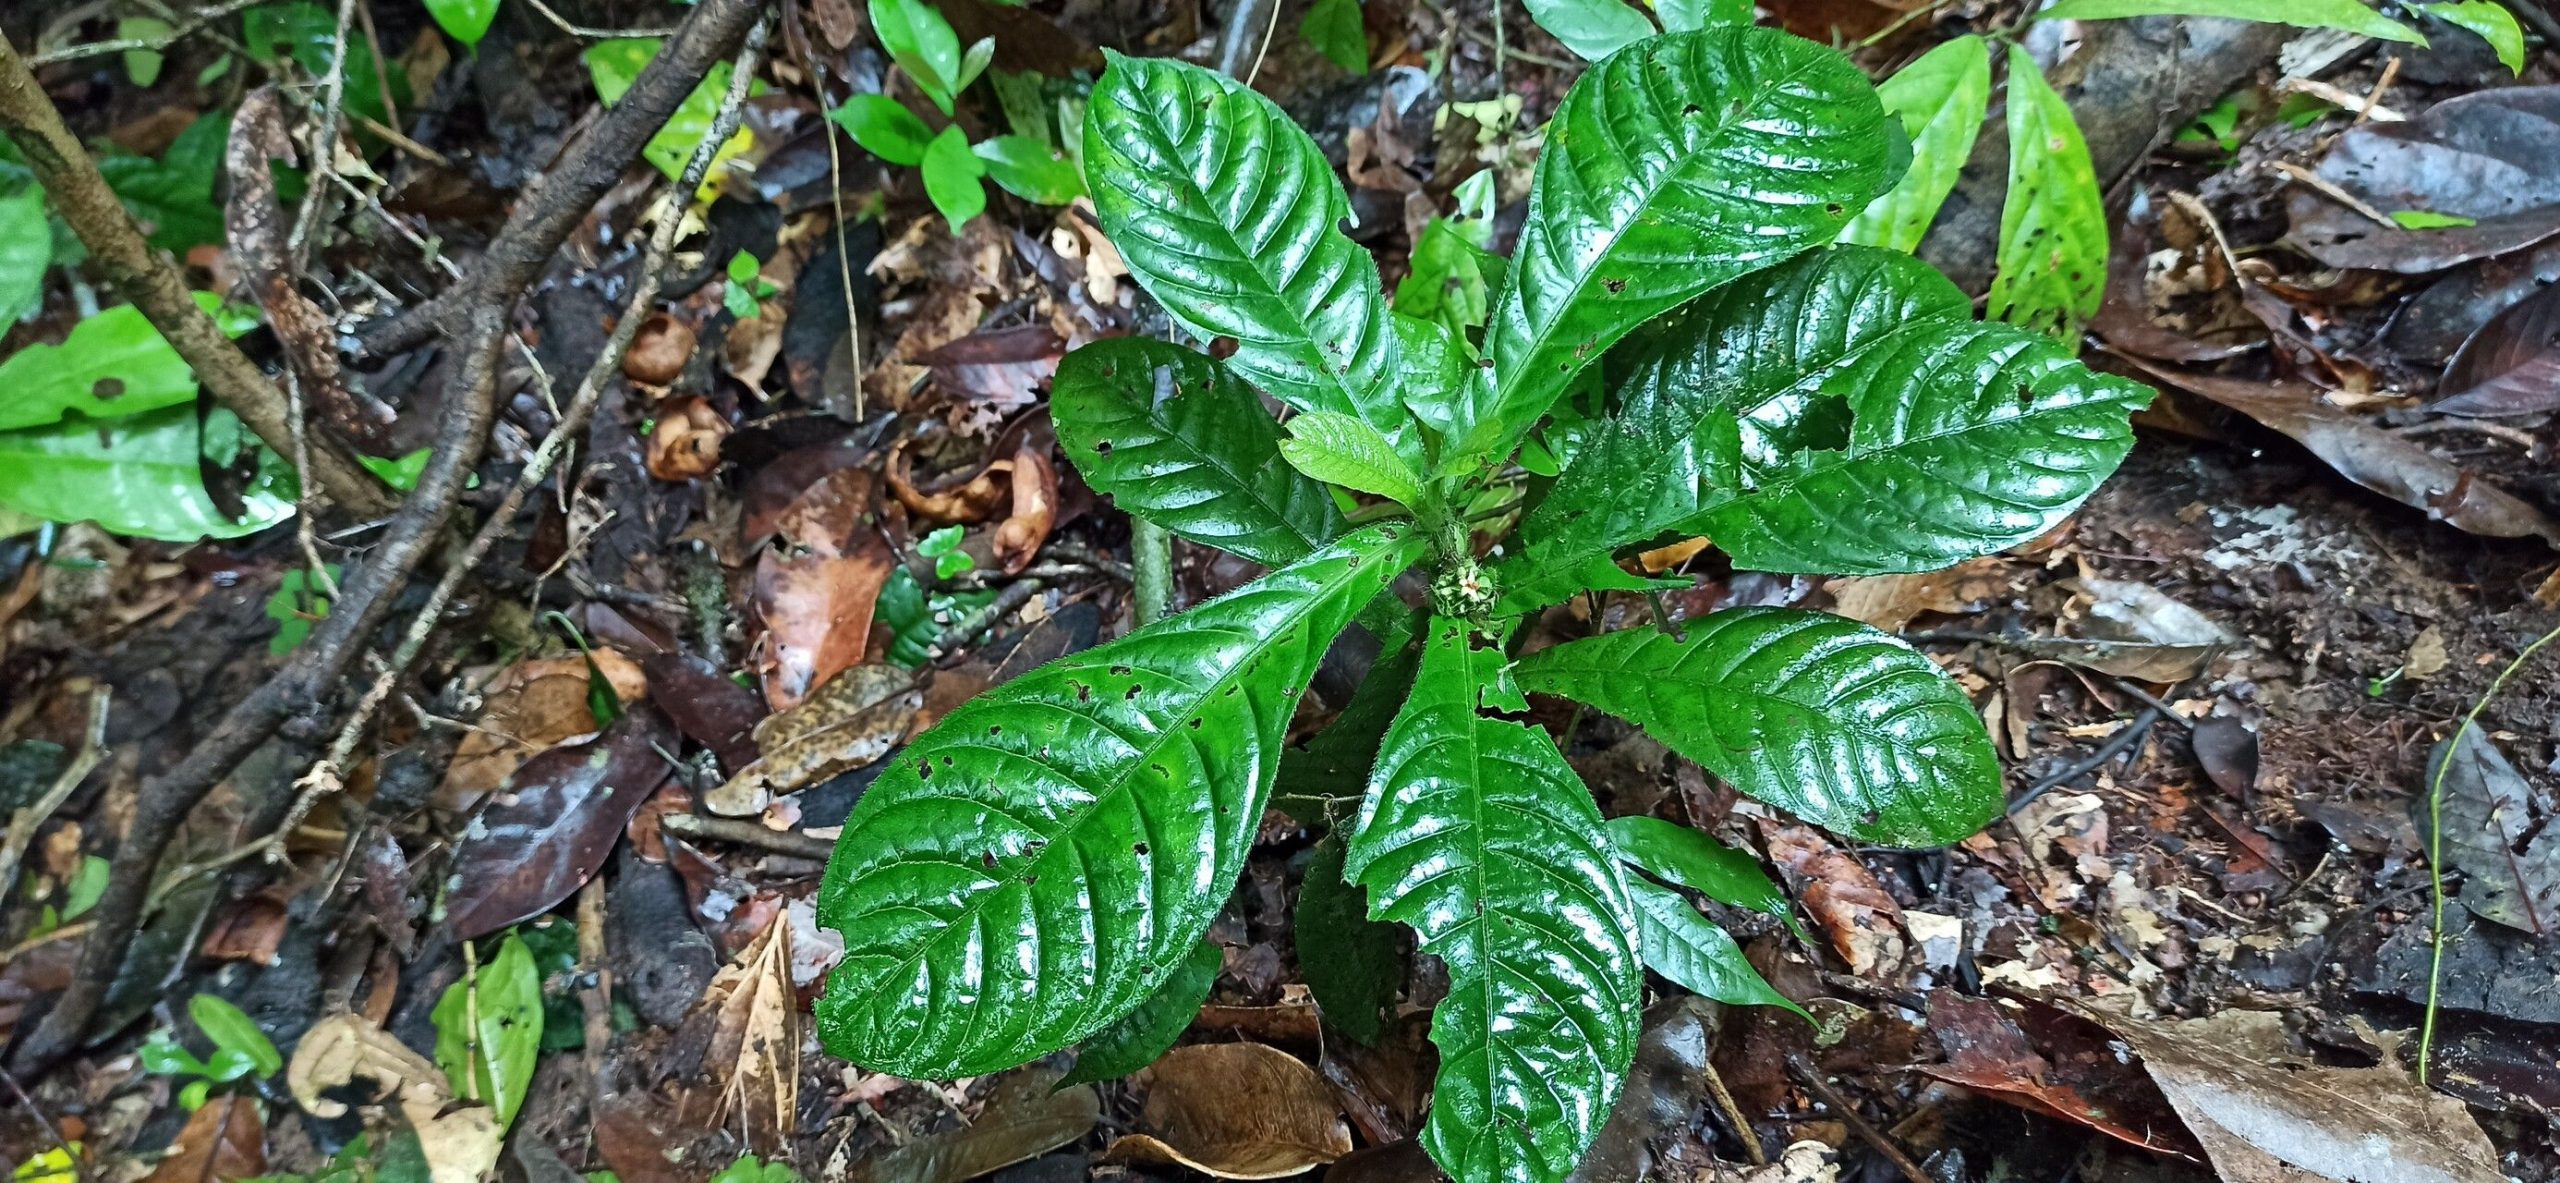
Hello there, fellow plant enthusiasts! I’m so excited to chat with you today about a real gem in the plant world: Bertiera bicarpellata. If you haven’t encountered this beauty yet, imagine vibrant foliage and a charming, often compact growth habit. It’s a plant that brings a touch of subtle elegance to any space. Propagating it yourself is incredibly satisfying, watching a tiny cutting transform into a flourishing new plant. Now, is it an absolute breeze for a total novice? I’d say it’s moderately easy, leaning towards straightforward once you get the hang of it. Don’t let that deter you; a little patience goes a long way.
The Best Time to Start
For the happiest, most successful propagations of Bertiera bicarpellata, I always lean towards late spring or early summer. The plant is usually in a robust growth phase at this time, and the warmer temperatures encourage faster rooting. Think of it as giving your cuttings the best possible start with plenty of natural energy to draw upon.
Supplies You’ll Need
Gathering your supplies beforehand makes the whole process so much smoother. Here’s what I always have on hand:
- Sharp pruning shears or a clean knife: For taking clean cuts, which is crucial.
- Rooting hormone (optional but recommended): This little sprinkle can significantly speed up root development.
- Well-draining potting mix: I like a blend of peat moss, perlite, and a bit of coco coir.
- Small pots or propagation trays: Clean pots are a must!
- Plastic bag or propagation dome: To create a humid environment.
- Watering can with a fine rose: For gentle watering.
- Spray bottle: For misting.
- An identification tag: To remind yourself what you’ve propagated, especially if you’re working on multiple plants.
Propagation Methods: Stem Cuttings
This is my go-to method for Bertiera bicarpellata. It’s reliable and gives you the most bang for your buck.
- Take Your Cuttings: Look for healthy, non-flowering stems. Using your sharp shears, cut about 4-6 inches from the tip of a mature stem. Make the cut just below a leaf node (where a leaf grows from the stem).
- Prepare the Cuttings: Gently remove the lower leaves from the cutting, leaving just a couple of leaves at the very top. If the remaining leaves are quite large, you can even cut them in half horizontally. This reduces water loss while the cutting is trying to root.
- Apply Rooting Hormone: Lightly dip the cut end of the stem into your rooting hormone. Tap off any excess.
- Plant Your Cuttings: Fill your small pots or tray with your prepared potting mix. Make a pilot hole with your finger or a pencil. Insert the cutting into the hole, ensuring the leaf nodes that were below the soil line are covered. Gently firm the soil around the stem.
- Create Humidity: Water the soil gently until it’s evenly moist but not waterlogged. Then, cover the pot or tray with a clear plastic bag or a propagation dome. This creates that vital humid microclimate.
The “Secret Sauce” (Pro Tips)
Here are a few things I’ve learned over the years that can really boost your success:
- Bottom Heat is Your Friend: If you have a seedling heat mat, place your pots on it. This gentle warmth from below encourages root development much faster than ambient room temperature. It’s like a little spa for your cuttings!
- Don’t Let Those Leaves Drip: When you mist your cuttings inside their humid environment, try to avoid water sitting directly on the leaves. This can lead to fungal issues and rot. A light mist is all they need.
- Patience is Truly a Virtue: I know it’s tempting to peek every day, but try to resist lifting the cover constantly. Only lift it to water if the soil looks dry or to briefly vent any excess condensation. Every time you lift it, you disrupt that precious humidity.
Aftercare & Troubleshooting
Once you see signs of new growth – little leaves unfurling or perhaps even a gentle tug on the cutting indicating roots – it’s time to gradually acclimate your new plant.
- Acclimation: Over a week or two, slowly reduce the humidity. Start by propping open the plastic bag a bit, then remove it for a few hours each day, and eventually remove it altogether. Continue to keep the soil consistently moist but not soggy.
- Repotting: Once your cutting has a good root system and is actively growing, you can transplant it into a slightly larger pot.
- Common Pitfalls: The most common issue you’ll face is rot. If you notice your cutting turning mushy, blackening, or wilting dramatically even with adequate moisture, it’s likely rot. This is usually due to overwatering or poor drainage. If you catch it early, you might be able to salvage some by taking new cuttings from healthy parts of the stem. Excessive wilting without rot can sometimes mean the cutting is just too dry, or it simply hasn’t established roots yet. Keep an eye on that soil moisture!
A Little Encouragement
There you have it! Propagating Bertiera bicarpellata is a wonderfully rewarding process. Remember to be patient, celebrate the small victories, and don’t be discouraged if your first attempt isn’t perfect. Every gardener has had their share of failed cuttings! Enjoy the journey of watching new life emerge from your own hands. Happy propagating!
Resource: