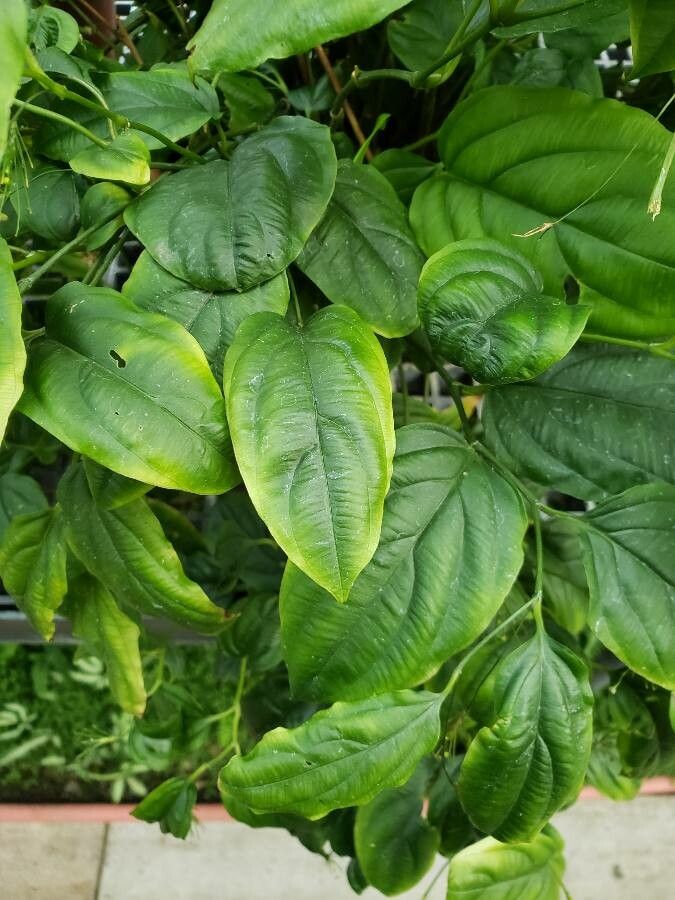
Oh, hello there! Grab a mug of your favorite brew, because today we’re diving into the wonderful world of propagating Stichoneuron caudatum. This isn’t a plant you see everywhere, and that’s part of its charm. Its elegant, arching leaves and beautiful, often fragrant, blooms bring such a lush, tropical feel to any space. If you’ve been eyeing one of these beauties and thinking about how to get more to enjoy, you’ve come to the right place.
Now, I won’t lie – Stichoneuron caudatum can be a little fussy compared to, say, a pothos. It’s not out to make your life difficult, but it does appreciate a bit of understanding. Don’t let that deter you, though! with a little patience and the right approach, you can absolutely succeed. The reward of watching a tiny cutting transform into a thriving plant is just plain magic, isn’t it?
The Best Time to Start
My go-to time for trying my hand at propagating Stichoneuron caudatum is during its active growing season. For many of us, this is from late spring through the summer months. The plant is bursting with energy then, and it’s much more inclined to put out new roots and foliage. Trying to take cuttings when the plant is dormant is just asking for disappointment. You want that vigorous growth to be on your side!
Supplies You’ll Need
Alright, let’s get our toolkit ready. Here’s what I always have on hand:
- Sharp, clean pruning shears or a razor blade: Essential for making precise cuts to avoid damaging the plant.
- Well-draining potting mix: I like to use a blend of standard potting soil with added perlite or orchid bark. This ensures good aeration and prevents waterlogging.
- Small pots or seed trays with drainage holes: For housing your cuttings.
- Rooting hormone powder or gel (optional but helpful): This can give your cuttings a nice little boost in developing roots.
- Clear plastic bags or a propagation dome: To create a humid microclimate for your cuttings.
- Watering can with a fine spray nozzle: For gentle watering.
Propagation Methods
We’ll focus on the most reliable method for Stichoneuron caudatum, which is stem cuttings. It’s tried and true, and gives you a great chance of success.
Stem Cuttings:
- The Selection: Look for a healthy, non-flowering stem on your mature plant. You want a stem that feels firm and mature, not floppy or too woody.
- The Cut: Using your sharp, clean shears, make a cut just below a leaf node. A node is where a leaf attaches to the stem. This is where roots are most likely to form. Aim for cuttings that are about 4-6 inches long, with at least two to three leaf nodes on them.
- Prepare the Cutting: Gently remove the lower leaves from the cutting, leaving just a couple of leaves at the top. If the remaining leaves are very large, I sometimes like to cut them in half horizontally. This reduces water loss through transpiration.
- Rooting Hormone (Optional): If you’re using rooting hormone, dip the cut end of the stem into the powder or gel. Tap off any excess.
- Planting: Fill your small pots with your well-draining potting mix. Make a small hole in the center with your finger or a pencil. Insert the cut end of the stem into the hole, burying at least one leaf node. Gently firm the soil around the stem.
- Creating Humidity: Water the soil lightly. Then, cover the pot with a clear plastic bag or place it under a propagation dome. This is crucial for maintaining high humidity, which helps prevent the cutting from drying out before it can root.
The “Secret Sauce” (Pro Tips)
Here are a few little tricks I’ve learned over the years that can really make a difference:
- Don’t Let the Leaves Touch the Water: Even for cuttings in a pot, if any leaves are dipping into the soil and holding moisture, they are prime spots for fungal issues. Gently tuck them up or trim them if they’re a problem.
- Botton Heat is Your Friend: If you have access to a heat mat, placing your pots on it can significantly speed up root formation. It mimics the warmth of spring soil and gives those eager root cells a cozy place to grow. Just make sure the mat isn’t too hot, and keep an eye on soil moisture.
- Patience with New Growth: Don’t be tempted to tug on your cutting to check for roots! You’ll know it’s rooting when you see new leaf growth emerging from the top. This is the ultimate sign of success.
Aftercare & Troubleshooting
Once you see that beautiful new growth, congratulations! You’re officially a propagators!
- Acclimatization: Slowly start to acclimate your new plant to the ambient humidity. Gradually open the plastic bag or lid over a week or two.
- Light: Place your new plant in bright, indirect light. Avoid direct sun, which can scorch those tender new leaves.
- Watering: Water when the top inch of soil feels dry to the touch. Avoid overwatering – this is the quickest way to spell disaster.
- Troubleshooting: The most common issue you’ll encounter is rot. If your cutting turns mushy and black, it’s likely rotted. This usually happens from too much moisture and poor air circulation. If you see some wilting or yellowing leaves that aren’t accompanied by new growth, it might just be the plant adjusting. Keep an eye on it. If the whole cutting softens, sadly, it might be time to start over.
A Little Encouragement
So there you have it! Propagating Stichoneuron caudatum is a journey, and like any good journey, it requires a bit of patience and a willingness to learn. Don’t get discouraged if your first attempt isn’t a roaring success. Every gardener has had their share of failures – it’s all part of the learning curve. Just keep trying, observe your plants, and embrace the process. You’ve got this, and soon you’ll be surrounded by even more of these gorgeous plants! Happy propagating!
Resource:
https://identify.plantnet.org/k-world-flora/species/Stichoneuron%20caudatum%20Ridl./data