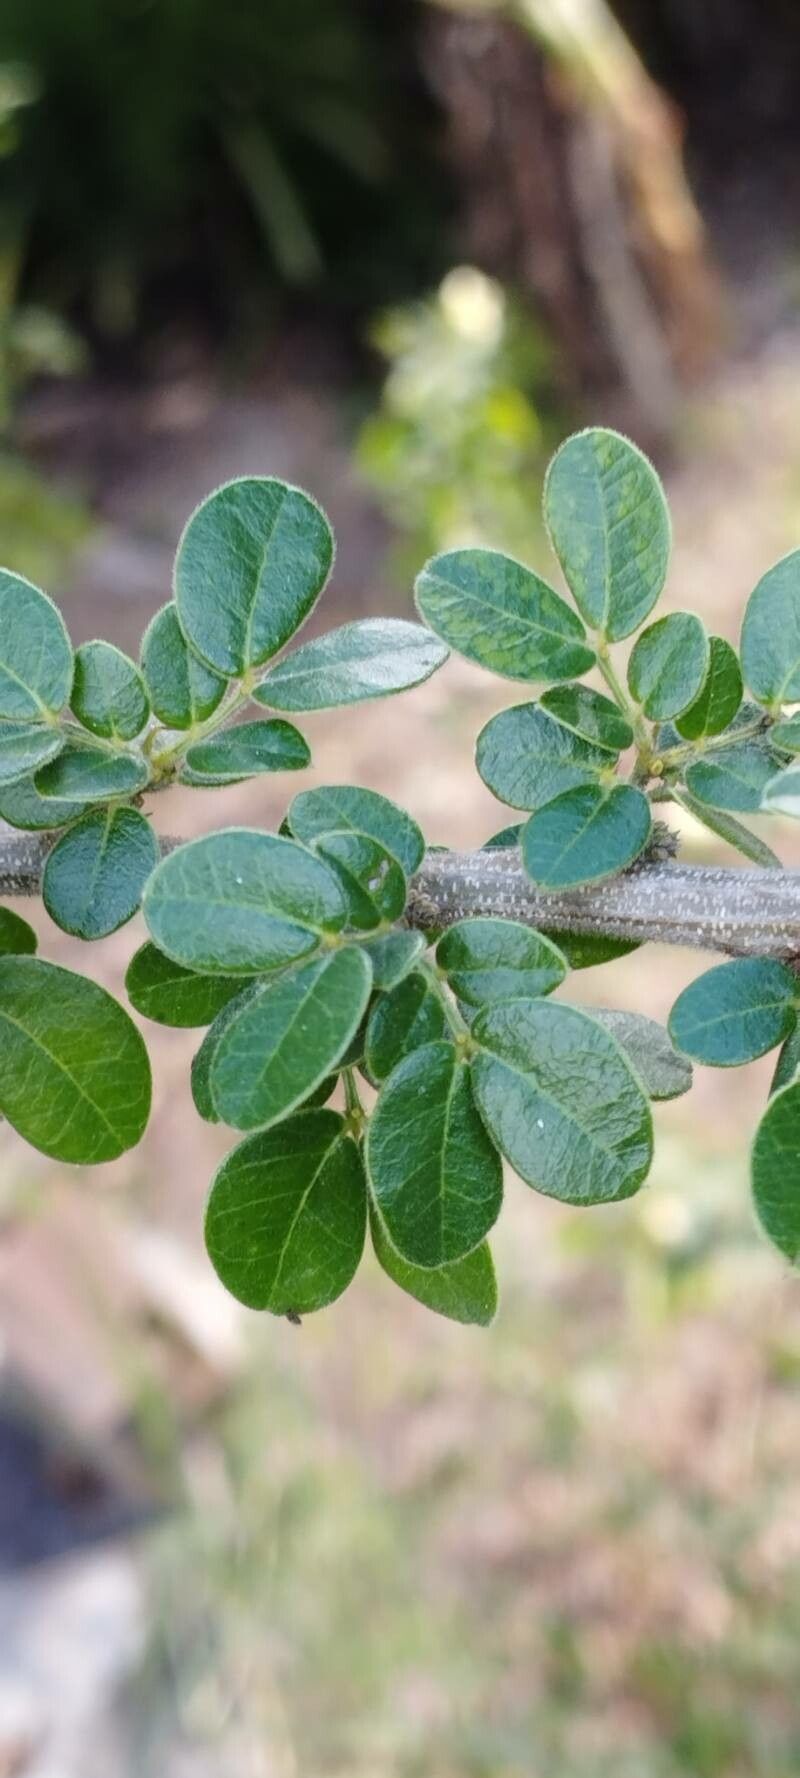
Oh, hello there! Grab a mug, let’s chat about one of my favorite little finds: Pithecellobium diversifolium. You know, the one with those delicate, feathery leaves that just scream elegance and a touch of the tropics? It’s a real charmer, and honestly, getting more of these beauties to grow is one of those gardening joys that just feels wonderfully rewarding. And for those of you just starting out, I’d say this one falls into the “moderately easy” category. A little patience and some key steps, and you’ll be well on your way.
The Best Time to Start
For Pithecellobium diversifolium, I’ve found that spring is your absolute best bet. Think about it – the plant is really getting going after its winter rest, and the longer days and warmer temperatures give your little cuttings the energy they need to unfurl new roots. Starting in late spring, as new growth is becoming firm but not yet woody, is perfect.
Supplies You’ll Need
Gather your goodies before you begin. It makes the whole process so much smoother!
- Sharp pruning shears or a clean knife: You want to make a clean cut, no crushing those delicate stems!
- Rooting hormone (optional but recommended): This little helper can really give your cuttings a boost.
- Well-draining potting mix: I like a blend of 50% potting soil and 50% perlite or coarse sand. This prevents soggy roots, which are the enemy!
- Small pots or containers: Clean ones, please! Small yogurt cups with drainage holes poked in the bottom work in a pinch.
- Plastic bags or a propagation dome: To create a humid environment.
- Watering can with a fine rose or a spray bottle: Gentle watering is key.
- Labels and a pen: Because trust me, you will forget which cutting is which!
Propagation Methods
Let’s get our hands dirty! For Pithecellobium diversifolium, stem cuttings are my go-to method.
-
Take Your Cuttings: On a bright morning, look for healthy, semi-hardwood stems on your mature plant. You want pieces that are about 4-6 inches long, with at least a couple of leaf nodes. Cut just below a leaf node; this is where the magic happens, where roots are most likely to form. Remove the lower leaves, leaving just a few at the top.
-
Prepare the Cuttings: If you’re using rooting hormone, dip the cut end into the powder, tapping off any excess. This creates a protective layer and encourages root development.
-
Plant Your Cuttings: Fill your clean pots with your prepared, moist potting mix. Make a small hole with your finger or a pencil, and gently insert the cutting. Firm the soil gently around the base to ensure good contact with the potting mix.
-
Create a Mini Greenhouse: Water your cuttings lightly. Then, cover the pot with a clear plastic bag or place it under a propagation dome. This traps moisture and humidity, which is crucial for cuttings that haven’t developed roots yet. Make sure the leaves don’t touch the inside of the plastic bag; if they do, prop the bag up with a few stakes.
-
Find the Right Spot: Place your pots in a warm spot with bright, indirect light. Avoid direct sun, which can scorch those tender cuttings.
The “Secret Sauce” (Pro Tips)
Here are a few things I’ve learned over the years that make a real difference:
- Bottom Heat is Your Friend: Placing your pots on a seedling heat mat can significantly speed up rooting. It mimics the warmth of spring soil and signals to the plant that it’s time to get growing. You can get small, affordable ones online.
- Don’t Drown Them! While humidity is vital, soggy soil is the kiss of death for cuttings. Check the moisture of the soil every few days. It should feel moist, not waterlogged. If you see water pooling on the surface, drain off any excess.
- Be Patient with Watering: Once your cuttings are established and you see new growth, you can gradually increase the time between watering. Let the top half-inch of soil dry out before watering again.
Aftercare & Troubleshooting
Once you start seeing new leaf growth, that’s a great sign your cuttings are rooting! It might take anywhere from 4-8 weeks, sometimes longer, so don’t despair if it’s not immediate.
- Acclimatize: Once roots are well-established and you have noticeable new growth, start gradually acclimatizing your new plants to normal room humidity. This means slowly opening up the plastic bag or propagation dome over a week or two.
- Potting Up: When your new plant is strong enough to gently tug on, it’s time to pot it up into a slightly larger container with fresh potting mix.
- Watch for Rot: The most common problem is stem or root rot, usually caused by overwatering and poor drainage. If the leaves turn yellow and mushy, or the stem at the soil line looks dark and soft, it’s likely rot. Unfortunately, there’s usually no coming back from this. Prevention is key: good drainage and the right amount of water are your best defense.
So there you have it! Propagating Pithecellobium diversifolium is a lovely way to expand your collection or share these beauties with friends. Don’t be discouraged if your first attempt isn’t perfect. Gardening is all about learning, experimenting, and enjoying the process. Happy propagating!
Resource:
https://identify.plantnet.org/k-world-flora/species/Pithecellobium%20diversifolium%20Benth./data