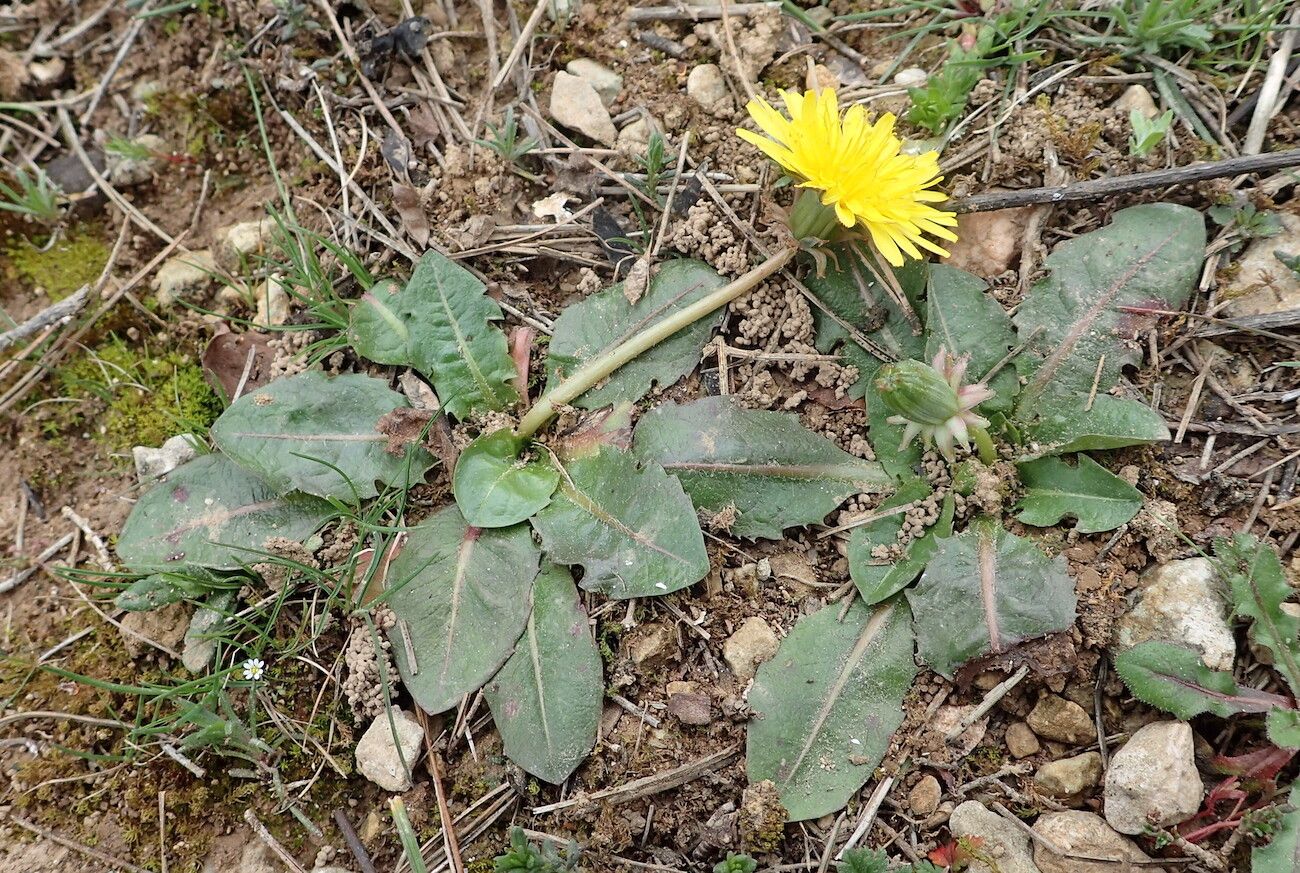
Hello, fellow garden enthusiasts! Today, I’m absolutely thrilled to share my secrets for propagating Taraxacum obovatum, or as most of us affectionately call it, the Lesser Dandelion. Now, I know what you might be thinking – dandelions! But trust me, this little gem is far more than just a lawn invader. Its delicate, slightly ruffled leaves and cheerful yellow flowers add a charming touch to any garden, and propagating them is surprisingly rewarding. For beginners, I’d say this is a delightfully easy plant to get started with. You’ll be amazed at how readily it shares its offspring!
The Best Time to Start
When it comes to Taraxacum obovatum, timing is everything. The absolute sweet spot for propagation is in early spring, just as the plant is waking up from its winter dormancy and before it starts putting all its energy into flowering. You can also have success with propagation in late summer or early autumn, after the main blooming period has passed but before the real cold sets in. This gives your new plants a good chance to establish themselves before winter.
Supplies You’ll Need
Gathering your supplies beforehand makes the whole process so much smoother. Here’s what I usually have on hand:
- Sharp, clean pruning shears or a sharp knife: For making clean cuts.
- Small pots or seed trays: Cleaned thoroughly, of course!
- A good quality, well-draining potting mix: I like a blend of peat moss, perlite, and a bit of compost for my dandelions.
- Watering can with a fine rose attachment: To avoid dislodging delicate seedlings.
- Rooting hormone (optional, but can speed things up): A powdered or gel form works well.
- A misting bottle: For keeping young cuttings hydrated.
- A small trowel or dibber: For making planting holes.
- Labels: To keep track of what you’ve planted and when.
Propagation Methods
While Taraxacum obovatum is a prolific self-seeder, these hands-on methods give you more control and a greater sense of accomplishment.
1. Division (My Go-To!)
This is, in my opinion, the easiest and most effective way to propagate mature Taraxacum obovatum plants. It’s like giving your established plant a little haircut and getting new friends in return!
- Gently dig up the parent plant: Using your trowel, carefully loosen the soil around the plant. Lift the entire plant, roots and all, out of the ground.
- Inspect the root ball: You’ll often see distinct crown divisions where new shoots are emerging.
- Separate the divisions: With clean hands or your pruning shears, carefully pull or cut the root ball into sections. Each section should have at least one healthy bud or crown and some substantial roots.
- Replant immediately: Prepare your new pots with your potting mix. Make a hole in the center of each pot that’s large enough for the roots. Place a division in the hole, ensuring the crown is just at soil level.
- Water gently: Give them a good, gentle watering to settle the soil.
2. Seed Propagation
While nature does a pretty good job of this, you can collect your own seeds for a more controlled approach.
- Collect ripe seeds: Wait until the fluffy seed heads (the ones you might have blown on as a child!) have dried and are ready to disperse.
- Sow immediately or store: You can sow the seeds directly into pots filled with moist potting mix. Or, you can store them in a cool, dry place for a few weeks.
- Surface sow: Taraxacum obovatum seeds need light to germinate. Simply scatter them on the surface of your potting mix and press down very gently to ensure good contact, but don’t cover them with soil.
- Maintain moisture: Keep the soil consistently moist but not waterlogged. A light misting is perfect.
- Provide light: Place the pots in a bright location, away from direct, scorching sun.
The “Secret Sauce” (Pro Tips)
Here are a couple of little tricks I’ve picked up over the years that make a big difference:
- Rooting Hormone Magic: If you’re doing a division that feels a bit leggy or has fewer roots, dip the cut end of the root into a good quality rooting hormone before replanting. It really gives those roots a boost of encouragement to grow!
- Humidity is Key (for Seeds): For seed propagation, once you’ve sown your seeds and watered, cover the pot with a clear plastic dome or bag. This creates a mini greenhouse, trapping humidity and creating the perfect moist environment for germination. Just remember to air it out occasionally to prevent mold.
Aftercare & Troubleshooting
Once your little Taraxacum obovatum babies are planted, it’s time to nurture them.
- Watering: Keep the soil consistently moist, but never soggy. Overwatering is the quickest way to invite root rot. I usually water when the top inch of soil feels dry.
- Light: Provide bright, indirect light. Direct sun can scorch newly forming leaves. A sunny windowsill or a sheltered spot outdoors is ideal.
- Patience: This is the most important part! Don’t be discouraged if you don’t see immediate results. Some divisions might take a few weeks to show new growth.
Common Pitfalls:
- Rotting: If you see mushy, brown stems or roots, it’s almost always a sign of overwatering. Gently remove the affected plant, trim away any rotten parts, and replant in fresh, dry soil.
- No Growth: This can happen if your division didn’t have enough healthy root or if the temperature is too cool. Be patient, and ensure they have adequate light and warmth. Sometimes, I’ll give them a gentle nudge with a warm, watered area.
A Little Bit of Patience, A Lot of Joy
Propagating Taraxacum obovatum is such a wonderful way to bring more of these charming plants into your life. It’s a simple process, really, and the satisfaction of watching your cuttings or divisions thrive is immense. Remember to be patient, enjoy the journey, and I promise you’ll be rewarded with beautiful blooms and healthy new plants. Happy gardening!
Resource:
https://identify.plantnet.org/k-world-flora/species/Taraxacum%20obovatum%20(Willd.)%20DC./data