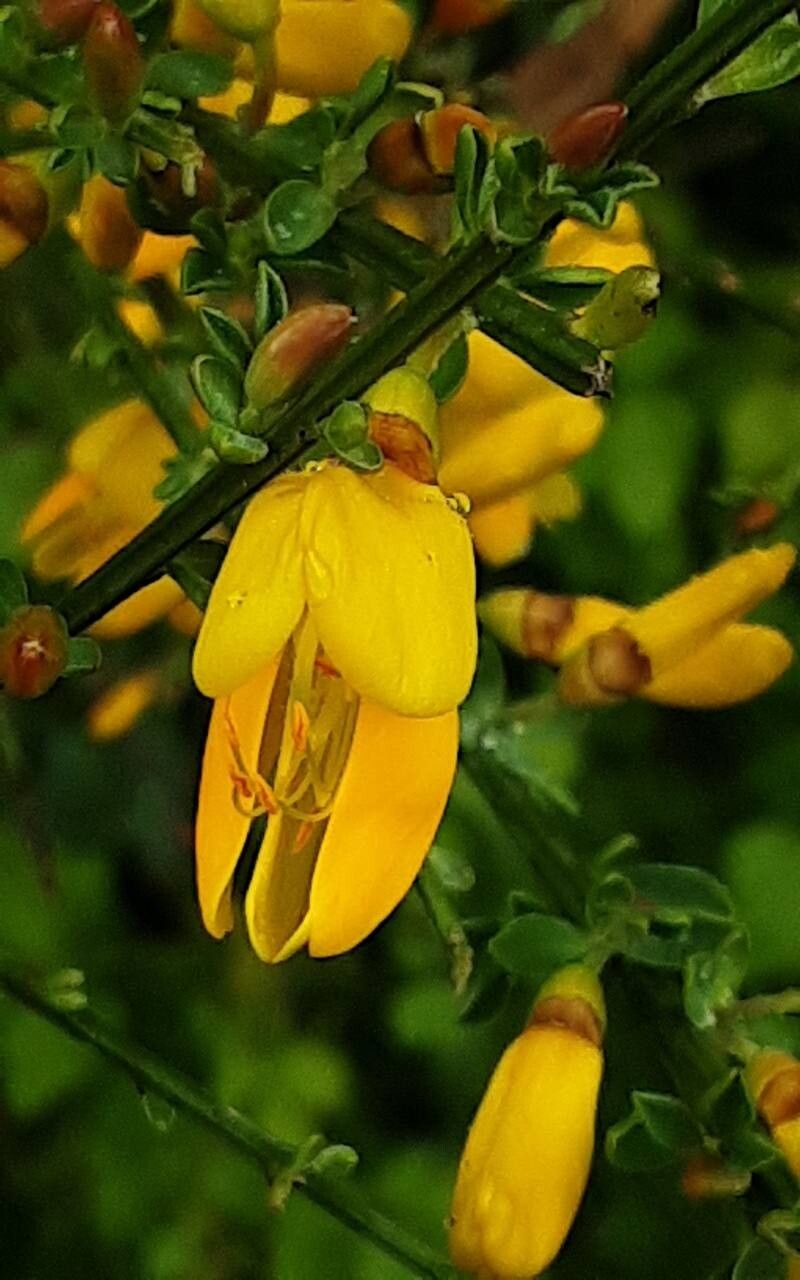
Hello fellow garden enthusiasts! I’m so glad you’ve stopped by. Today, we’re going to talk about a plant that truly sings of the Mediterranean sunshine: Cytisus oromediterraneus. You might know it by its common names, like Spanish Broom or Mount Etna Broom. Its graceful, arching stems adorned with masses of golden-yellow flowers are quite the spectacle in bloom.
Propagating this beauty yourself is incredibly satisfying. You get to witness new life take hold, and soon you’ll have more of these charming shrubs to fill your garden or share with friends. Now, I want to be upfront with you: Cytisus oromediterraneus can be a bit fussy, so it might not be the very first plant I’d suggest for someone who’s never picked up a trowel before. But don’t let that deter you! With a little patience and following these steps, you’ll be well on your way.
The Best Time to Start
For the best chance of success with Cytisus oromediterraneus, I always recommend working with semi-ripe cuttings. This usually means starting in late summer or early autumn, typically from August through September. You’re looking for stems that have started to harden off but are still flexible. Think of it as the plant transitioning from its rapid spring growth to preparing for winter.
Supplies You’ll Need
Here’s what you’ll want to have on hand before you start:
- Sharp, clean pruning shears or secateurs: Essential for making clean cuts.
- A small trowel or dibber: For making holes in your potting mix.
- Potting mix: A well-draining mix is crucial. I often use a blend of equal parts perlite and peat moss, or a good quality seed-starting mix. Some people even add a bit of compost. Drainage is key!
- Small pots or seedling trays: Choose containers with drainage holes.
- Rooting hormone powder or gel: While not strictly mandatory, it can significantly boost your success rate.
- A plastic bag or propagator lid: To create a mini greenhouse effect.
- Watering can with a fine rose: For gentle watering.
- Labels and a marker pen: To keep track of your cuttings.
Propagation Methods
We’ll focus on the most reliable method for Cytisus oromediterraneus: stem cuttings.
-
Taking the Cuttings:
- Head out to your Cytisus oromediterraneus plant with your clean pruners.
- Look for stems that are a good pencil-thickness and have started to develop that slightly woody feel.
- Select a healthy shoot and take cuttings that are about 4-6 inches long.
- Make your cut just below a leaf node (where a leaf attaches to the stem). This is where roots are most likely to form.
-
Preparing the Cuttings:
- Once you have your cuttings, immediately remove the lower leaves. You want to strip off all leaves from the bottom half of the cutting.
- If your cuttings are particularly long, you can trim the top leaves in half to reduce water loss.
- If you’re using rooting hormone, dip the cut end of each cutting into the rooting hormone powder or gel, tapping off any excess.
-
Planting the Cuttings:
- Fill your pots or trays with your prepared potting mix. Lightly water it so it’s moist but not soggy.
- Using your trowel or dibber, make holes in the potting mix for your cuttings. This prevents the rooting hormone from being rubbed off.
- Gently insert the prepared cuttings into the holes, ensuring the bottom leaf scars are buried in the soil.
- Firm the soil gently around each cutting to ensure good contact.
-
Creating the Humid Environment:
- Water the potting mix again gently to settle everything in.
- Now, carefully place your pots or trays into a plastic bag or cover them with a propagator lid. This is crucial for maintaining high humidity, which cuttings need to prevent drying out. Make sure the leaves aren’t touching the sides of the bag if possible.
The “Secret Sauce” (Pro Tips)
Here are a few things I’ve learned over the years that make a real difference:
- Bottom Heat is Your Friend: While not always essential, placing your cuttings on a heated propagator mat can dramatically speed up root development. It encourages the roots to form from the warmth. Just a gentle warmth, not scorching heat!
- Don’t Overwater, But Keep Them Moist: It’s a delicate balance. You want the potting mix to be consistently moist but never waterlogged. Soggy soil leads to rot, and that’s the death knell for cuttings. I often lift the plastic baggie daily to check the moisture and allow for some air circulation.
- Patience is a Virtue (Especially with these!): Broom species can be slow to root. Don’t panic if you don’t see any new growth or feel roots for several weeks, or even a couple of months. Give them at least 6-8 weeks before you even think about trying to gently tug on them.
Aftercare & Troubleshooting
Once you start to see signs of new growth – little shoots or leaves appearing – or if you can feel resistance when you gently tug on a cutting, it’s a good sign that roots have formed.
- Gradually Acclimatize: Over a week or so, start gradually opening the plastic bag or propagator lid for longer periods each day. This allows the new plant to adjust to the ambient humidity.
- Transplanting: Once your new Cytisus has a good root system (you might see roots peeking out of the drainage holes), it’s time to pot them up into individual, slightly larger pots. Use a free-draining compost.
- Troubleshooting:
- Wilting and Yellowing Leaves: This is often a sign of underwatering, or that the cutting has simply run out of stored energy.
- Mushy, Black Stems: This is definitely rot, usually caused by overwatering and poor drainage. If you see this, unfortunately, that cutting is likely lost. It’s a good reminder to ensure your soil is well-aerated.
- No Roots After a Long Time: Sometimes, they just don’t take. Don’t beat yourself up! Nature doesn’t always cooperate perfectly. Try again with fresh cuttings at the right time.
There you have it – your guide to propagating these lovely Mediterranean shrubs. Remember, gardening is a journey, and propagation is one of its most rewarding parts. Be patient with your new little Cytisus plants, enjoy the process of nurturing them, and soon you’ll have a garden filled with their cheerful golden blooms. Happy propagating!
Resource: